Edit to the beat in Final Cut Pro for Mac
You can use Beat Detection to edit video to the beat of a music clip, avoiding time-consuming manual edits. Beat Detection intelligently analyzes music clips and displays a beat grid, letting you quickly and easily align edits with song parts, bars, and beats. When snapping is turned on, edit points snap to grid lines and markers.
You can also use Beat Detection to trim a music clip to match the duration of a video edit, without leaving perceptible breaks in the music.

Note: To ensure the most musically accurate beat grid, choose a music clip with a 4/4 time signature.
About song parts, bars, and beats
Depending on how much you zoom in or out in the timeline, Final Cut Pro displays different types of grid lines and markers for song parts, bars, and beats.
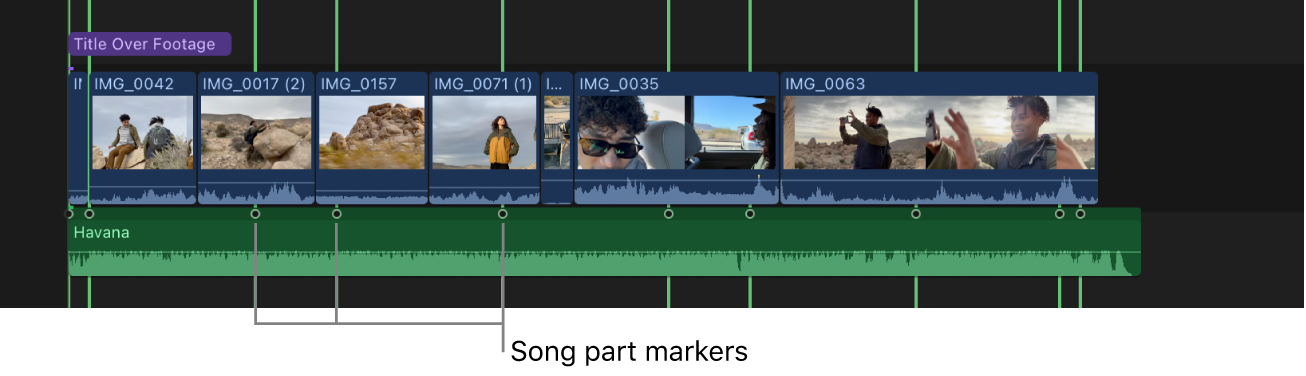
Song parts: Song parts are big musical transitions or structural changes in a song. Song part markers identify significant changes in the music and represent impactful musical moments to align edits with. When the timeline is very zoomed out, Final Cut Pro identifies song parts with hollow dots on music clips and thicker green lines in the beat grid.
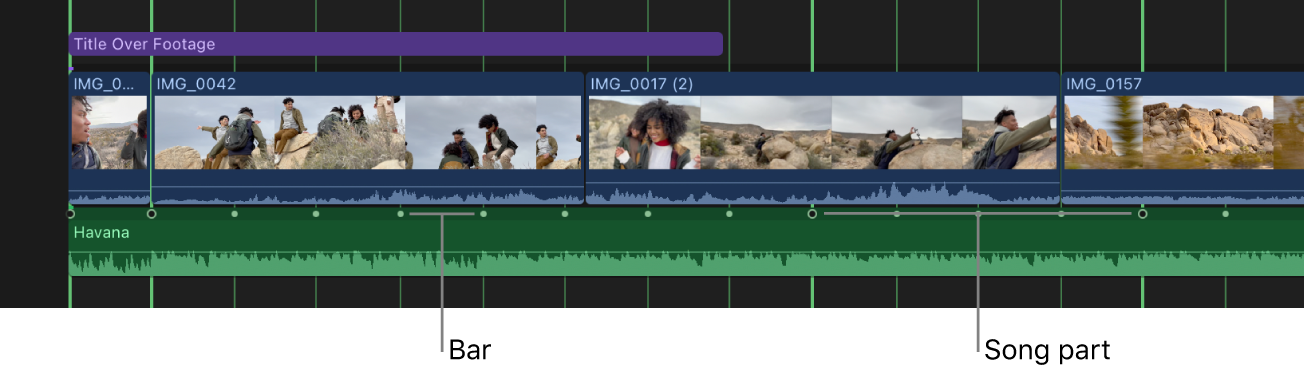
Bars: Bars (also called measures) are groups of beats, divided according to the song’s time signature. In Final Cut Pro, bars appear as bright green dots on music clips and thinner green lines in the beat grid (when the timeline is partially zoomed in).
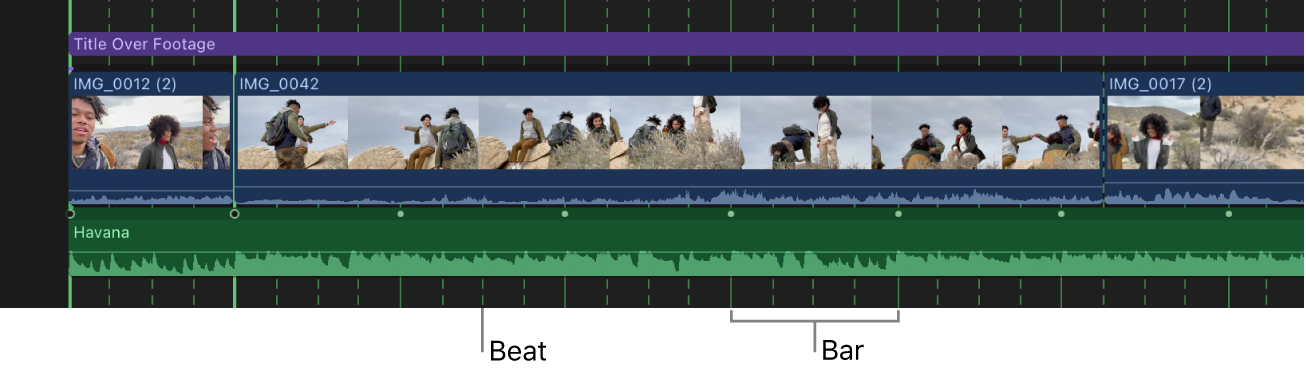
Beats: Beats are the basic unit of time in music. They are the steady pulse that you tap your foot to in a song. In Final Cut Pro, beats are represented as dashed green lines in the beat grid.


Turn on Beat Detection
You can turn on Beat Detection for music clips in the timeline.
In Final Cut Pro, open a project that includes a music clip that you want to edit to.
Do one of the following:
Choose Clip > Enable Beat Detection (or press Option-B).
Control-click the selection, then choose Enable Beat Detection.
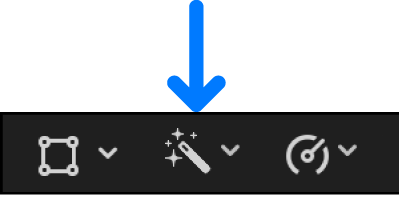
Click the Enhancements pop-up menu below the viewer, then choose Enable Beat Detection.
In the Audio inspector, select the Beat Detection checkbox.
Final Cut Pro analyzes the selected clip or clips and displays a beat grid in the timeline.
To turn off Beat Detection for a selected clip or clips, do one of the following:
Choose Clip > Disable Beat Detection (or press Option-B).
Control-click the selection, then choose Disable Beat Detection.
Click the Enhancements pop-up menu below the viewer, then choose Disable Beat Detection.
In the Audio inspector, deselect the Beat Detection checkbox.
Show or hide the beat grid
After you turn on Beat Detection for one or more music clips in the timeline, the clips are analyzed and the beat grid appears. You can quickly show or hide the beat grid while you work.
In Final Cut Pro, open a project that includes one or more music clips with Beat Detection turned on.
Do one of the following:
Choose View > Beat Detection Grid (or press 0).
A checkmark appears next to the menu item when the beat grid is shown.
Click the Beat Grid button in the top-right corner of the timeline.
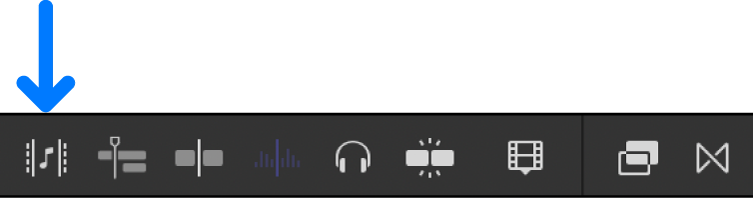
When the beat grid is shown, the Beat Grid button is highlighted.
Depending on the zoom level, song parts, bars, and beats are shown in the beat grid. See About song parts, bars, and beats, above.
Edit video to the beat of a music clip
In Final Cut Pro, open a project that includes a music clip that you want to edit to.
To turn on Beat Detection, choose Clip > Enable Beat Detection (or press Option-B).
See Turn on Beat Detection, above. Final Cut Pro analyzes the selected clip or clips and displays a beat grid in the timeline.
Zoom in or out of the timeline to view song parts, bars, and beats in the beat grid.
See About song parts, bars, and beats, above.
Tip: To easily align items with the beat grid, turn on snapping. Choose View > Snapping, or click the Snapping button in the top-right corner of the timeline. If snapping is turned off, clip edit points, the playhead, and the skimmer won’t snap to the beat grid, but the grid remains visible and can be used as a guide.
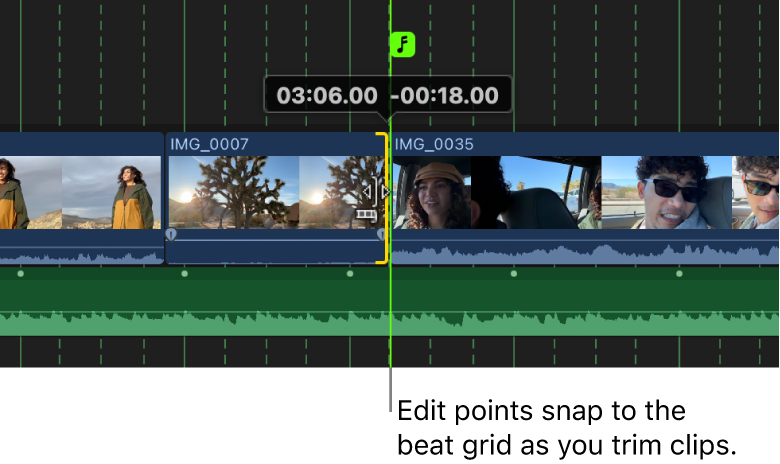
Make edits by aligning edit points with lines and markers in the grid.
When snapping is turned on, the playhead and clip start and end points snap to items in the grid. The music note icon changes depending on whether you snap to a song part, bar, or beat.
Tip: To show or hide the beat grid temporarily, press the 0 (zero) key.
These are just some of the types of edits you can make using Beat Detection:
Edit music to the beat
You can use Beat Detection to quickly edit a song to match the duration of a video edit, avoiding perceptible breaks. In the example below, the music clip is 2 minutes long, but the video edit is only 30 seconds long. You can use Beat Detection to seamlessly cut down the music clip to 30 seconds while retaining the all-important final sting from the end.
In Final Cut Pro, open a project that includes the music clip that you want to trim.
To turn on Beat Detection, choose Clip > Enable Beat Detection (or press Option-B).
See Turn on Beat Detection, above. Final Cut Pro analyzes the selected clip and displays a beat grid in the timeline.
Zoom in or out of the timeline to view song parts, bars, and beats in the beat grid.
See About song parts, bars, and beats, above.
Tip: To easily align items with the beat grid, turn on snapping. Choose View > Snapping, or click the Snapping button in the top-right corner of the timeline. If snapping is turned off, clip edit points, the playhead, and the skimmer won’t snap to the beat grid, but the grid remains visible and can be used as a guide.
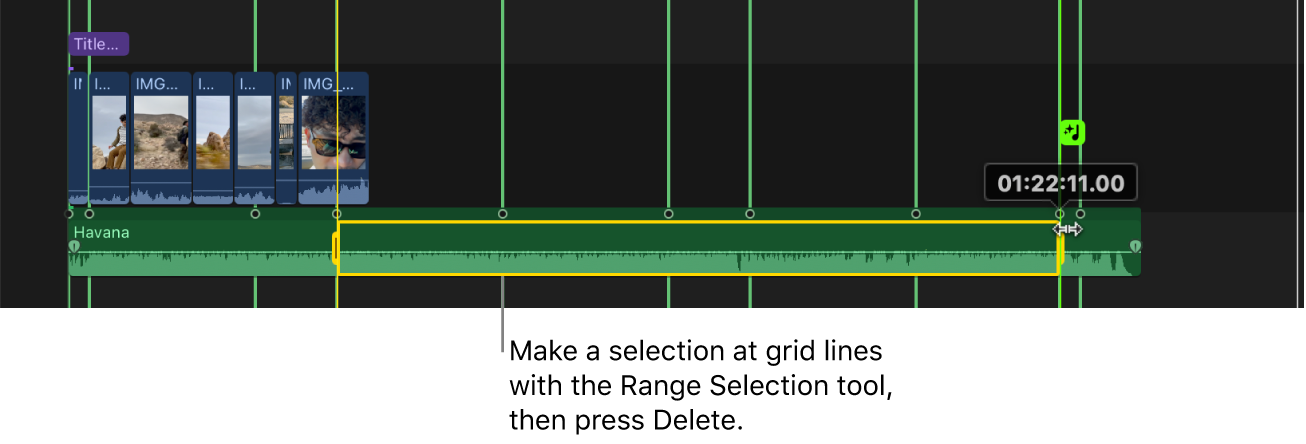
Remove unwanted sections of the music clip by cutting on song parts, bars, or beats.
Tip: For best results when editing music, remove sections of the clip between song part markers.
In the example below, the Range Selection tool is used to make a selection between song part markers, and then the selection is removed by pressing Delete. See Select ranges.
Tip: You can also use the Blade tool to make cuts at grid lines and then delete the unwanted segment. To switch to the Blade tool temporarily, press and hold the B key. When you release the B key, the tool reverts to the previously active tool.
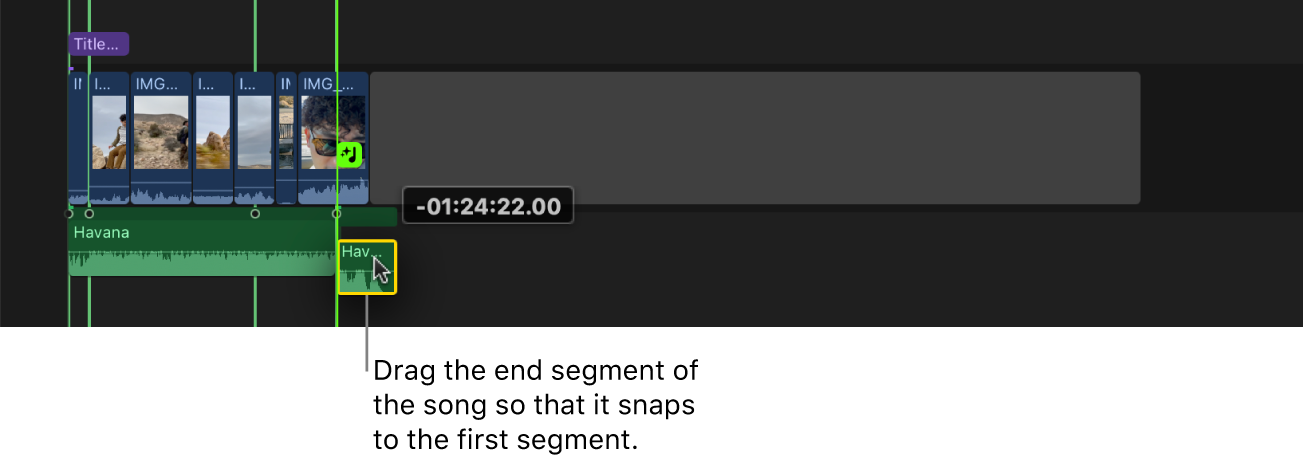
The deleted range is replaced by a gap clip.
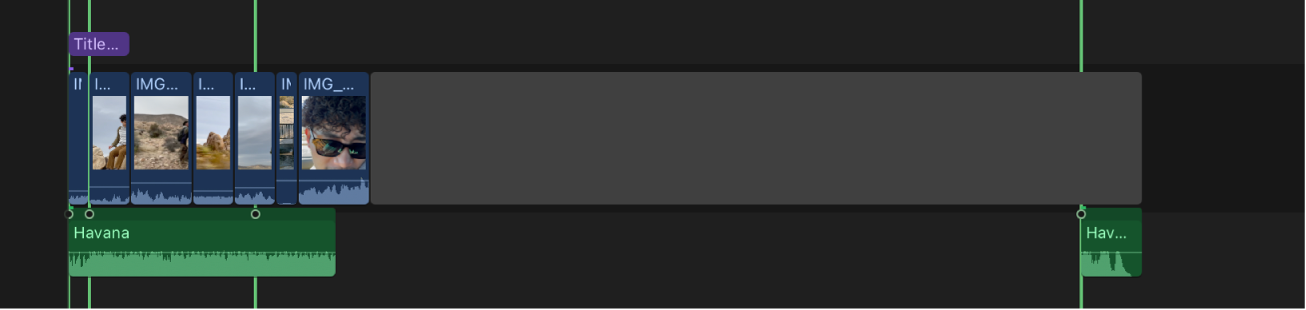
To close the gap left by the deleted segment, drag the end segment of the song so that it snaps to the first segment.
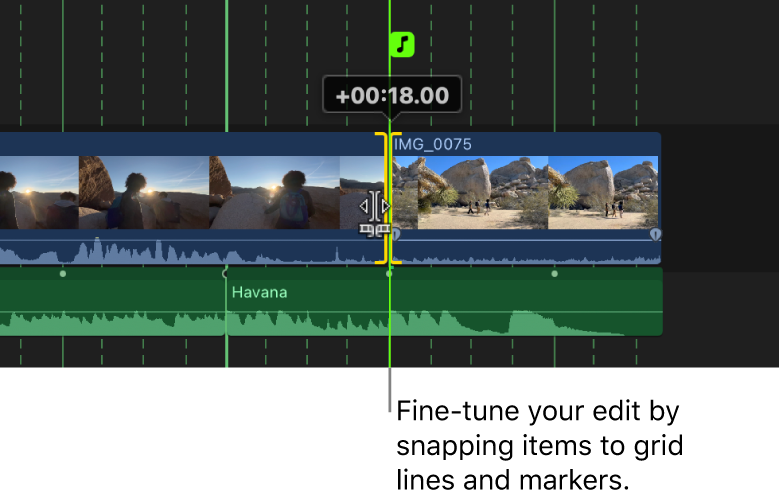
Fine-tune your edit by trimming clips so that they align with lines and markers in the grid.
When snapping is turned on, the playhead and clip edit points snap to items in the grid.


Download this guide: PDF