iPad Användarhandbok
- Välkommen
- Nyheter i iOS 12
-
- Väcka och låsa upp
- Lära dig grundläggande gester
- Lära dig gester för modeller med Face ID
- Utforska hemskärmen och appar
- Ändra inställningarna
- Ta en skärmavbild
- Justera volymen
- Ändra eller stänga av ljudet
- Söka efter innehåll
- Använda och anpassa Kontrollcenter
- Visa och ordna vyn Idag
- Nå funktioner från låsskärmen
- Resa med iPad
- Ställa in skärmtid, kvoter och begränsningar
- Synkronisera iPad med hjälp av iTunes
- Ladda och övervaka batteriet
- Lär dig vad statussymbolerna betyder
-
- Hitta mina vänner
- Hitta min iPhone
- Mätverktyg
-
- Visa bilder och videor
- Redigera bilder och videor
- Ordna bilder i album
- Söka i Bilder
- Dela bilder och videor
- Visa minnen
- Hitta personer i Bilder
- Bläddra i bilder efter plats
- Använda iCloud-bilder
- Dela bilder med Delade album på iCloud
- Använda Min bildström
- Importera bilder och videor
- Skriva ut bilder
- Aktier
- Tips
-
- Tillbehör som följer med iPad
- Ansluta Bluetooth-enheter
- Strömma ljud och video till andra enheter
- Ansluta till en TV, projektor eller bildskärm
- Styra ljud på flera enheter
- Apple Pencil
- Använda Smart Keyboard och Smart Keyboard Folio
- Använda Magic Keyboard
- AirPrint
- Handoff
- Använda universella urklipp
- Ringa och besvara Wi-Fi-samtal
- Instant Hotspot
- Internetdelning
- Överföra filer med iTunes
-
-
- Kom igång med hjälpmedelsfunktioner
- Hjälpmedelsgenvägar
-
-
- Aktivera och öva på VoiceOver
- Ändra inställningar för VoiceOver
- Lära dig VoiceOver-gester
- Styra iPad med VoiceOver-gester
- Styra VoiceOver med rotorn
- Använda tangentbordet på skärmen
- Skriva med fingret
- Styra VoiceOver med Magic Keyboard
- Skriva punktskrift på skärmen med hjälp av VoiceOver
- Använda en punktskriftsdisplay
- Använda VoiceOver i appar
- Läsa upp markering, läs upp skärm, tal vid skrift
- Zooma
- Förstorare
- Skärminställningar
- Face ID och uppmärksamhet
-
- Guidad åtkomst
-
- Viktig säkerhetsinformation
- Viktig information om hantering
- Zooma in en app för att fylla skärmen
- Få information om iPad
- Visa eller ändra mobilinställningar
- Läs mer om programvara och service för iPad
- FCC-överensstämmelse
- ISED Canada-överensstämmelse
- Klass 1-laserinformation
- Apple och miljön
- Information om kassering och återvinning
- Överensstämmelse med ENERGY STAR
- Copyright
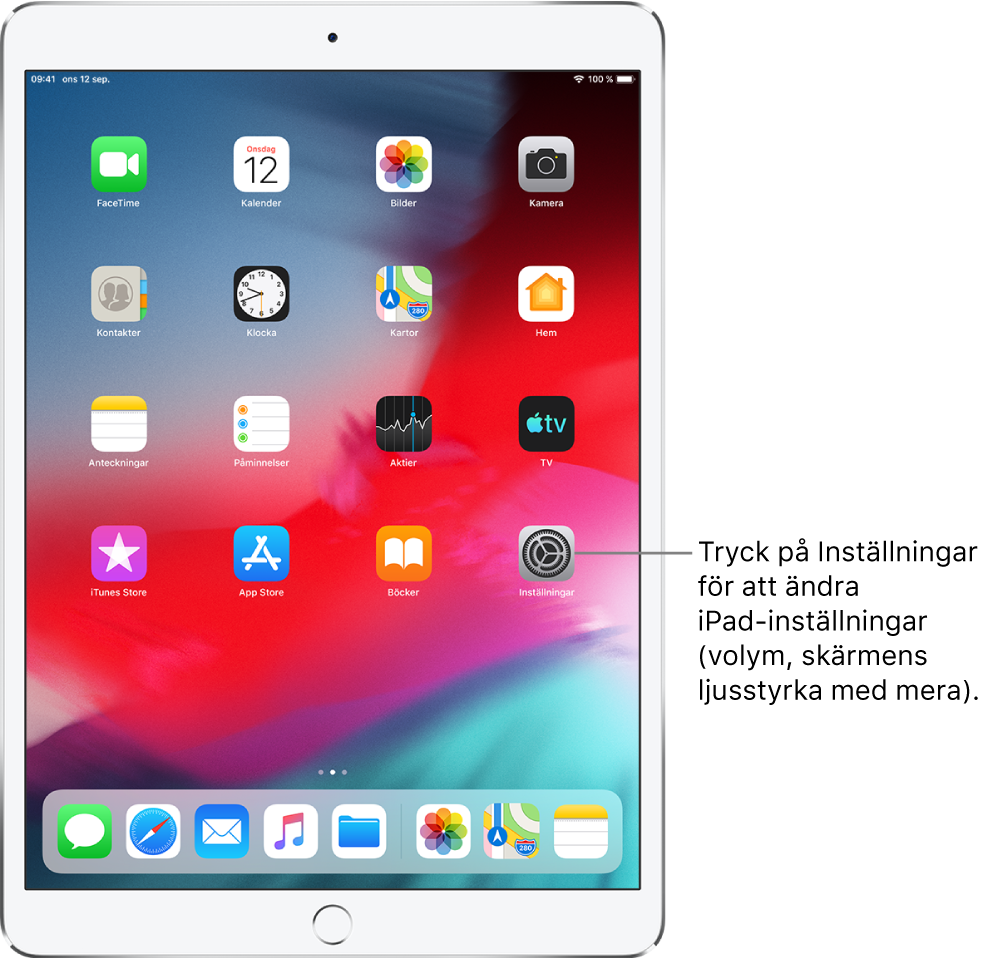
Ändra iPad-inställningarna
Använd Inställningar ![]() (finns på hemskärmen) till att konfigurera och anpassa dina iPad-inställningar. Ställ in ditt språk och din region, ändra namnet på din iPad, välj andra ljud för notiser och mycket annat. Följande avsnitt ger några exempel.
(finns på hemskärmen) till att konfigurera och anpassa dina iPad-inställningar. Ställ in ditt språk och din region, ändra namnet på din iPad, välj andra ljud för notiser och mycket annat. Följande avsnitt ger några exempel.
Ställa in datum och tid
Som förval väljs datumet och tiden, som syns på låsskärmen, automatiskt baserat på din plats. Om de är felaktiga kan du justera dem.
Öppna Inställningar
 > Allmänt > Datum och tid.
Slå på något av följande:
Ställ in automatiskt: iPad hämtar den aktuella tiden från nätverket och uppdaterar den enligt den tidszon som du befinner dig i. Vissa nätverk har inte stöd för nätverkstid, så i vissa regioner kan det hända att iPad inte automatiskt kan ställa in den lokala tiden.
24-timmarsklocka: (inte tillgängligt i alla regioner) iPad visar timmarna från 0 till 23.
Ställa in språk och region
Öppna Inställningar
> Allmänt > Språk och region.Ställ in följande:
Språket på iPad
Regionen
Kalenderformatet
Temperaturenheten (Celsius eller Fahrenheit)
Om du vill lägga till ett tangentbord för ett annat språk öppnar du Inställningar > Allmänt > Tangentbord > Tangentbord.
Byta namn på iPad
Namnet på din iPad används av iTunes, iCloud, AirDrop och Internetdelning.
Öppna Inställningar
> Allmänt > Om > Namn.Tryck på
 , ange ett nytt namn och tryck sedan på Klar.
Ställa in konton för e-post, kontakter och kalendrar
Utöver apparna som följer med iPad och som du använder med iCloud fungerar iPad med Microsoft Exchange och många av de vanligaste internetbaserade tjänsterna för e-post, kontakter och kalendrar.
Öppna Inställningar
> Lösenord och konton > Lägg till konto.För att lägga till ett e-postkonto trycker du på e-posttjänsten, till exempel Google, Yahoo eller Aol.com, och anger sedan dina kontouppgifter.
För att lägga till ett kontakt- eller kalenderkonto trycker du på Annat och gör sedan något av följande:
Kontakter från ett LDAP- eller CardDAV-konto om ditt företag eller din organisation stöder detta. Se Använda andra kontaktkonton på iPad
Kalendrar med ett CalDAV-kalenderkonto. Du kan också prenumerera på iCalendar-kalendrar (.ics) eller importera dem från Mail. Se Ställa in flera kalendrar på iPad
Lägg till ett kontaktkonto: Tryck på Lägg till LDAP-konto eller Lägg till CardDAV-konto (om ditt företag eller din organisation stöder det) och ange sedan uppgifterna. Se Använda andra kontaktkonton på iPad.
Lägg till ett kalenderkonto: Tryck på Lägg till CalDAV-konto och ange sedan dina uppgifter. Se Ställa in flera kalendrar på iPad.
Prenumerera på iCal-kalendrar (.ics): Tryck på Lägg till prenumererad kalender och ange webbadressen till .ics-filen som du vill prenumerera på. Du kan också importera en .ics-fil från Mail.
Om du vill få information om hur du ställer in ett Microsoft Exchange-konto i en företagsmiljö läser du Apple Support-artikeln Konfigurera Exchange ActiveSync på iPhone, iPad eller iPod touch.
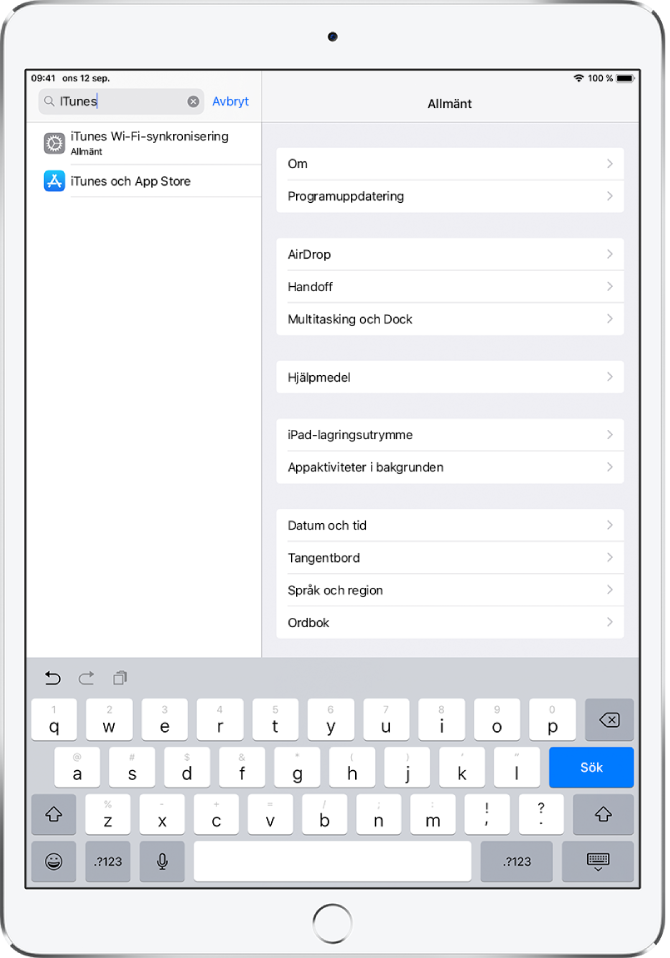
Hitta och ändra andra inställningar
Öppna Inställningar ![]() , svep nedåt från skärmens vänsterkant så att sökfältet visas och skriv en term, till exempel notis, lösenord eller iTunes.
, svep nedåt från skärmens vänsterkant så att sökfältet visas och skriv en term, till exempel notis, lösenord eller iTunes.