Final Cut Pro User Guide for Mac
- Welcome
- What’s new
-
- Intro to importing media
- If it’s your first import
- Organize files during import
-
- Import from Image Playground
- Import from iMovie for macOS
- Import from iMovie for iOS or iPadOS
- Import from Final Cut Pro for iPad
- Import from Final Cut Camera
- Import from Photos
- Import from Music
- Import from Apple TV
- Import from Motion
- Import from GarageBand and Logic Pro
- Import using workflow extensions
- Record into Final Cut Pro
- Memory cards and cables
- Supported media formats
-
- Intro to effects
-
- Intro to transitions
- How transitions are created
- Add transitions and fades
- Quickly add a transition with a keyboard shortcut
- Set the default duration for transitions
- Delete transitions
- Adjust transitions in the timeline
- Adjust transitions in the inspector and viewer
- Merge jump cuts with the Flow transition
- Adjust transitions with multiple images
- Modify transitions in Motion
- Add adjustment clips
-
- Add storylines
- Use the precision editor
- Conform frame sizes and rates
- Use XML to transfer projects
- Glossary
- Copyright and trademarks
Trim the edges of the video frame in Final Cut Pro for Mac
Trim controls allow you to independently trim each of the image edges, creating a window look. This effect, often used along with the Transform effect, is commonly used on a clip placed over a primary storyline clip, which becomes the background of the trimmed clip.
Select a clip in the Final Cut Pro timeline.
Position the playhead over the clip in the timeline so that the clip’s video is displayed in the viewer.
To access the Trim controls, do one of the following:
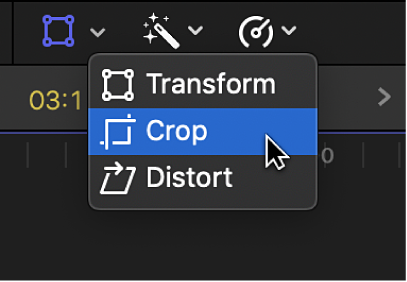
Click the pop-up menu in the lower-left corner of the viewer and choose Crop (or press Shift-C).

Control-click in the viewer and choose Crop.
Click the Trim button at the bottom of the viewer.
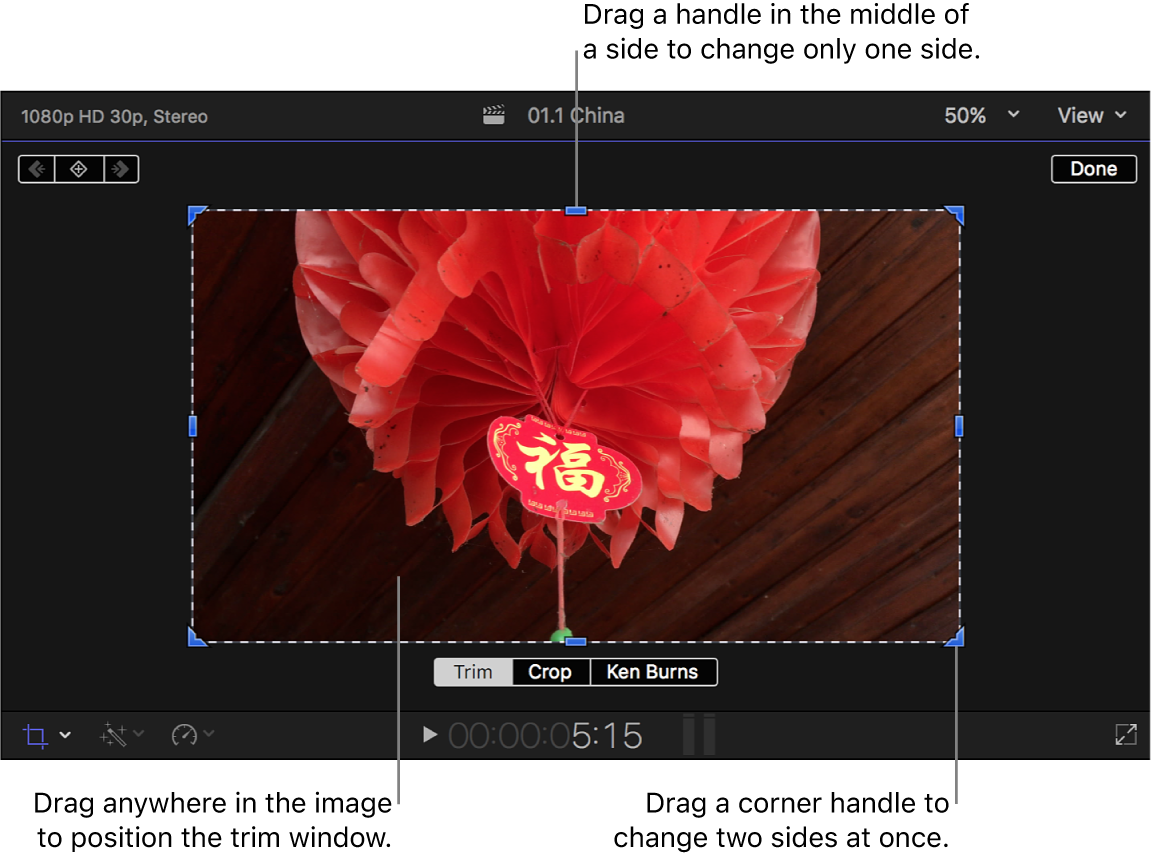
Adjust the effect using the onscreen controls:
Blue handles at each corner: Drag these to adjust the position of two trim window sides at the same time.
Blue handles in the middle of each side: Drag these to independently adjust the position of each side.
Anywhere inside the window: Drag anywhere inside the window to adjust its position.

You can also adjust each edge of the image individually using the Left, Right, Top, and Bottom parameters in the Crop section of the Video inspector.
When you’re finished adjusting the effect, click Done.
You can animate the effect and have it appear over a background. See Work with built-in effects.
Download this guide: PDF