Final Cut Pro User Guide for Mac
- Welcome
- What’s new
-
- Intro to importing media
- If it’s your first import
- Organize files during import
-
- Import from Image Playground
- Import from iMovie for macOS
- Import from iMovie for iOS or iPadOS
- Import from Final Cut Pro for iPad
- Import from Final Cut Camera
- Import from Photos
- Import from Music
- Import from Apple TV
- Import from Motion
- Import from GarageBand and Logic Pro
- Import using workflow extensions
- Record into Final Cut Pro
- Memory cards and cables
- Supported media formats
-
- Intro to effects
-
- Intro to transitions
- How transitions are created
- Add transitions and fades
- Quickly add a transition with a keyboard shortcut
- Set the default duration for transitions
- Delete transitions
- Adjust transitions in the timeline
- Adjust transitions in the inspector and viewer
- Merge jump cuts with the Flow transition
- Adjust transitions with multiple images
- Modify transitions in Motion
- Add adjustment clips
-
- Add storylines
- Use the precision editor
- Conform frame sizes and rates
- Use XML to transfer projects
-
- Intro to sharing projects
- Share to Apple devices
- Share on the web
- Send a video frame to Pixelmator Pro
- Share in email
- Share stereo or spatial video
- Batch sharing
- Share using Compressor
- Create share destinations
- Change metadata for shared items
- View the status of shared items
- Speed up exports with simultaneous processing
- Glossary
- Copyright and trademarks
Adjust and arrange closed captions in Final Cut Pro for Mac
You use the powerful timeline editing tools in Final Cut Pro to adjust the timing and arrangement of closed captions in your projects.
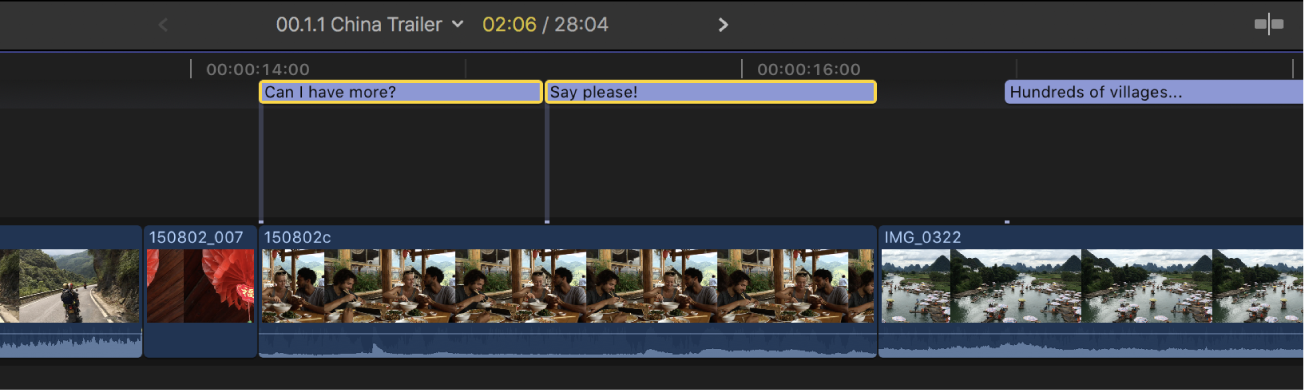
Arrange and trim closed caption clips in the timeline
You control the timing of closed captions by arranging and trimming them in the timeline. In many cases, you can move and trim caption clips just as you would other types of clips.
Caption clips (both closed captions and subtitles) are always connected clips. Unlike other types of clips, closed caption clips can also be connected to other connected clips.
Open an existing project in the Final Cut Pro timeline.
Use the timeline index to show closed captions in the timeline and the viewer.
Do any of the following:
Adjust a closed caption’s position in the timeline: Drag it left or right. When you drag a closed caption clip to adjacent closed captions, it overwrites the adjacent closed captions.
You can also move closed caption clips by entering a timecode value or nudging them with keyboard shortcuts. See Arrange clips in the timeline.
Adjust a closed caption’s duration: Trim the closed caption clip by dragging its start or end point.
You can also use powerful trimming techniques with closed caption clips. See Extend or shorten clips.
Roll the edit point between two closed caption clips: Make a roll edit using the Trim tool.
Cut a closed caption at any point: Cut the clip using the Blade tool.
Connect a closed caption to a connected clip
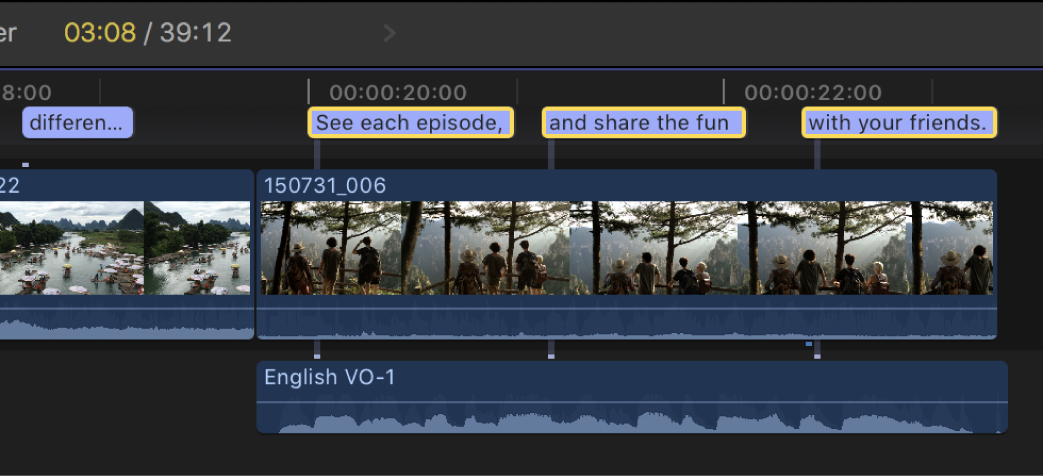
When you create a closed caption, it’s connected to the primary storyline at the playhead position. Sometimes, you may want to connect the closed caption to another connected clip instead—for example, if the connected clip contains dialogue and you want to keep the closed caption in sync with the dialogue.
In the Final Cut Pro timeline, select the closed caption that you want to connect.
Position a connected clip so that it overlaps the closed caption in the timeline.
Option-Command-click the connected clip.
The closed caption is connected to the connected clip at the frame where you clicked.
Split multiple-line closed captions
You can quickly split any closed caption with multiple lines into a series of single-line closed captions.
In the Final Cut Pro timeline, select one or more closed captions that have multiple lines.
Do one of the following:
Choose Edit > Closed Captions > Split Captions (or press Control-Option-Command-C).
Control-click the closed captions you want to split, then choose Split Captions.
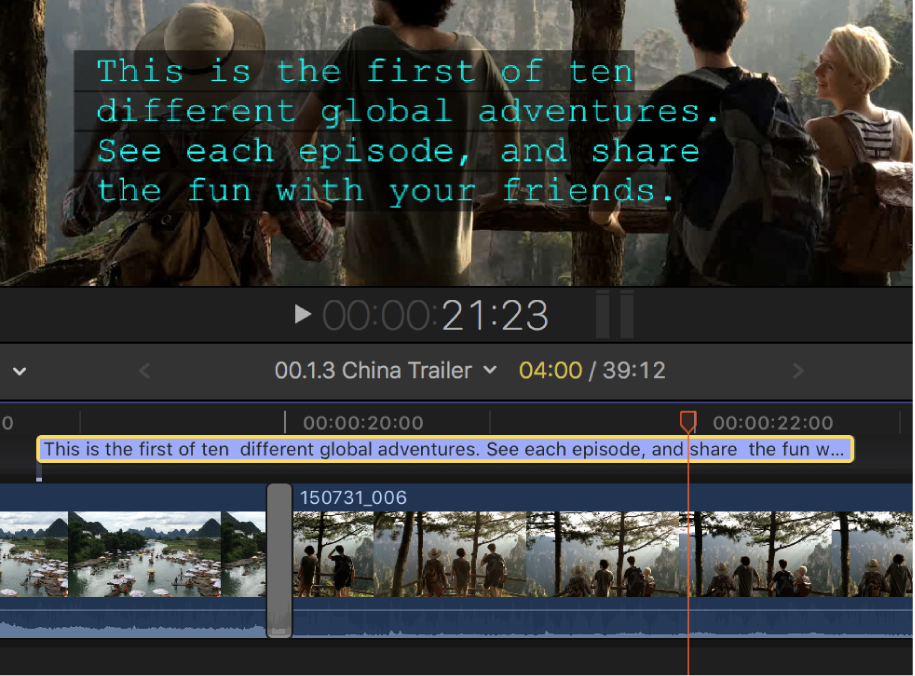
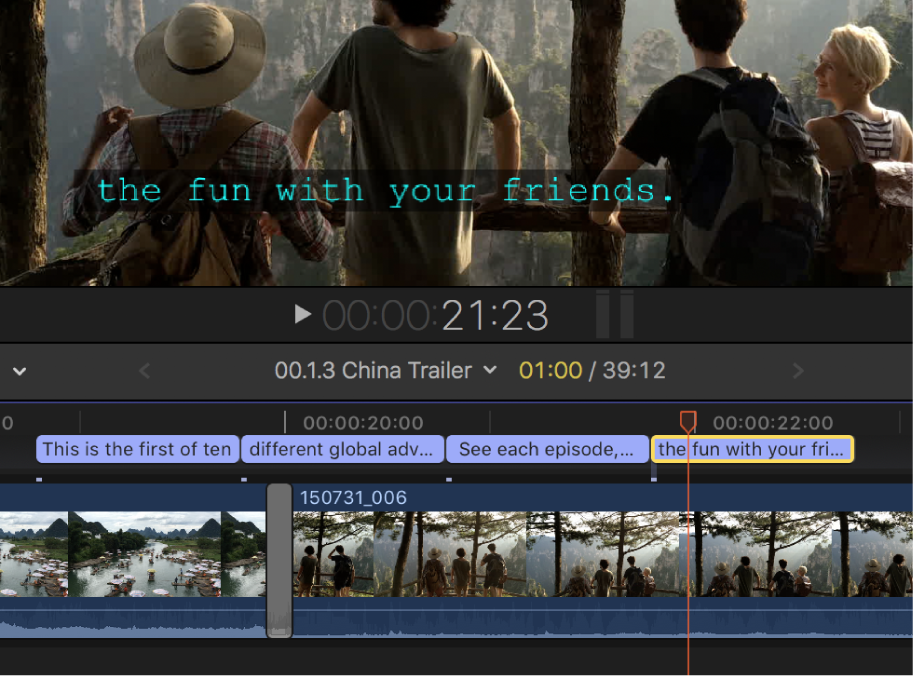
The selected closed captions are replaced with abutting single-line closed captions, one for each line of text in the original closed captions. The total duration of the new captions is equal to the duration of the original closed captions.
Join closed caption clips in the timeline
You can combine multiple closed captions in the timeline into one closed caption.
In the Final Cut Pro timeline, select two or more adjacent closed caption clips.
Do one of the following:
Choose Edit > Closed Captions > Join Captions.
Control-click one of the selected closed captions, then choose Join Captions.
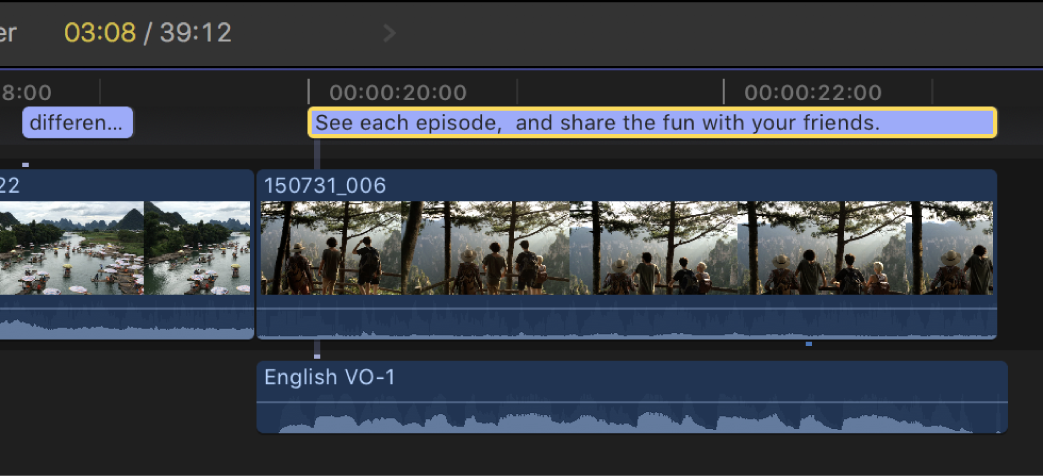
The selected closed caption clips are replaced with a single closed caption clip that contains the text from the selected closed captions.
Resolve closed caption overlaps in the timeline
In most cases, overlapping closed captions in the same language subrole causes an error. If you accidentally overlap closed captions, the overlapping closed caption clips turn red in the timeline, and error messages appear in the inspector and the Captions pane of the timeline index. You can fix this problem with the Resolve Overlaps command.
Note: It’s OK to overlap iTT closed captions that are set to Japanese and formatted to appear in different areas of the screen.
In the Final Cut Pro timeline, select the overlapping closed caption clips.
Tip: To select all the closed captions in a language subrole, select any closed caption, then press Command-A. To select everything in the timeline, press Command-A again.

Choose Edit > Closed Captions > Resolve Overlaps.
The clips are trimmed so that they no longer overlap.

Download this guide: PDF