Motion User Guide
- Welcome
- What’s new
-
- Intro to basic compositing
-
- Intro to transforming layers
-
- Intro to transforming layers in the canvas
- Transform layer properties in the canvas
- Transform tools
- Change layer position, scale, or rotation
- Move a layer’s anchor point
- Add a drop shadow to a layer
- Distort or shear a layer
- Crop a layer
- Modify shape or mask points
- Transform text glyphs and other object attributes
- Align layers in the canvas
- Transform layers in the HUD
- Transform 2D layers in 3D space
-
- Intro to behaviors
- Behaviors versus keyframes
-
- Intro to behavior types
-
- Intro to Parameter behaviors
- Audio behavior
- Average behavior
- Clamp behavior
- Custom behavior
- Add a Custom behavior
- Exponential behavior
- Link behavior
- Logarithmic behavior
- MIDI behavior
- Add a MIDI behavior
- Negate behavior
- Oscillate behavior
- Create a decaying oscillation
- Overshoot behavior
- Quantize behavior
- Ramp behavior
- Randomize behavior
- Rate behavior
- Reverse behavior
- Stop behavior
- Track behavior
- Wriggle behavior
-
- Intro to Simulation behaviors
- Align to Motion behavior
- Attracted To behavior
- Attractor behavior
- Drag behavior
- Drift Attracted To behavior
- Drift Attractor behavior
- Edge Collision behavior
- Gravity behavior
- Orbit Around behavior
- Random Motion behavior
- Repel behavior
- Repel From behavior
- Rotational Drag behavior
- Spring behavior
- Vortex behavior
- Wind behavior
- Additional behaviors
-
- Intro to shapes, masks, and paint strokes
- Edit fill, outline, and feathering
- Keyframe shape control points
- Convert between shapes and masks
- Using filters and masks with shapes
- Copy shape styles
- Save custom shapes and shape styles
-
- Intro to using generators
- Add a generator
-
- Intro to image generators
- Caustics generator
- Cellular generator
- Checkerboard generator
- Clouds generator
- Color Solid generator
- Concentric Polka Dots generator
- Concentric Shapes generator
- Gradient generator
- Grid generator
- Japanese Pattern generator
- Lens Flare generator
- Manga Lines generator
- Membrane generator
- Noise generator
- One Color Ray generator
- Op Art 1 generator
- Op Art 2 generator
- Op Art 3 generator
- Overlapping Circles generator
- Radial Bars generator
- Soft Gradient generator
- Spirals generator
- Spiral Drawing generator
- Use Spiral Drawing onscreen controls
- Star generator
- Stripes generator
- Sunburst generator
- Truchet Tiles generator
- Two Color Ray generator
- Save a custom generator
-
- Intro to filters
- Browse and preview filters
- Apply or remove filters
-
- Intro to filter types
-
- Intro to Color filters
- Brightness filter
- Channel Mixer filter
- Color Adjustments filter
- Color Balance filter
- Example: Color-balance two layers
- Color Curves filter
- Use the Color Curves filter
- Color Reduce filter
- Color Wheels filter
- Use the Color Wheels filter
- Colorize filter
- Contrast filter
- Custom LUT filter
- Use the Custom LUT filter
- Gamma filter
- Gradient Colorize filter
- HDR Tools filter
- Hue/Saturation filter
- Hue/Saturation Curves filter
- Use the Hue/Saturation Curves filter
- Levels filter
- Negative filter
- OpenEXR Tone Map filter
- Sepia filter
- Threshold filter
- Tint filter
-
- Intro to Distortion filters
- Black Hole filter
- Bulge filter
- Bump Map filter
- Disc Warp filter
- Droplet filter
- Earthquake filter
- Fisheye filter
- Flop filter
- Fun House filter
- Glass Block filter
- Glass Distortion
- Insect Eye filter
- Mirror filter
- Page Curl filter
- Poke filter
- Polar filter
- Refraction filter
- Ring Lens filter
- Ripple filter
- Scrape filter
- Sliced Scale filter
- Use the Sliced Scale filter
- Sphere filter
- Starburst filter
- Stripes filter
- Target filter
- Tiny Planet filter
- Twirl filter
- Underwater filter
- Wave filter
-
- Intro to Stylize filters
- Add Noise filter
- Bad Film filter
- Bad TV filter
- Circle Screen filter
- Circles filter
- Color Emboss filter
- Comic filter
- Crystallize filter
- Edges filter
- Extrude filter
- Fill filter
- Halftone filter
- Hatched Screen filter
- Highpass filter
- Indent filter
- Line Art filter
- Line Screen filter
- MinMax filter
- Noise Dissolve filter
- Pixellate filter
- Posterize filter
- Relief filter
- Slit Scan filter
- Slit Tunnel filter
- Texture Screen filter
- Vignette filter
- Wavy Screen filter
- About filters and color processing
- Publish filter controls to Final Cut Pro
- Using filters on alpha channels
- Filter performance
- Save custom filters
-
- Intro to 360-degree video
- 360-degree projects
- Create 360-degree projects
- Add 360-degree video to a project
- Create a tiny planet effect
- Reorient 360-degree media
- Creating 360-degree templates for Final Cut Pro
- 360-degree-aware filters and generators
- Export and share 360-degree projects
- Guidelines for better 360-degree projects
-
- Intro to settings and shortcuts
-
- Intro to Keyboard shortcuts
- Use function keys
- General keyboard shortcuts
- Audio list keyboard shortcuts
-
- Tools keyboard shortcuts
- Transform tool keyboard shortcuts
- Select/Transform tool keyboard shortcuts
- Crop tool keyboard shortcuts
- Edit Points tool keyboard shortcuts
- Edit shape tools keyboard shortcuts
- Pan and Zoom tools keyboard shortcuts
- Shape tools keyboard shortcuts
- Bezier tool keyboard shortcuts
- B-Spline tool keyboard shortcuts
- Paint Stroke tool keyboard shortcuts
- Text tool keyboard shortcuts
- Shape mask tools keyboard shortcuts
- Bezier Mask tool keyboard shortcuts
- B-Spline Mask tool keyboard shortcuts
- Magnetic Mask tool keyboard shortcuts
- Transport control keyboard shortcuts
- View option keyboard shortcuts
- HUD keyboard shortcuts
- Inspector keyboard shortcuts
- Keyframe Editor keyboard shortcuts
- Layers keyboard shortcuts
- Library keyboard shortcuts
- Media list keyboard shortcuts
- Timeline keyboard shortcuts
- Keyframing keyboard shortcuts
- Shape and Mask keyboard shortcuts
- 3D keyboard shortcuts
- Miscellaneous keyboard shortcuts
- Touch Bar shortcuts
- Move assets to another computer
- Work with GPUs
- Glossary
- Copyright and trademarks
Move a layer’s anchor point in Motion
Selecting the Anchor Point tool activates canvas controls to adjust the point in a layer around which geometric transforms are performed.

Note: The Anchor Point onscreen control is not available for layers within a 360° environment.
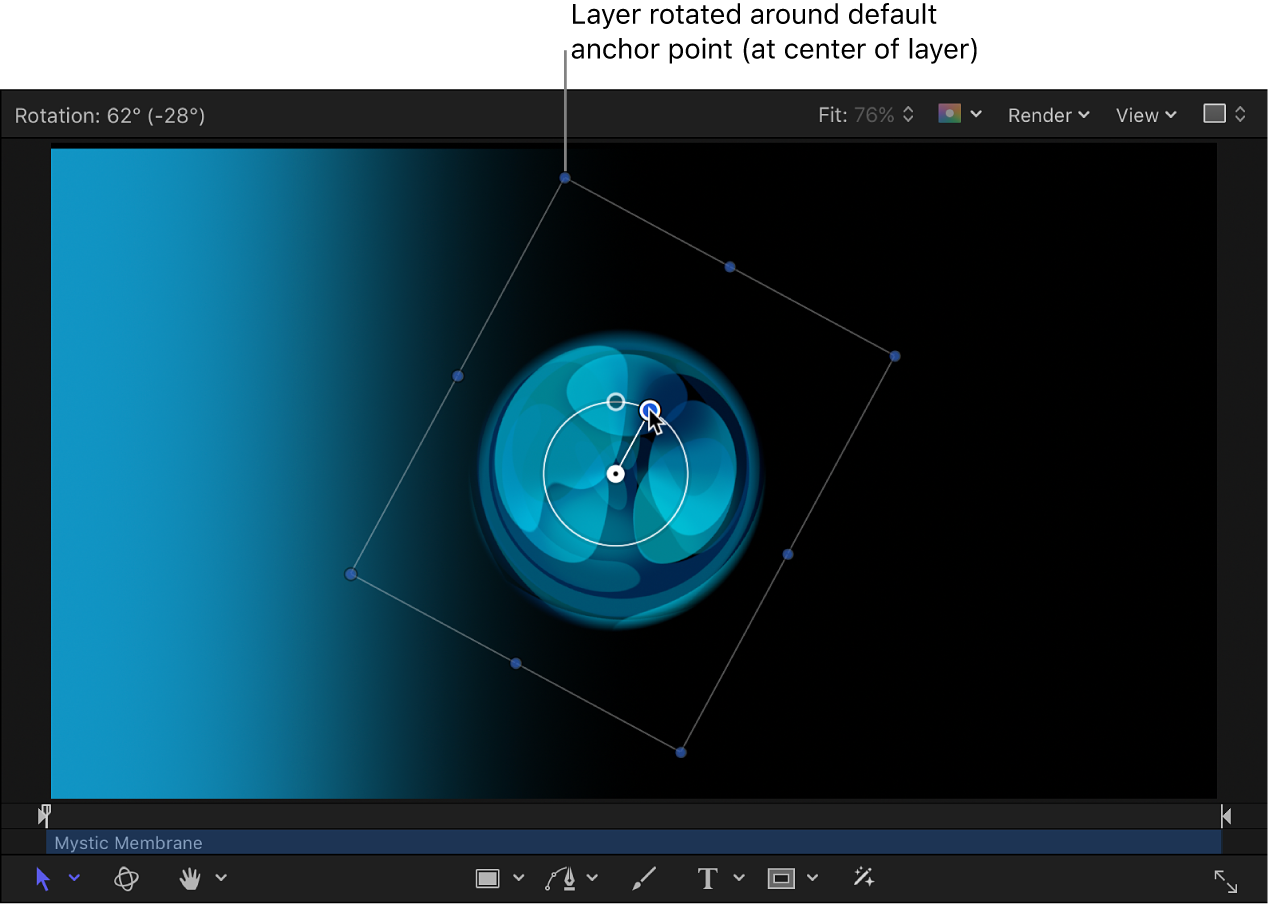
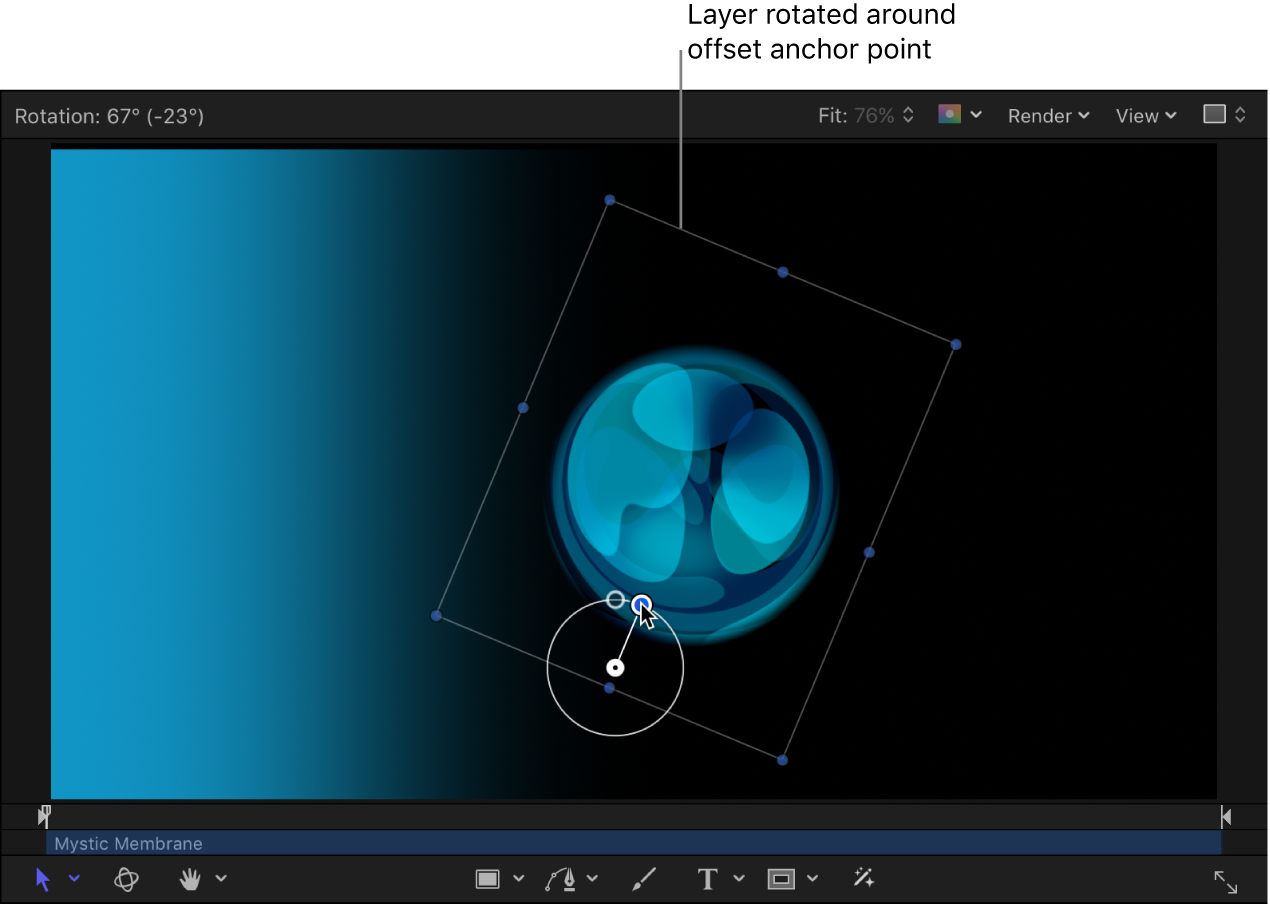
Layers rotate around the anchor point. The anchor point also affects resizing operations. For example, the default anchor point for any layer is the center of the bounding box that defines the layer’s edges. If you rotate a layer, it spins around this central anchor point. If you offset the anchor point, however, the layer no longer rotates around its own center, but instead rotates around the new anchor point.

If you offset the anchor point, however, the layer no longer rotates around its own center, but instead rotates around the new anchor point.

Change the anchor point of a layer in the canvas
In Motion, select a layer in the Layers list or canvas.
A bounding box appears around the selected layer in the canvas.
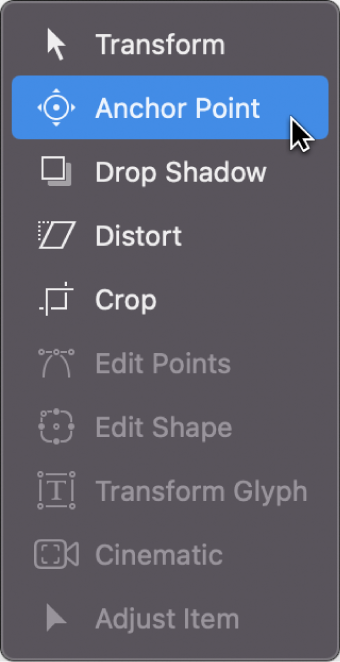
In the canvas toolbar, click and hold the transform tools pop-up menu, then choose Anchor Point.

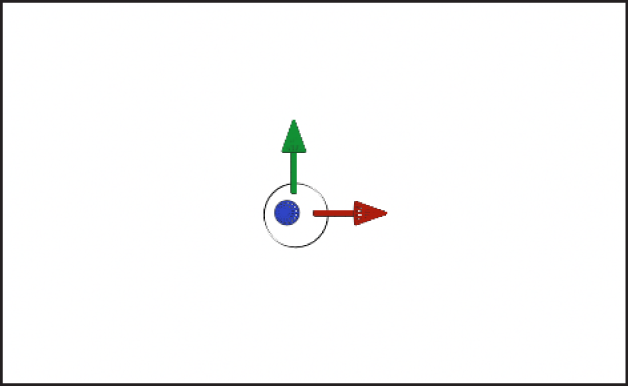
In the canvas, the selected layer’s anchor point appears as a round target surrounded with three color arrows representing the X, Y, and Z coordinate axes. For more information on coordinate axes, see Transform layers in 3D space.

Do one of the following:
Drag the white circle to move the anchor point vertically or horizontally.
Drag an arrow to move the anchor point along the corresponding axis.
As you drag the anchor point, a line stretches from the default position of the anchor point to its new position. Additionally, the status bar above the canvas shows you the anchor point’s new coordinates and the delta (amount of change) between the anchor point’s new and old positions, and the Anchor Point parameter is updated in the Properties Inspector.
Note: If the anchor point is close to the center or edges of the layer, and both Snapping and Dynamic Guides are turned on, the anchor point snaps to that location.
Download this guide: PDF