إعداد HomePod
HomePod mini و HomePod هما سماعتان تمتازان بذكاء Siri. استخدم Siri للتحكم في HomePod من خلال التنشيط الصوتي. شغِّل الموسيقى والبودكاست المفضلة لديك، واحصل على المساعدة بشأن الأسئلة أو المهام اليومية، وتحكم في ملحقات منزلك الذكي، كل ذلك باستخدام صوتك فقط.
يستخدم HomePod تقنية البث السريع للاتصال لاسلكيًا بالأجهزة المتوافقة مثل iPhone وiPad. يمكنك إعداد HomePod كجزء من نظام المسرح المنزلي، أو إعداده كزوج استريو مع HomePod آخر.
قبل البدء
انتقل إلى تطبيق الإعدادات
 على iPhone أو iPad.
تحقّق مما يلي:
Wi-Fi: تأكد من أن جهاز iPhone أو iPad متصل بشبكة Wi-Fi التي تخطط لاستخدامها من أجل HomePod.
Bluetooth®: تأكد من أن Bluetooth قيد التشغيل.
تحديثات البرامج: اضغط على "عام"، اضغط على "تحديثات البرامج"، ثم ثبّت أي تحديثات متوفرة.
إعداد HomePod للمرة الأولى
قم بتوصيل HomePod بمصدر طاقة.
يشير الضوء الأبيض الدوَّار إلى أن HomePod تبدأ التشغيل.

انتظر حتى تعرض HomePod ضوءًا أبيض نابضًا بطيئًا في الجزء العلوي، مما يشير إلى أن HomePod جاهزة للإعداد.
قرِّب iPhone أو iPad بعد فتح قفله على مسافة بضع سنتيمترات من HomePod حتى تظهر شاشة الإعداد.
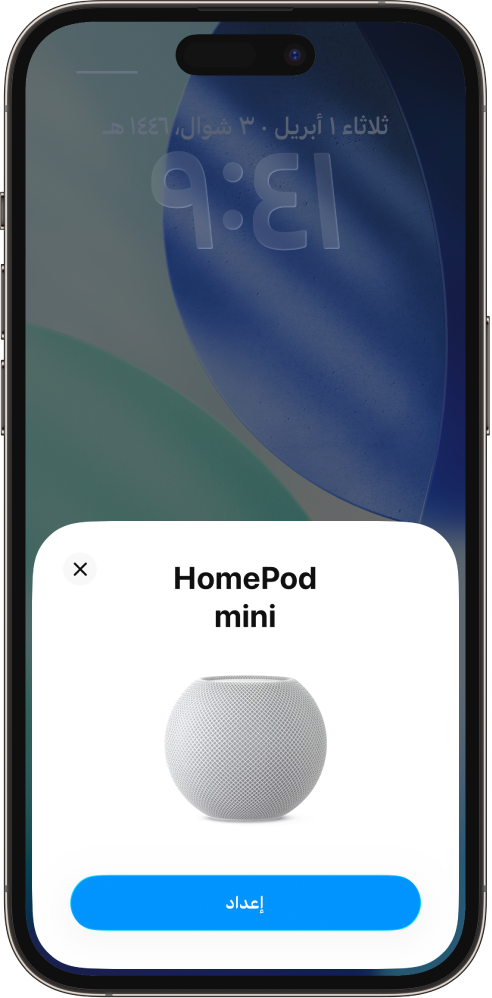
اضغط على "إعداد" واتبع التعليمات التي تظهر على الشاشة.
في حال عدم ظهور شاشة الإعداد تلقائيًا
انتقل إلى تطبيق المنزل
 على iPhone أو iPad.
اضغط على
 ، اضغط على إضافة ملحق، ثم اضغط على "المزيد من الخيارات".
اضغط على HomePod في قائمة الملحقات القريبة.
اضغط على "إعداد" واتبع التعليمات التي تظهر على الشاشة.
إذا لم تظهر HomePod في قائمة الملحقات القريبة، فانظر مقال دعم Apple إذا لم تتمكن من إعداد HomePod أو HomePod mini.
لتحسين الأمن وأداء الشبكة، قد يُطلب منك تمكين المصادقة بخطوتين لحساب Apple أو تعيين شبكة Wi-Fi لديك لاستخدام أمن WPA/WPA2/WPA3، إذا لم تكن قد قمت بذلك بالفعل.
توصيل HomePod بشبكة Wi-Fi مقيَّدة
قد تتطلب بعض شبكات Wi-Fi، بما في ذلك تلك التي توفرها الفنادق والمدارس، تسجيل الدخول من خلال واجهة ويب تُعرف باسم البوابة المقيَّدة.
لاستخدام HomePod مع شبكة Wi-Fi مقيَّدة، قم بأي مما يلي:
إعداد HomePod على شبكة Wi-Fi مقيَّدة: قم بتوصيل iPhone أو iPad بالشبكة المقيَّدة واتبع التعليمات الواردة في إعداد HomePod لأول مرة أعلاه. عندما تظهر شاشة البوابة المقيدة على جهازك، اتبع التعليمات التي تظهر على الشاشة لتسجيل الدخول.
نقل HomePod إلى شبكة Wi-Fi مقيَّدة: قم بتوصيل iPhone أو iPad بالشبكة المقيَّدة، انتقل إلى تطبيق المنزل، ثم اضغط على أيقونة HomePod. مرِّر إلى الأسفل واضغط على "نقل HomePod إلى [شبكة Wi-Fi]"، ثم اتبع التعليمات التي تظهر على الشاشة.
إعادة التوصيل بشبكة Wi-Fi مقيَّدة: قم بتوصيل iPhone أو iPad بالشبكة المقيَّدة، انتقل إلى تطبيق المنزل، ثم اضغط على أيقونة HomePod. مرِّر إلى الأسفل واضغط على "إعادة توصيل HomePod إلى [شبكة Wi-Fi]"، ثم اتبع التعليمات التي تظهر على الشاشة.
ملاحظة: لا يمكن استخدام HomePod في تكوين زوج استريو أو مسرح منزلي عند الاتصال بشبكة Wi-Fi مقيَّدة.
عند إعداد أول HomePod، يتم نسخ إعدادات Wi-Fi وتفضيلات Siri وحساب Apple وتفضيلات التحليلات وتفضيلات خدمات الموقع واشتراك Apple Music التي تم تكوينها حاليًا على iPhone أو iPad إلى HomePod. ويتم بعد ذلك تكوين خدمات الموقع كإعداد في تطبيق المنزل لأي HomePod إضافية. يجب عليك أيضًا إعداد Siri، إذا لم تكن قد قمت بذلك بالفعل. بعد تشغيل HomePod، يمكنك استخدام تطبيق المنزل لتغيير اسمها وتخصيص الغرفة والإعدادات الأخرى.