Final Cut Pro X User Guide
- Welcome
-
- What’s new in Final Cut Pro 10.4.9
- What’s new in Final Cut Pro 10.4.7
- What’s new in Final Cut Pro 10.4.6
- What’s new in Final Cut Pro 10.4.4
- What’s new in Final Cut Pro 10.4.1
- What’s new in Final Cut Pro 10.4
- What’s new in Final Cut Pro 10.3
- What’s new in Final Cut Pro 10.2
- What’s new in Final Cut Pro 10.1.2
- What’s new in Final Cut Pro 10.1
- What’s new in Final Cut Pro 10.0.6
- What’s new in Final Cut Pro 10.0.3
- What’s new in Final Cut Pro 10.0.1
-
- Intro to effects
-
- Intro to transitions
- How transitions are created
- Add transitions
- Set the default transition
- Delete transitions
- Adjust transitions in the timeline
- Adjust transitions in the inspector and viewer
- Merge jump cuts with the Flow transition
- Adjust transitions with multiple images
- Modify transitions in Motion
-
- Add storylines
- Use the precision editor
- Conform frame sizes and rates
- Use XML to transfer projects
-
-
- Intro to media management
-
- View a clip’s information
- Override a clip’s metadata
- Locate source media files
- Relink clips to media files
- Consolidate projects and libraries
- Back up projects and libraries
- Create optimized and proxy files
- Create a proxy-only project
- Manage render files
- View background tasks
- Convert incompatible media
- Create camera archives
- Glossary
- Copyright

Use alpha channels in Final Cut Pro
Alpha channels provide an easy way to composite one image over another. You can create still images and video clips that have alpha channels using an app such as Motion, an Apple app designed to work with Final Cut Pro. Alpha channels can be thought of as having a built-in keyer—when you use the key effects, you’re creating a mask that’s used in the same way that a clip with an alpha channel is used for compositing.
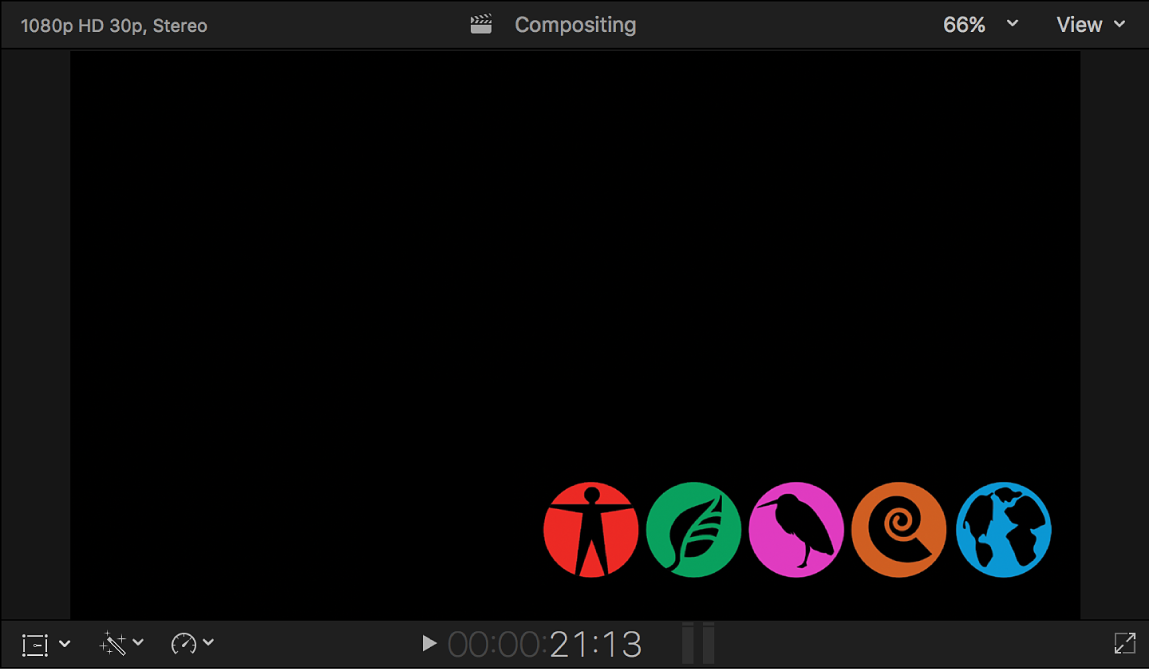
Below is an example of a clip with an alpha channel, showing the image that fills the alpha channel.

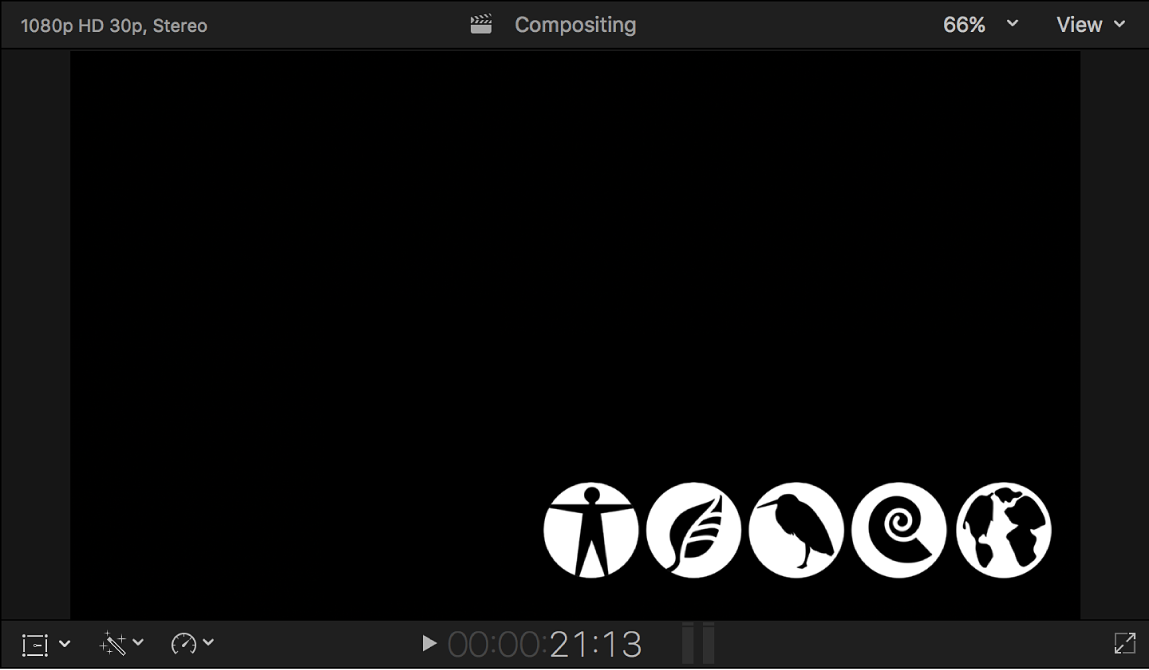
Below is the alpha channel image—the white areas define the video areas that are composited over the background. Any gray areas would define parts of the image that are partially transparent.

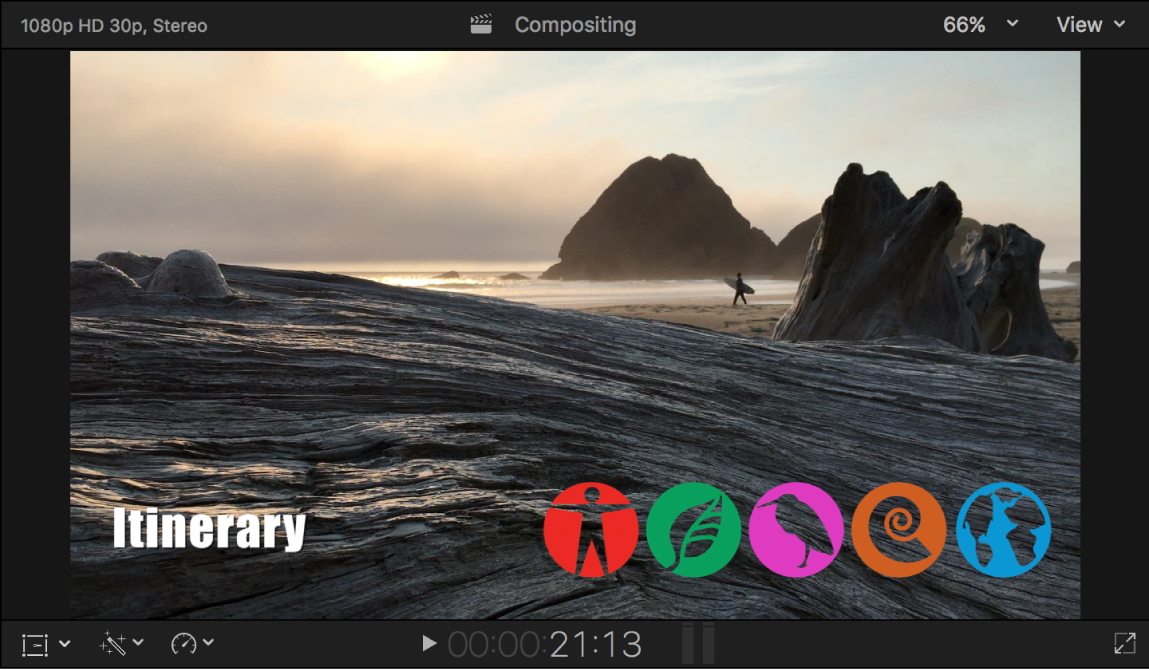
This is what the final composite looks like over a background clip.

Use a clip with an alpha channel
Position the playhead in the Final Cut Pro timeline where you want to add the alpha channel clip.
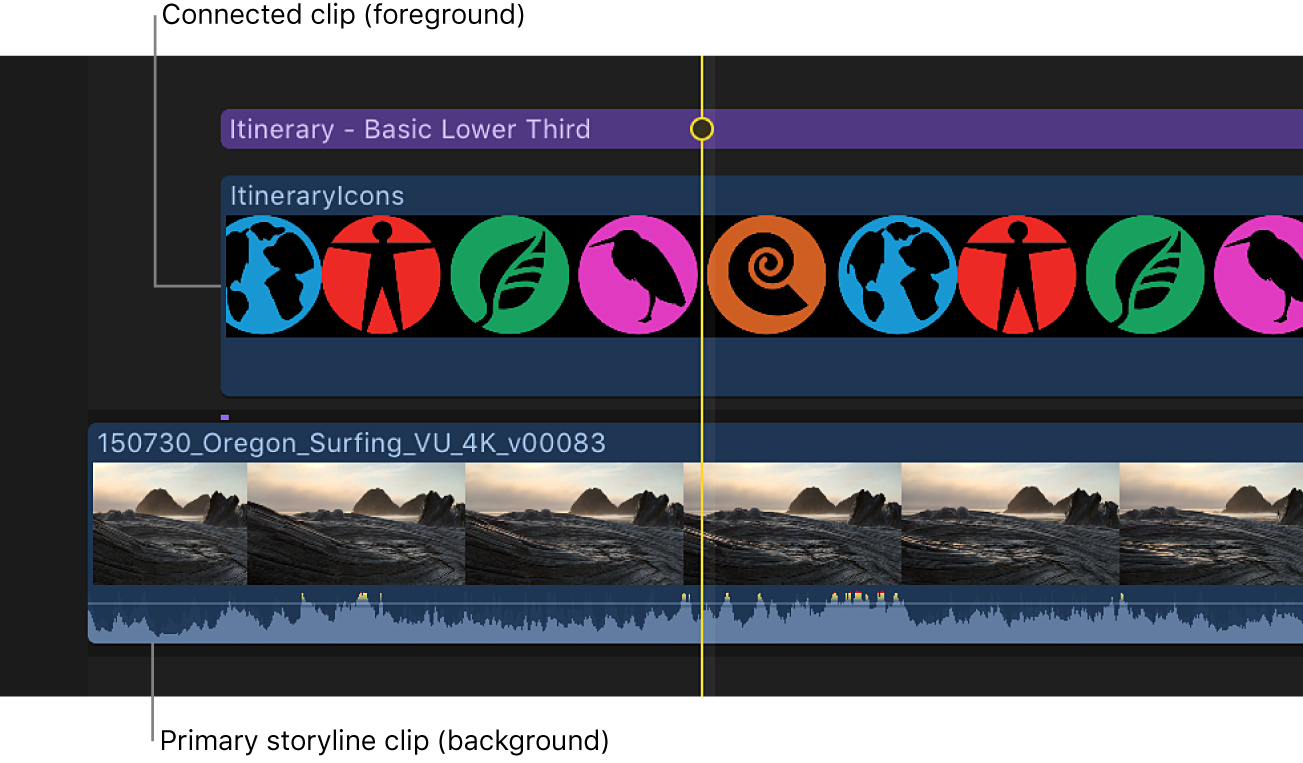
Select the clip with the alpha channel in the browser, then choose Edit > Connect to Primary Storyline (or press Q).
To see the composited clips, position the playhead within the clip that was just added above the primary storyline.

The clip is composited over the primary storyline video clip, with the alpha channel controlling the opacity of its clip.
You can also use the Opacity adjustment’s fade handles to dissolve the foreground clip on and off. See Use Compositing settings in Final Cut Pro.