Final Cut Pro User Guide
- Welcome
-
- What’s new in Final Cut Pro 10.6
- What’s new in Final Cut Pro 10.5.3
- What’s new in Final Cut Pro 10.5
- What’s new in Final Cut Pro 10.4.9
- What’s new in Final Cut Pro 10.4.7
- What’s new in Final Cut Pro 10.4.6
- What’s new in Final Cut Pro 10.4.4
- What’s new in Final Cut Pro 10.4.1
- What’s new in Final Cut Pro 10.4
- What’s new in Final Cut Pro 10.3
- What’s new in Final Cut Pro 10.2
- What’s new in Final Cut Pro 10.1.2
- What’s new in Final Cut Pro 10.1
- What’s new in Final Cut Pro 10.0.6
- What’s new in Final Cut Pro 10.0.3
- What’s new in Final Cut Pro 10.0.1
-
- Intro to effects
-
- Intro to transitions
- How transitions are created
- Add transitions
- Set the default transition
- Delete transitions
- Adjust transitions in the timeline
- Adjust transitions in the inspector and viewer
- Merge jump cuts with the Flow transition
- Adjust transitions with multiple images
- Modify transitions in Motion
-
- Add storylines
- Use the precision editor
- Conform frame sizes and rates
- Use XML to transfer projects
-
- Glossary
- Copyright

Move mask control points in Final Cut Pro
You can move control points in the viewer to change the shape of your mask.
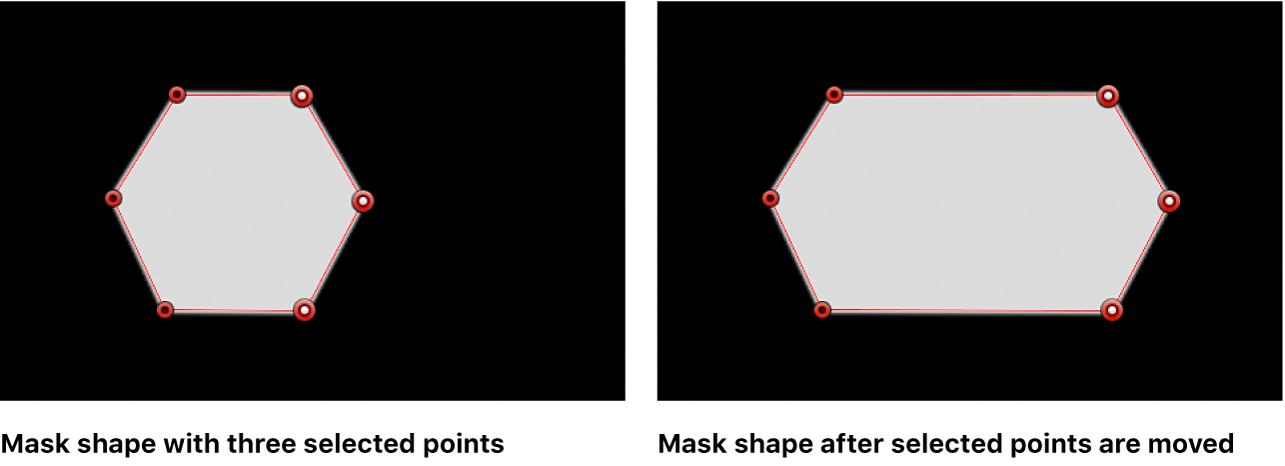
Drag selected control points
Select control points on a mask in the Final Cut Pro viewer, then drag the points to a new position.
As you drag selected control points, the rest of the mask stretches or curves to accommodate the change.

Note: When you drag a control point, the point’s name and coordinates are displayed at the top of the viewer.
Move a selected control point by one pixel
Select a control point on a mask in the Final Cut Pro viewer.
Do any of the following:
Nudge left: Press Comma (,).
Nudge right: Press Period (.).
Nudge up: Press Option-Up Arrow.
Nudge down: Press Option-Down Arrow.
Constrain the movement of selected control points
Select control points on a mask in the Final Cut Pro viewer.
Press Shift while you drag a selected point horizontally, vertically, or diagonally.
The control point movement is constrained to the horizontal (90-degree), vertical (180-degree), or diagonal (45-degree or 135-degree) axis.
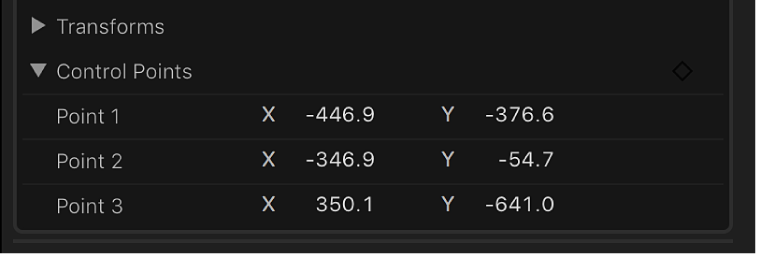
Move control points using the Video inspector
You can make precise adjustments to the position of any control point using controls in the Video inspector.
In the Final Cut Pro timeline, select the clip containing the mask you want to modify.
If the inspector isn’t already shown, do one of the following:
Choose Window > Show in Workspace > Inspector (or press Command-4).
Click the Inspector button on the right side of the toolbar.

Click the Video button at the top of the inspector.

In the Draw Mask section of the Video inspector, click the Control Points disclosure triangle to open the Control Points controls.

Make numerical adjustments to the X and Y coordinates for any control point using the value sliders.
Position, rotate, and scale a mask
In the Final Cut Pro timeline, select the clip containing the mask you want to modify.
If the inspector isn’t already shown, do one of the following:
Choose Window > Show in Workspace > Inspector (or press Command-4).
Click the Inspector button on the right side of the toolbar.

Click the Video button at the top of the inspector.

In the Draw Mask section of the Video inspector, click the Transforms disclosure triangle to open the Transforms controls.
Adjust the Position, Rotation, and Scale parameters to precisely define the shape, size, and position of your mask.
Move a mask edge
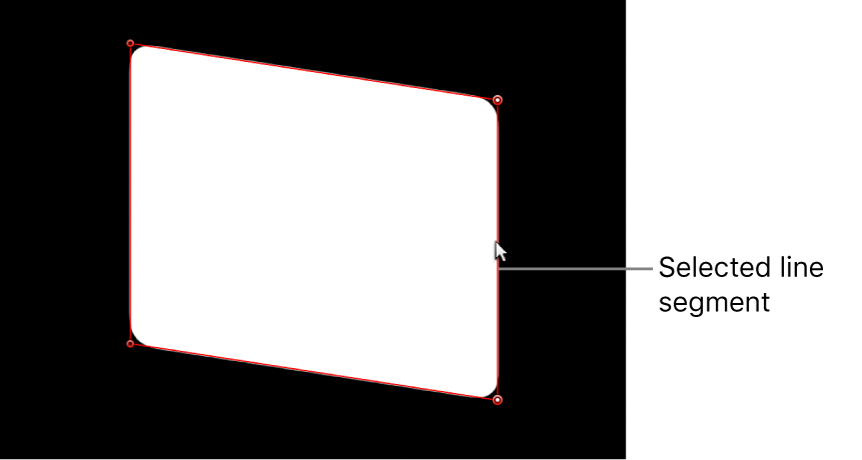
You can change a mask shape by dragging its edges.
In the Final Cut Pro viewer, click any edge of a mask.
The control points on either end of the line are selected.
Drag the line segment.

The distance between the two points remains constant as you drag. Press Shift to constrain the movement horizontally, vertically, or diagonally.
Download this guide: Apple Books | PDF