Final Cut Pro User Guide
- Welcome
-
- What’s new in Final Cut Pro 10.5
- What’s new in Final Cut Pro 10.4.9
- What’s new in Final Cut Pro 10.4.7
- What’s new in Final Cut Pro 10.4.6
- What’s new in Final Cut Pro 10.4.4
- What’s new in Final Cut Pro 10.4.1
- What’s new in Final Cut Pro 10.4
- What’s new in Final Cut Pro 10.3
- What’s new in Final Cut Pro 10.2
- What’s new in Final Cut Pro 10.1.2
- What’s new in Final Cut Pro 10.1
- What’s new in Final Cut Pro 10.0.6
- What’s new in Final Cut Pro 10.0.3
- What’s new in Final Cut Pro 10.0.1
-
- Intro to effects
-
- Intro to transitions
- How transitions are created
- Add transitions
- Set the default transition
- Delete transitions
- Adjust transitions in the timeline
- Adjust transitions in the inspector and viewer
- Merge jump cuts with the Flow transition
- Adjust transitions with multiple images
- Modify transitions in Motion
-
- Add storylines
- Use the precision editor
- Conform frame sizes and rates
- Use XML to transfer projects
-
- Glossary
- Copyright

Manually white-balance clips in Final Cut Pro
White-balancing an image removes color casts and ensures that white objects in the image appear white. Whether or not the camera operator remembered to set the white balance in the camera, it’s easy to quickly correct the white balance of your video footage in Final Cut Pro.
Position the playhead over the clip so that the clip’s video is displayed in the viewer.
To turn on the Balance Color correction, do one of the following:
Choose Modify > Balance Color (or press Option-Command-B).
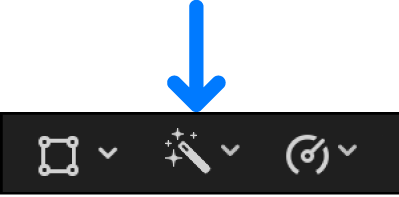
Click the Enhancements pop-up menu below the viewer and choose Balance Color.

Note: When Balance Color is on, there’s a checkmark next to the menu item.
The automatic color balance correction is applied to the clip.
If the Video inspector isn’t already shown, do one of the following:
Choose Window > Show in Workspace > Inspector (or press Command-4).
Click the Inspector button on the right side of the toolbar.

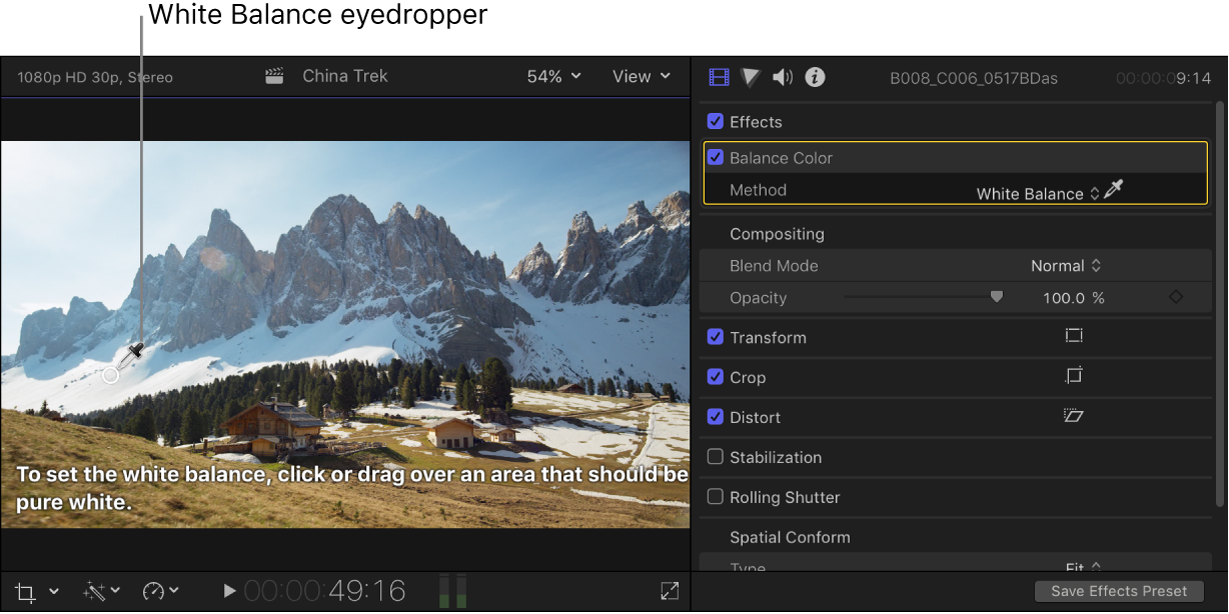
Click the pop-up menu in the Balance Color section of the Video inspector and choose White Balance.

The pointer changes to an eyedropper.
In the viewer, click or drag over an area that should be pure white.

The entire clip’s color is adjusted to turn the pixels you selected into white.
Tip: When using the eyedropper, don’t sample an area that’s overexposed, such as a light source or a shiny highlight. Instead, select a properly exposed area of your picture that’s white, such as a well-lit white shirtsleeve or white wall.
After you apply a manual white-balance correction, you can copy the correction to other clips in your program to ensure that related clips have a consistent look. (In contrast, the more automated Balance Color correction creates a unique color correction for each clip it’s applied to.) You can copy the white-balance correction to multiple clips at once using the Paste Attributes command. See Copy effects between clips in Final Cut Pro.