Final Cut Pro User Guide
- Welcome
- What’s new
-
- Intro to effects
-
- Intro to transitions
- How transitions are created
- Add transitions and fades
- Quickly add a transition with a keyboard shortcut
- Set the default duration for transitions
- Delete transitions
- Adjust transitions in the timeline
- Adjust transitions in the inspector and viewer
- Merge jump cuts with the Flow transition
- Adjust transitions with multiple images
- Modify transitions in Motion
-
- Add storylines
- Use the precision editor
- Conform frame sizes and rates
- Use XML to transfer projects
- Glossary
- Copyright

Intro to editing in Final Cut Pro for Mac
The term video editing refers both to broader stages of a project workflow and to very specific manual tasks that you do with clips in a project timeline.
Create a project: To create a movie in Final Cut Pro, you first create a project, which provides a record of your editing decisions and the media you use. See Create a new project in Final Cut Pro for Mac.
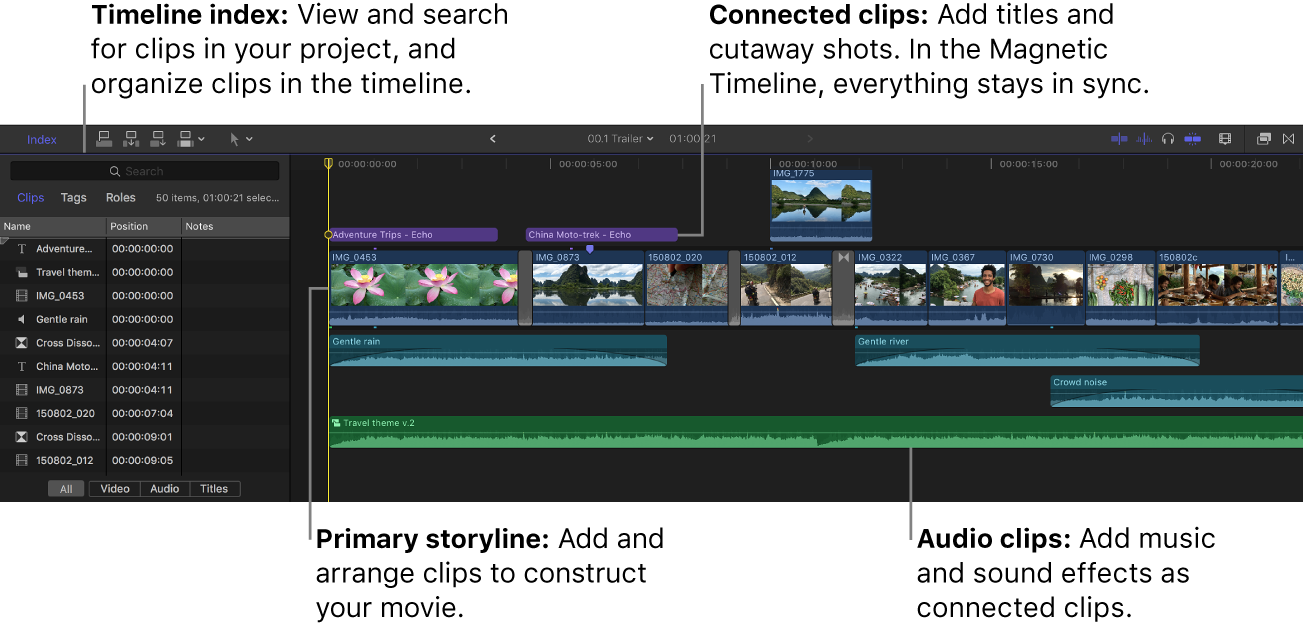
Make selections and add clips to the timeline: Adding and arranging clips in your project is the fundamental step in creating a movie with Final Cut Pro. You move and reorder clips in the timeline. See Intro to adding clips in Final Cut Pro for Mac, Arrange clips in the timeline in Final Cut Pro for Mac, and Intro to audio in Final Cut Pro for Mac.
Cut and trim clips: Final Cut Pro provides a wide variety of tools for adjusting the start and end points of clips in the timeline and for controlling pacing from one shot to the next. See Intro to trimming in Final Cut Pro for Mac.
Further refine and adjust your project: Final Cut Pro provides many advanced editing tools that allow you to finish a highly polished movie with ease. See the topics in the advanced editing section.
Add effects and color correction: Finishing touches include visual effects and color correction. See Intro to effects in Final Cut Pro for Mac and Intro to color correction in Final Cut Pro for Mac.

Download this guide: Apple Books | PDF