Adjust a photo’s white balance in Photos on Mac
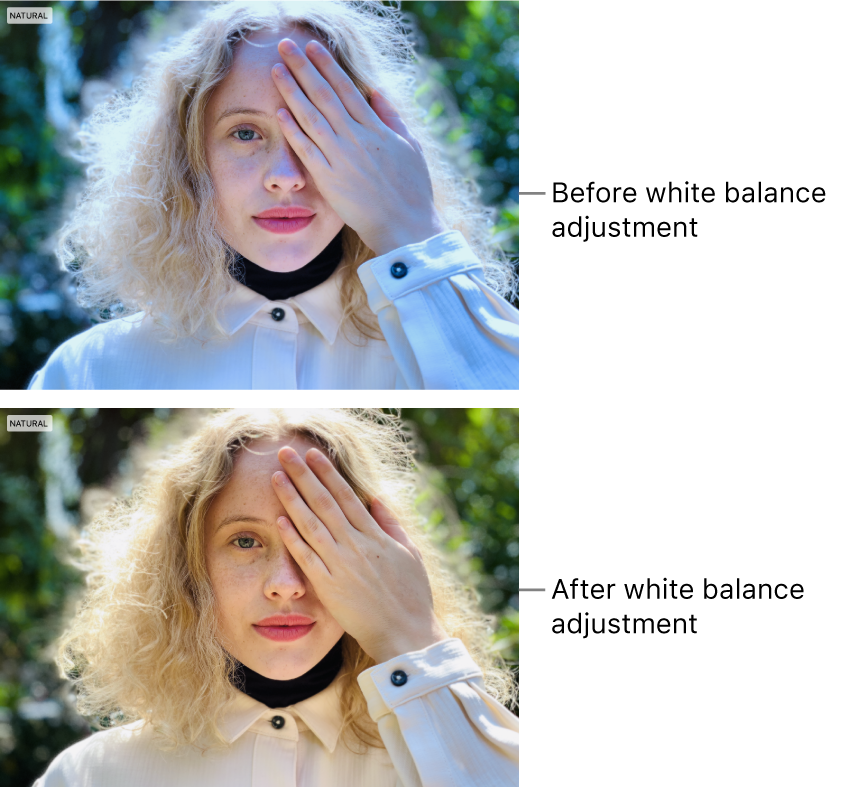
If there’s an area in a photo that should be white or grey but has a colour cast, you can balance the photo’s overall colour. Sometimes colour casts are caused by lighting conditions—for example, a photo may have a yellow or orange cast from the light fixtures in the location where the photo was taken. By changing the white balance, you can remove the colour cast and make white areas appear more white.
To apply white balance edits to multiple photos at once, you can copy and paste edits.

In the Photos app
 on your Mac, double-click a photo, then click Edit in the toolbar.
Click Adjust in the toolbar.
In the Adjust pane, click the arrow
 next to White Balance.
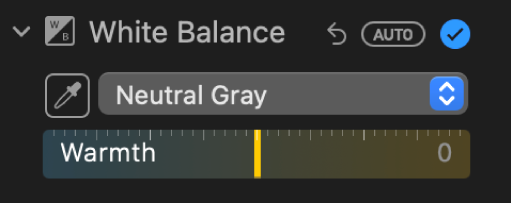
Click the pop-up menu and choose the type of white balance correction you want to make, then click the Eyedropper button
 and click in a corresponding area of the photo.
Neutral Grey: Balances the warmth of an image based on neutral grey.
With the eyedropper, click in a neutral grey area to automatically adjust the grey areas of your photo.
Skin Tone: Balances the warmth of an image based on skin tones.
With the eyedropper, click in an area of a person’s skin to automatically adjust the skin tones of your photo.
Temperature/Tint: Balances the warmth of an image by adjusting colour temperatures (blue to yellow) and tint (green to magenta).
With the eyedropper, click in a neutral grey area to automatically adjust the temperature and tint of grey areas of your photo.