Final Cut Pro User Guide for Mac
- Welcome
- What’s new
-
- Intro to importing media
- If it’s your first import
- Organize files during import
-
- Import from Image Playground
- Import from iMovie for macOS
- Import from iMovie for iOS or iPadOS
- Import from Final Cut Pro for iPad
- Import from Final Cut Camera
- Import from Photos
- Import from Music
- Import from Apple TV
- Import from Motion
- Import from GarageBand and Logic Pro
- Import using workflow extensions
- Record into Final Cut Pro
- Memory cards and cables
- Supported media formats
-
- Intro to effects
-
- Intro to transitions
- How transitions are created
- Add transitions and fades
- Quickly add a transition with a keyboard shortcut
- Set the default duration for transitions
- Delete transitions
- Adjust transitions in the timeline
- Adjust transitions in the inspector and viewer
- Merge jump cuts with the Flow transition
- Adjust transitions with multiple images
- Modify transitions in Motion
- Add adjustment clips
-
- Add storylines
- Use the precision editor
- Conform frame sizes and rates
- Use XML to transfer projects
-
- Intro to sharing projects
- Share to Apple devices
- Share on the web
- Send a video frame to Pixelmator Pro
- Share in email
- Share stereo or spatial video
- Batch sharing
- Share using Compressor
- Create share destinations
- Change metadata for shared items
- View the status of shared items
- Speed up exports with simultaneous processing
- Glossary
- Copyright and trademarks
Create freeze frames in Final Cut Pro for Mac
Freeze-frame clips hold a particular frame in place, temporarily stopping the action onscreen. You can create a freeze-frame clip from any video clip in the timeline or the browser. If you create a freeze-frame clip from the browser, it’s attached to the primary storyline at the playhead location as a connected clip.
If you don’t want to create a separate clip for a freeze frame, you can create a hold segment, which temporarily stops the action for part of a clip. Hold segments offer more precise control, especially when you’re creating variable speed effects. See Create hold segments.
You can also create a still-image file from a video frame in your project or from a clip in the browser. For example, you may want to email someone a JPEG image showing a specific moment in your project. See Export still images.
Create a freeze-frame clip
You can create freeze frames on the fly during playback or by navigating to a specific frame in a clip.
Note: Any attributes that you previously applied to the source clip, such as settings and effects, are rendered into the freeze-frame clip.
In the timeline or the browser in Final Cut Pro, do one of the following:
Move the skimmer or playhead to the frame you want to freeze.
Begin playback of the clip.
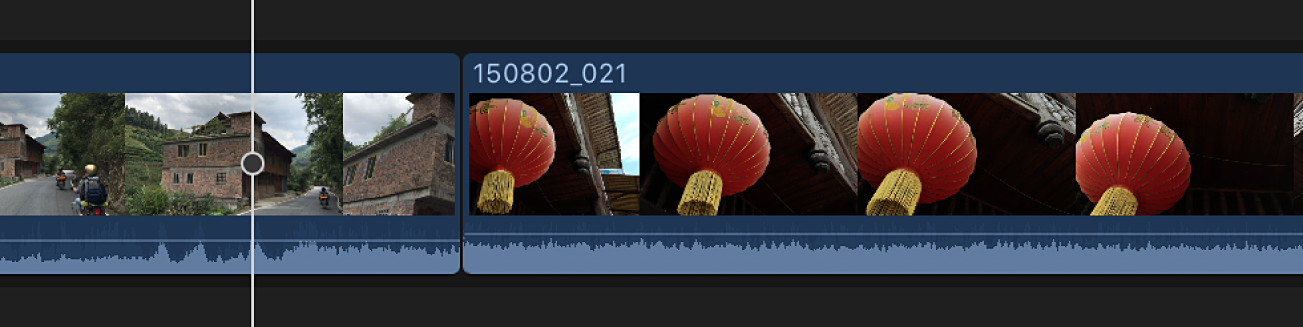
Choose Edit > Add Freeze Frame (or press Option-F).
How the freeze frame is added to the project depends on whether the freeze frame was created from the timeline or the browser.
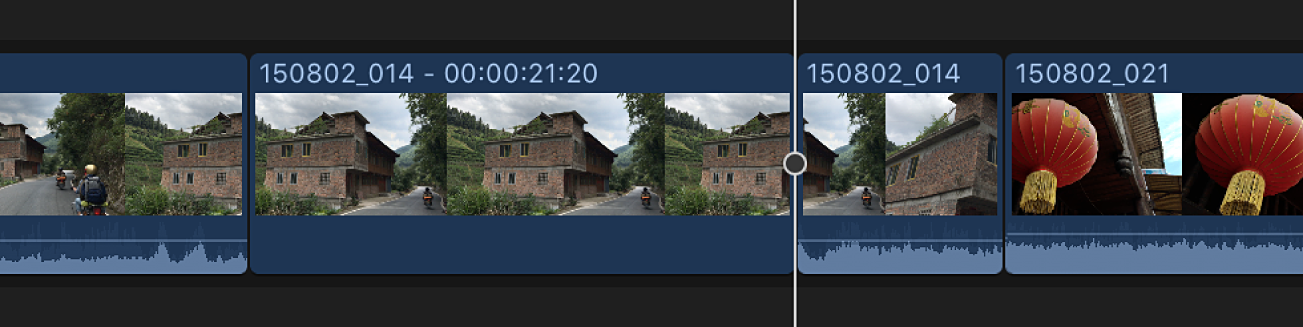
If you created the freeze frame from a clip in the timeline: A new freeze-frame clip is inserted at the skimmer or playhead location in the timeline.
If you created the freeze frame from a clip in the browser: A new freeze-frame clip is attached as a connected clip at the playhead location in the timeline.
Change the default duration of freeze-frame clips
Freeze-frame clips have the same default duration as still-image clips: 4 seconds. You can change the default duration in the Editing pane of Final Cut Pro settings.
Choose Final Cut Pro > Settings (or press Command-Comma), then click the Editing button at the top of the window.
Adjust the Still Images value slider.
Download this guide: PDF