Quickly create an instrument in Sampler in MainStage
To quickly create an instrument in Sampler, just drag one or more samples onto the Navigation bar. Sampler analyzes the samples, creates zones containing the samples, and then maps the zones to keys.
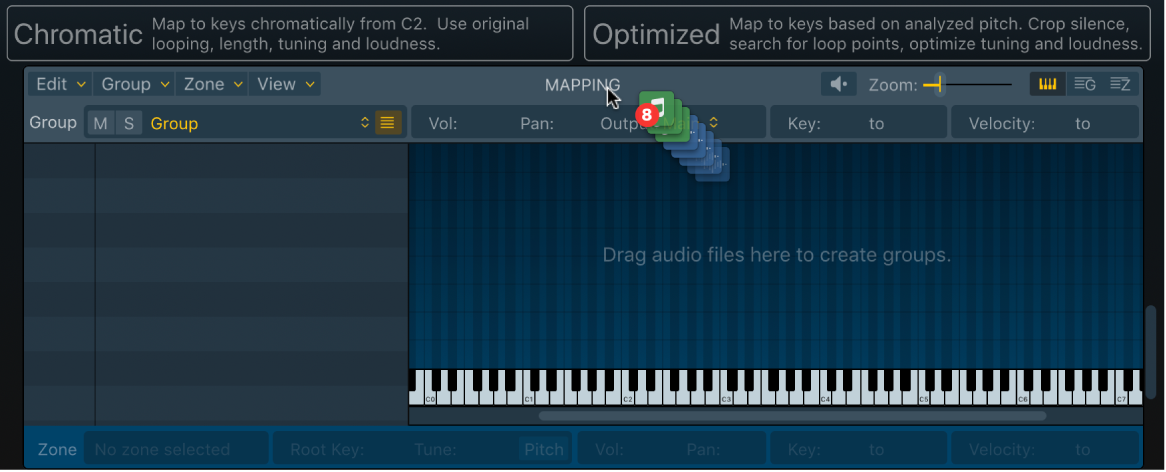
To simplify instrument creation, the Navigation bar provides Chromatic and Optimized dropzones:
When you drag one or more samples onto the Chromatic dropzone, Sampler chromatically maps samples as zones across the keyboard range, starting from C2. Each zone is mapped to a single key on the keyboard. The original file length, tuning, and volume are used. Looping data is read from the file header, if present. The root key can also be read from the filename.
When you drag one or more samples onto the Optimized dropzone, Sampler automatically determines the root notes of the zones and maps the zones across the keyboard. If there are multiple zones with the same root note, Sampler creates velocity layers—a different sample is triggered depending on how hard you strike the key—based on the perceived loudness of the samples. Loop point data in the file header is used, if present. If the file header does not contain looping data a search is performed to find the best loop points, and the crossfade length and type are automatically set. The file is also analyzed to find the perceived loudness, and the volume is raised or lowered to achieve a perceived loudness of -12 LUFs. Start and end markers are also automatically set to crop silence that precedes or follows the analyzed audio.
Follow the steps in the task to create your own instruments in record time.
Create groups and zones by dragging audio content onto the Navigation bar
Choose Sampler from the Instrument slot on a software instrument channel strip.
Drag samples from the Logic Pro browsers, the Finder, a region or cell, or even from a marquee selection on a region to one of the import options in the Navigation bar: Chromatic or Optimized.
To make an instrument from multiple samples of pitched instrument notes, such as the different notes of a piano, or a single sample that contains multiple note pitches like a vocal sample or a bass line, choose an Optimized dropzone.
If you have multiple samples of sounds that don’t have a particular pitch that you want assigned to MIDI notes, such as multiple drums in a kit, choose a Chromatic dropzone.
Tip: You can add any type of loop from the Loop Browser, including MIDI loops, Step Sequencer loops, and Session Player loops.
The Chromatic and Optimized import options in the Navigation bar divide into two further dropzones when you drag audio content onto them.
Zone per File: Creates a group containing one zone for each file dropped on the dropzone.
Split at Silence: Creates a new group for each file dropped on the dropzone. Each file is split into segments at extended periods of silence, and a new zone is created in the associated group for each segment. These segments are mapped chromatically from C2.
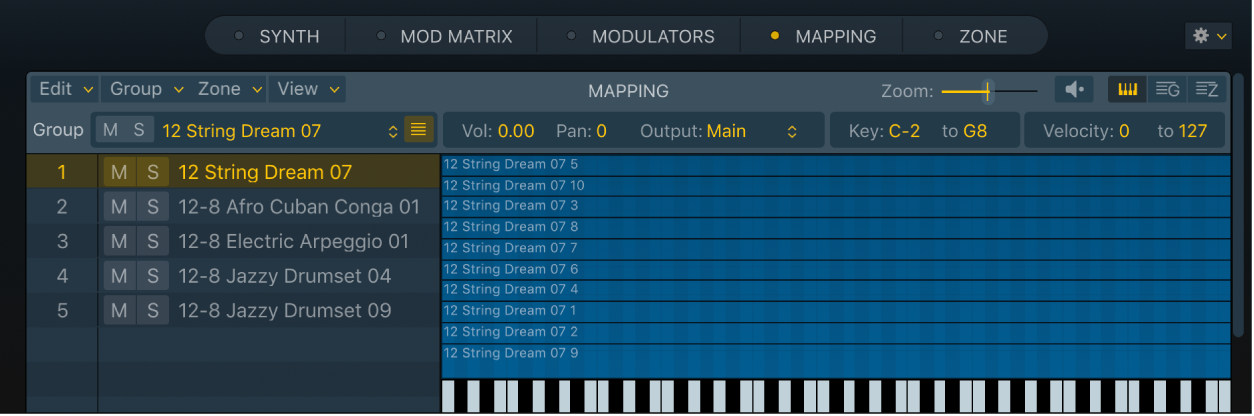
If you import more samples than the number of available keys, Sampler automatically creates additional groups, which start mapping samples chromatically from C2 in each new group.
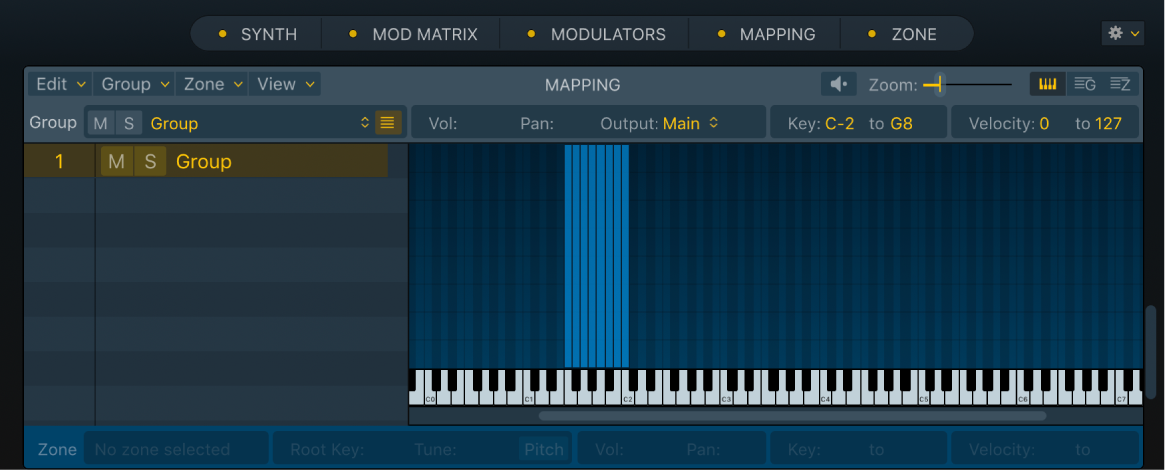
Depending on the audio material and existing zones, using the Zone per File option to import several audio files may result in an onscreen view similar to the following image:
Depending on the audio material and existing zones, using the Zone per Note option to import a single audio file may result in an onscreen view similar to the following image:
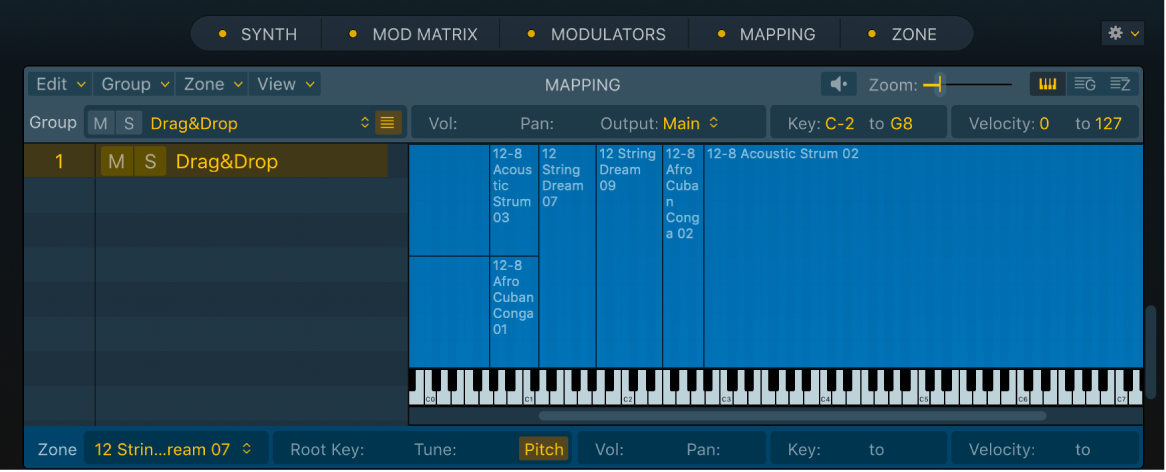
Depending on the audio material and existing zones, using the Zone per Note option to import multiple audio files may result in an onscreen view similar to the following image: