Set up HomePod
HomePod mini and HomePod are smart speakers with the intelligence of Siri. Use Siri to control HomePod through voice activation. Play your favorite music and podcasts, get help with everyday questions or tasks, and control your smart home accessories—all with just your voice.
HomePod uses AirPlay to connect wirelessly to compatible devices like iPhone and iPad. You can set up HomePod as part of your home theater system, or set it up as a stereo pair with another HomePod.
Before you begin
Go to the Settings app
 on your iPhone or iPad.
Check the following:
Wi-Fi: Make sure your iPhone or iPad is connected to the Wi-Fi network you plan to use for HomePod.
Bluetooth®: Make sure Bluetooth is turned on.
Software updates: Tap General, tap Software Update, then install any available updates.
Set up HomePod for the first time
Plug in HomePod.
The spinning white light indicates HomePod is turning on.

Wait until HomePod displays a slow pulsing white light on top, which indicates HomePod is ready for setup.

Hold your unlocked iPhone or iPad within a few inches of HomePod until the setup screen appears.
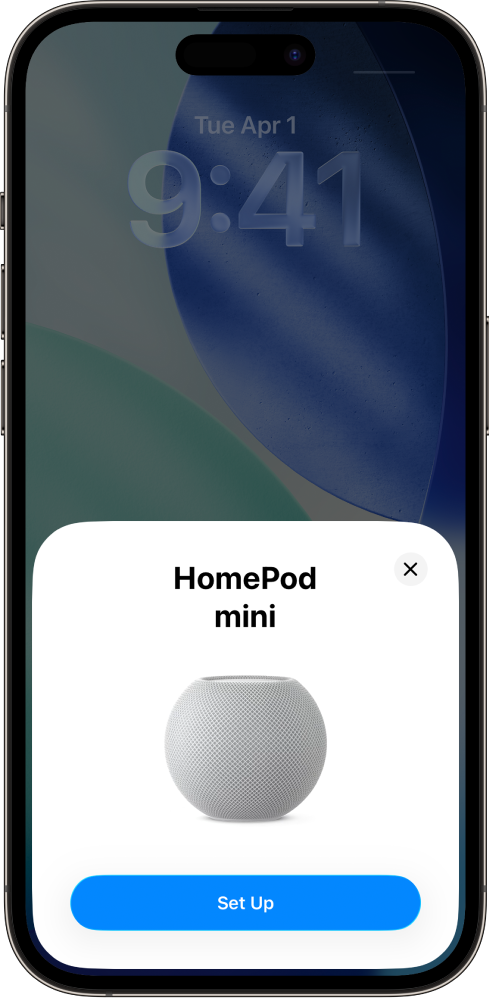
Tap Set Up and follow the onscreen instructions.
If the setup screen doesn’t appear automatically
Go to the Home app
 on your iPhone or iPad.
Tap
 , tap Add Accessory, then tap “More options.”
Tap HomePod in the Nearby Accessories list.
Tap Set Up and follow the onscreen instructions.
If HomePod doesn’t appear in the Nearby Accessories list, see the Apple Support article If you can’t set up HomePod or HomePod mini.
For enhanced security and network performance, you may be asked to enable two-factor authentication for your Apple Account or set your Wi-Fi network to use WPA/WPA2/WPA3 security, if you haven’t already done so.
Connect HomePod to a captive portal Wi-Fi network
Some Wi-Fi networks, including those provided by hotels and schools, may require you to log in through a web interface known as a captive portal.
To use HomePod with a captive portal Wi-Fi network, do any of the following:
Set up HomePod on a captive portal Wi-Fi network: Connect your iPhone or iPad to the captive portal network and follow the instructions in Set up HomePod for the first time, above. When a captive portal screen appears on your device, follow the onscreen instructions to log in.
Move HomePod to a captive portal Wi-Fi network: Connect your iPhone or iPad to the captive portal network, go to the Home app, then tap the HomePod icon. Scroll down and tap “Move HomePod to [Wi-Fi network],” then follow the onscreen instructions.
Reconnect to a captive portal Wi-Fi network: Connect your iPhone or iPad to the captive portal network, go to the Home app, then tap the HomePod icon. Scroll down and tap “Reconnect HomePod to [Wi-Fi network],” then follow the onscreen instructions.
Note: HomePod can’t be used in a stereo pair or home theater configuration when connected to a captive portal Wi-Fi network.
When you set up your first HomePod, the Wi-Fi settings, Siri preferences, Apple Account, Analytics preferences, Location Services preferences, and Apple Music subscription currently configured for your iPhone or iPad are copied to HomePod. Location Services is then configured as a Home setting for any additional HomePod devices. You’ll also set up Siri, if you haven’t already done so. After HomePod is up and running, you can use the Home app to change its name, its room assignment, and other settings.