Create your first spreadsheet in Numbers for iCloud
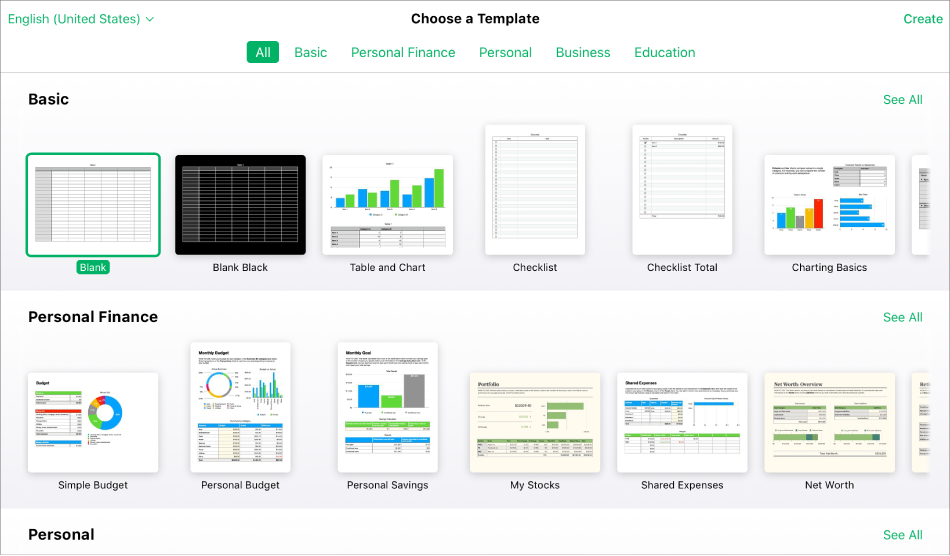
To create a spreadsheet, you first choose a template to use as a starting point. Templates use coordinated fonts, colors, and graphic elements for a unified look. Most templates also have placeholder elements like title text and tables that you can replace with your own content.
In the spreadsheet manager, click the Create Spreadsheet button
 in the toolbar.
Note: If you’d like the ability to format table and chart data using the conventions of another language, choose a different language in the top-left corner before choosing a template. See Create a spreadsheet with the formatting of a different language.
Double-click a template (to narrow the choices, click a category along the top).

Do any of the following:
Add data to a blank spreadsheet: Click a cell, then type. To add a formula, click a cell, type an equal sign (=), then choose a formula from the Functions Browser in the sidebar on the right.
Replace placeholder chart data: You need to edit the table containing the data for the chart. Click a table cell, then enter your own data. The chart updates automatically.
Edit text: To replace placeholder text, click the text, then type. To edit text you typed, select the text, then type. To format the selected text, in the Format
 sidebar on the right, click the Style button near the top, then make your choices.
Add new text, charts, or other objects: Click an object button in the toolbar.
Note: To add a chart, you must first have a table in your spreadsheet that contains the data that the chart will display. See Add or delete a chart in Numbers for iCloud.

Add or delete a sheet: Click the Add button
 in the upper left to add a new sheet to this spreadsheet. You can add multiple sheets (or tabs) to a spreadsheet to help you better organize your information.
 To delete a sheet, Control-click the tab for the sheet at the top of the spreadsheet, then choose Delete.
Undo or redo a change: Click the Undo button
 or the Redo button
  in the toolbar.
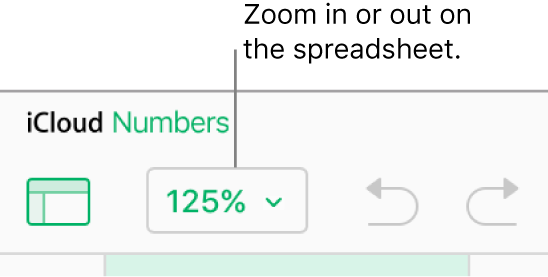
Enlarge (zoom in) or reduce (zoom out) your overall view of a spreadsheet: Click the Zoom pop-up menu in the toolbar, then choose an option.

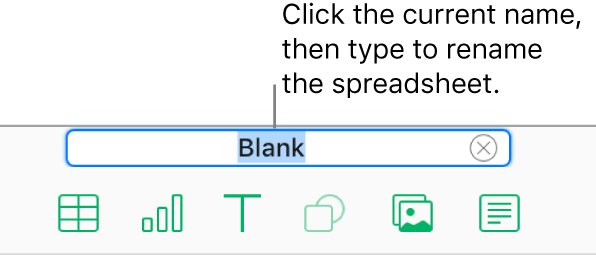
Click the spreadsheet’s current name at the top of the spreadsheet, type a new name, then press Return (on a Mac) or Enter (on a Windows computer).

Numbers for iCloud automatically saves your changes as you work, so you don’t need to worry about saving your spreadsheet manually.
To close the spreadsheet and return to the spreadsheet manager, move the cursor over the spreadsheet’s title at the top, then click the X that appears on the left side of the tab.