Apple Vision Pro User Guide
- Welcome
- Let others use your Apple Vision Pro
-
- Capture
- Clock
- Encounter Dinosaurs
- Mindfulness
- Numbers
- Pages
- Shazam
- Shortcuts
- Tips
-
- Use built-in privacy and security protections
- Keep your Apple ID secure
-
- Sign in with passkeys
- Sign in with Apple
- Automatically fill in strong passwords
- Change weak or compromised passwords
- View your passwords and related information
- Use shared password groups
- Share passkeys and passwords securely with AirDrop
- Make your passkeys and passwords available on all your devices
- Automatically fill in verification codes
- Sign in with fewer CAPTCHA challenges on Apple Vision Pro
- Manage two-factor authentication for your Apple ID
- Create and manage Hide My Email addresses
- Protect your web browsing with iCloud Private Relay
- Use a private network address
- Use Contact Key Verification on Apple Vision Pro
- Copyright
Use 3D objects in Keynote on Apple Vision Pro
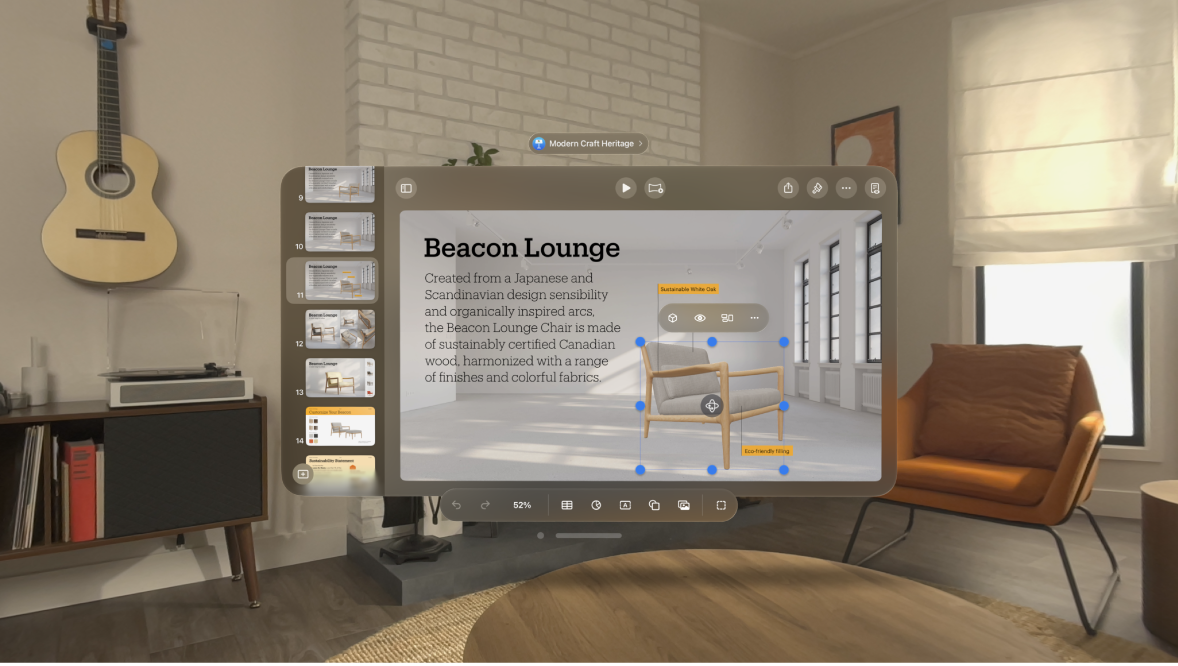
3D objects are three-dimensional models that simulate natural lighting, shading, and texture effects. You can add 3D objects created with 3D software or 3D scanning in the USDA, USDC, and USDZ file formats to your presentation. After you add a 3D object, you can resize it, play its embedded animation, and rotate it along its x, y, and z axes.

Add or replace a 3D object
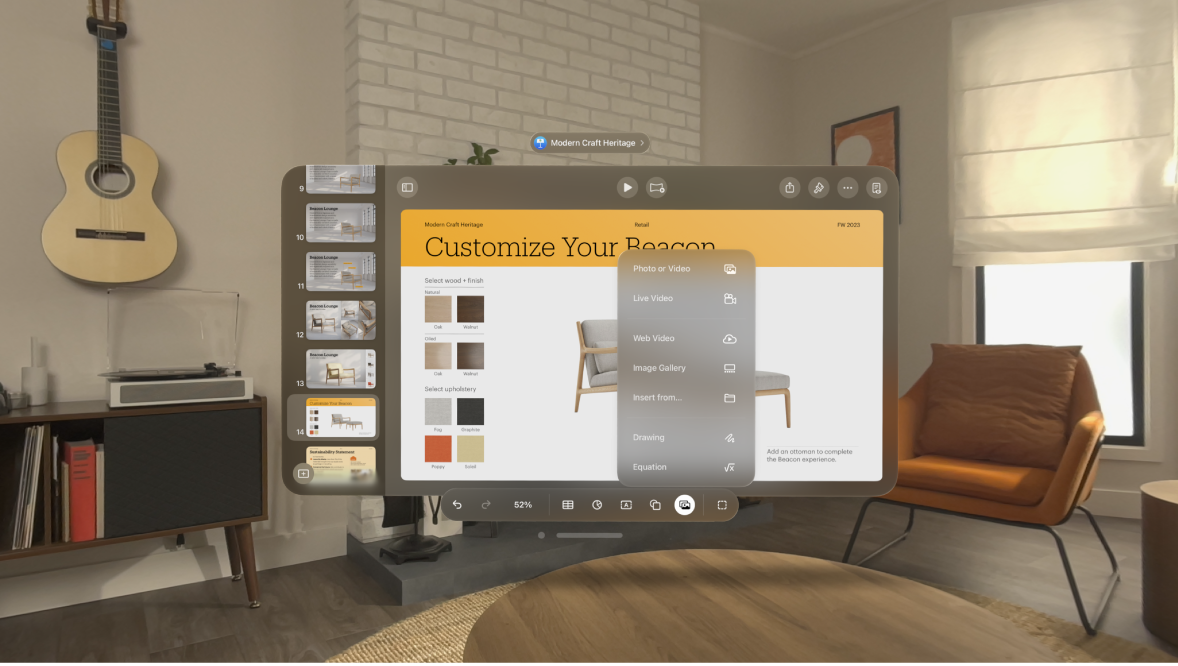
Tap


Navigate to the object you want to add, then tap it.
The 3D object appears on the slide with


To replace the 3D object, tap to select the object, tap

You can add captions, titles, object descriptions (which are read by assistive technology, such as VoiceOver), and more to 3D objects, just like you would other objects. See Add a caption or title to objects in Keynote on Apple Vision Pro or Add an image description.
Edit a 3D object

Tap the 3D object to select it, then do any of the following:
Rotate the object: Pinch and drag

For more incremental adjustments, tap the object, then tap

Resize the object: Pinch and drag any of the selection handles surrounding the 3D object.
You can also tap

View or play a 3D object
Do any of the following:
In reading view: Tap

Pinch and drag the object to rotate it. To reset it back to its original position, tap

In editing view or while you rehearse or play your presentation: Tap the 3D object to select it, then tap

Pinch and drag the object to rotate it. To reset it back to its original position, tap

Play the 3D object’s animation: If the 3D object contains an embedded animation, tap the object, then tap


Tip: You can set the 3D object’s animation to play automatically during a slideshow. Tap

You can use a Magic Move transition to create the appearance of a 3D object moving or rotating on its own when you change slides. To learn more, see Add a Magic Move transition.