Apple Vision Pro User Guide
- Welcome
- Let others use your Apple Vision Pro
-
- Capture
- Clock
- Encounter Dinosaurs
- Mindfulness
- Numbers
- Pages
- Shazam
- Shortcuts
- Tips
-
- Use built-in privacy and security protections
- Keep your Apple ID secure
-
- Sign in with passkeys
- Sign in with Apple
- Automatically fill in strong passwords
- Change weak or compromised passwords
- View your passwords and related information
- Use shared password groups
- Share passkeys and passwords securely with AirDrop
- Make your passkeys and passwords available on all your devices
- Automatically fill in verification codes
- Sign in with fewer CAPTCHA challenges on Apple Vision Pro
- Manage two-factor authentication for your Apple ID
- Create and manage Hide My Email addresses
- Protect your web browsing with iCloud Private Relay
- Use a private network address
- Use Contact Key Verification on Apple Vision Pro
- Copyright
Create a presentation in Keynote on Apple Vision Pro

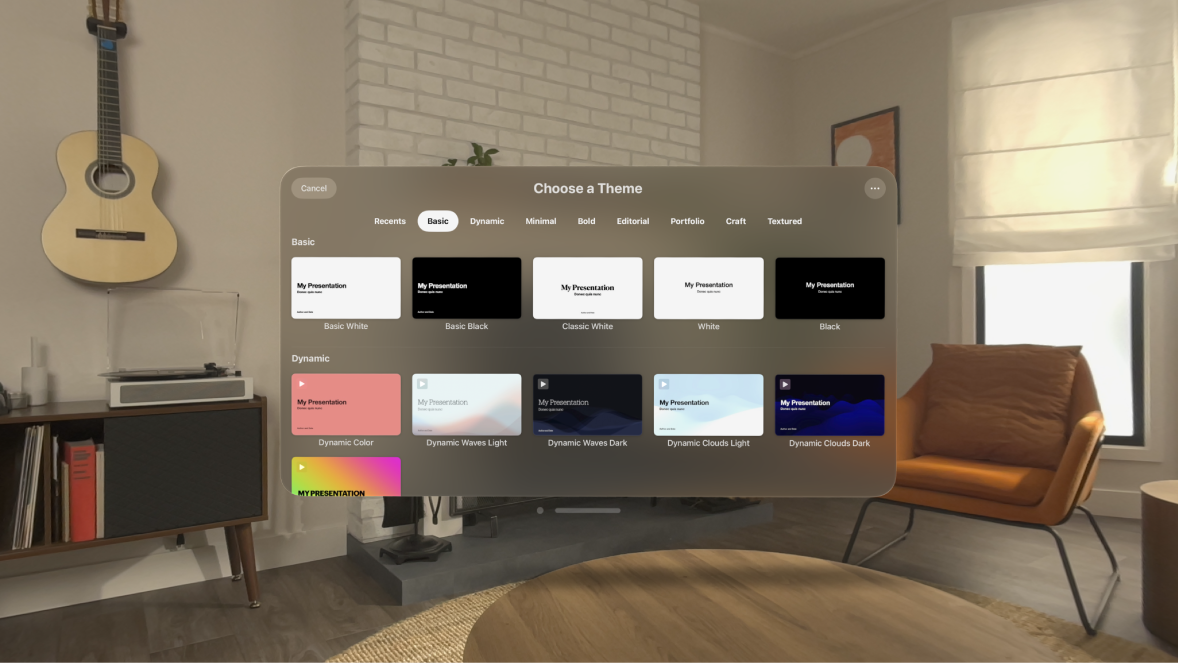
Create a presentation from a theme
Open Keynote, then in the presentation manager, tap
 at the top, then tap a theme in the Theme Chooser to open it.
If you see an open presentation, tap the name of the presentation at the top, tap Open, then tap
 .
.Some themes aren’t downloaded to Apple Vision Pro until you choose them or open a presentation that uses one. If your connection is slow or you’re offline when this happens, placeholder images and slide backgrounds in the presentation may appear at a lower resolution until you’re online again or the theme finishes downloading.
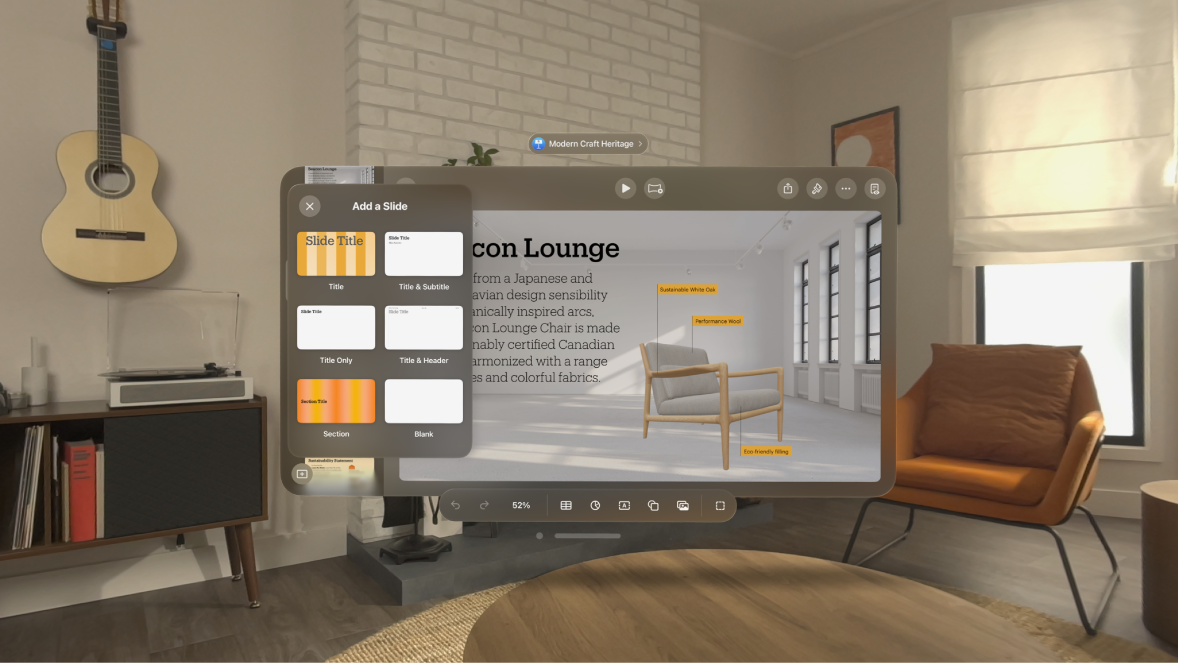
To use a different slide layout for the first slide, tap the slide in the slide navigator on the left, tap

Each slide layout offers a different arrangement of text and images that you use as a starting point for your content.
To build your presentation, do any of the following:
Add a slide: Tap


Add text: Double-tap placeholder text and type your own.
Add an image: Tap

Tap the filename at the top of the window (such as Presentation), tap Rename, enter a name, then tap Rename again.
If iCloud is set up, Keynote saves the presentation to iCloud Drive by default.
To play the presentation, tap

To end the presentation, tap

To close the presentation when you’re finished working, tap

Keynote automatically saves your changes, so you won’t lose any of your work.
Choose how to navigate your presentation
To set how to navigate your presentation, do the following:
Tap

Choose one of the following options:
Normal: The presentation changes slides or starts animations when the presenter or viewer presses the Right Arrow or Left Arrow key, or taps a link. This is useful if you want to present the slides sequentially.
Links Only: The presentation changes slides only when the presenter or viewer taps a link. This is useful if you want to present an interactive slideshow, or if you want to present slides in nonsequential order. To learn more about using links to create interactive slideshows, see Add a link in Keynote on Apple Vision Pro.
Self-Playing: The presentation advances and starts animations automatically, with no interaction needed to navigate between slides.
Loop Slideshow: At the end of the slideshow, the presentation restarts from the first slide.
Restart Show if Idle: Use the up or down arrow to set the amount of time the presentation can be idle, with no viewer interaction, before the presentation returns to the first slide.