Final Cut Pro User Guide
- Welcome
- What’s new
-
- Intro to effects
-
- Intro to transitions
- How transitions are created
- Add transitions and fades
- Quickly add a transition with a keyboard shortcut
- Set the default duration for transitions
- Delete transitions
- Adjust transitions in the timeline
- Adjust transitions in the inspector and viewer
- Merge jump cuts with the Flow transition
- Adjust transitions with multiple images
- Modify transitions in Motion
-
- Add storylines
- Use the precision editor
- Conform frame sizes and rates
- Use XML to transfer projects
- Glossary
- Copyright

View your project in the timeline index in Final Cut Pro for Mac
The timeline index provides a list of the clips, tags (various kinds of markers and keywords), and roles used in your project in the timeline. You can easily filter items in the timeline index to show only the ones you want to see.
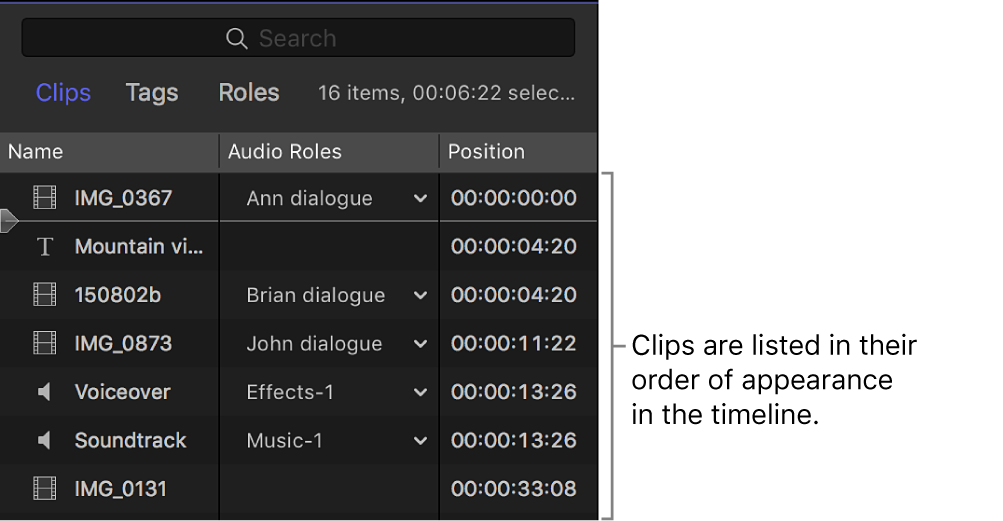
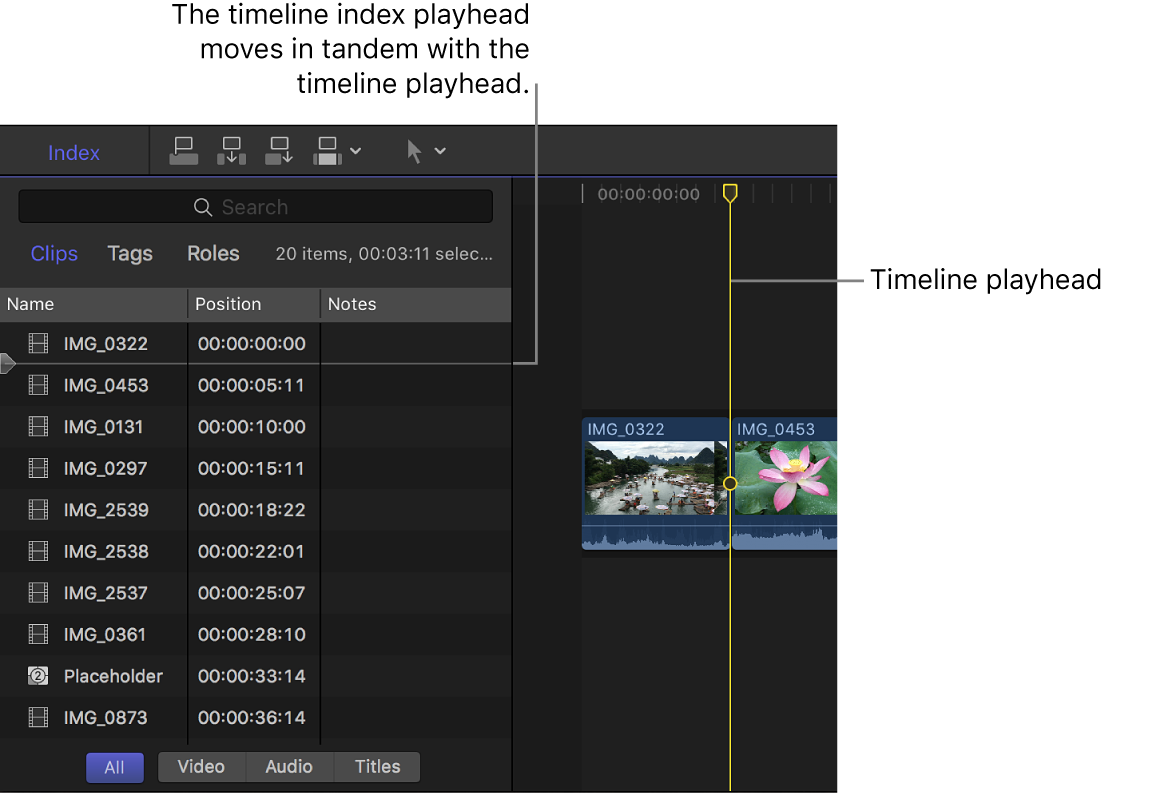
You can also use the timeline index to navigate in the timeline. The timeline index playhead appears in the list of items. When you play a project, the playhead moves down the list of items in the timeline index. When you select an item in the timeline index, the playhead automatically moves to the beginning of the item.
Show or hide the timeline index
In Final Cut Pro, click Index in the top-left corner of the timeline (or press Shift-Command-2).

The timeline index appears to the left of the timeline.
View and manage clips in the timeline index
In Final Cut Pro, click Index in the top-left corner of the timeline to open the timeline index.
Click the Clips button at the top.
The timeline index displays a list of the clips used in the timeline, ordered chronologically.
To customize the display of clips in the timeline index, do any of the following:
Change the type of clips shown: Click a button at the bottom of the timeline index. You can show all clips, video clips, audio clips, or titles.

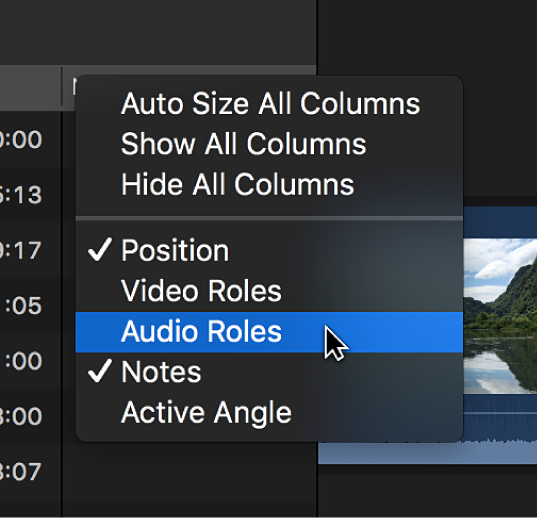
Change which columns are shown: Control-click a column heading and choose an option. (Not all columns are shown by default.)
To work with clips in your project, do any of the following:
Rename clips: Click a name in the Name column, press Return, then type a new name.
View clips by timecode: View a clip’s timecode in the Position column.
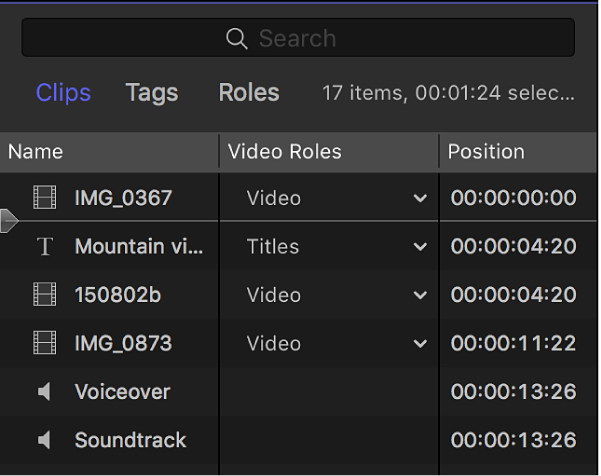
Assign roles: Edit and reassign subroles in the Video Roles and Audio Roles columns. See Assign roles in the timeline index.
Add or edit notes for a clip: Click the text field in the Notes column, then enter or change note text. See Add or edit clip notes in the timeline index.
View the active angles of multicam clips: View active angles in the Active Angle column. See Intro to multicam editing in Final Cut Pro for Mac.
View all the tags on clips in the timeline
Tags include keywords and various kinds of markers—standard markers, chapter markers, and completed and incomplete to-do items. See Intro to markers in Final Cut Pro for Mac.
In Final Cut Pro, click Index in the top-left corner of the timeline to open the timeline index.
Click the Tags button at the top.
The timeline index displays a list of all the tags on clips in the timeline, ordered chronologically.
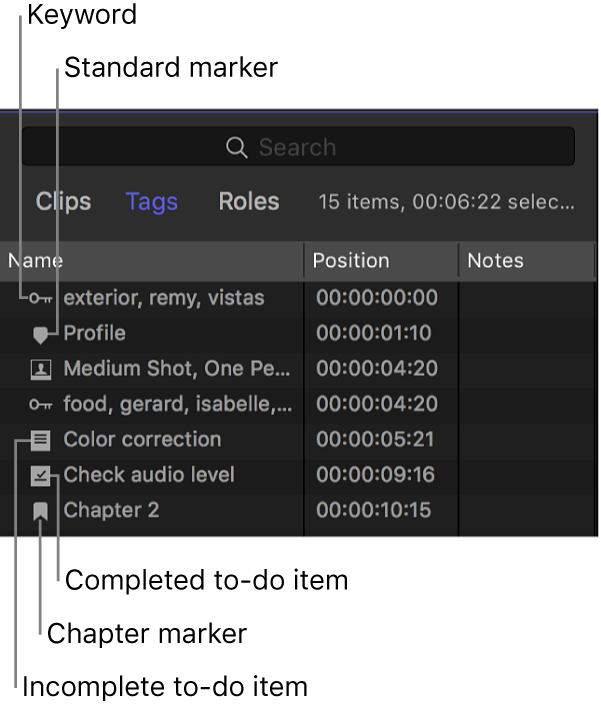
All of the tags are shown by default. You can specify which items are displayed by clicking a button at the bottom of the timeline index. You can show markers, keywords, analysis keywords, incomplete to-do items, completed to-do items, and chapter markers.

View and manage roles in the timeline index
You can view a list of roles in the timeline, and control the arrangement of the timeline.
In Final Cut Pro, click Index in the top-left corner of the timeline to open the timeline index.
Click the Roles button at the top.
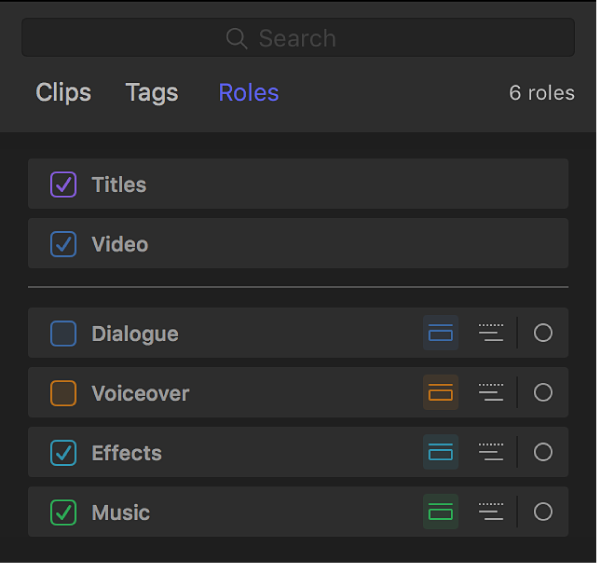
Do any of the following:
Highlight all the clips in the timeline with a particular role assigned: Click a role name in the list.
Turn a role on or off in the timeline: Select or deselect the checkbox next to a role.
When a role is turned off, you can’t see or hear clips with that assigned role when you play back your project. For more information about roles, see Intro to roles in Final Cut Pro for Mac and Organize the timeline with audio lanes in Final Cut Pro for Mac.
Search for items in the timeline index
In Final Cut Pro, click Index in the top-left corner of the timeline to open the timeline index.
Tip: You can quickly open the timeline index with the search field active and ready for your search term. With the timeline active, choose Edit > Find (or press Command-F).
Click a button at the top of the timeline index to open the pane you want to search.
Click Clips to search for clips, Tags to search for tags, or Roles to search for roles.
Enter a term in the search field
 at the top of the timeline index.
You can search for clips, keywords, markers (including to-do items), captions, roles, notes, and custom metadata fields.
You can also search using keywords that are added automatically by Final Cut Pro. For example, you can search for the following:
Clips with the missing media alert icon: Enter “missing.”
Multicam clips: Enter “multicam.”
Compound clips: Enter “compound.”
Synced clips: Enter “synchronized.”
Auditions: Enter “audition.”
Show duplicate ranges in the timeline index
In Final Cut Pro, click Index in the top-left corner of the timeline to open the timeline index.
Click the Clips button at the top.
Click the search field pop-up menu
 at the top of the timeline index, then choose Show Clips with Duplicate Ranges.
The timeline index displays a chronological list of the clips with media that appears more than once in the project, and the duplicate ranges are highlighted with diagonal lines in the timeline.
For more information, see Show clips with duplicate ranges in Final Cut Pro for Mac.
Download this guide: Apple Books | PDF