
Add markers in Compressor
A marker flags a specific timing location in a source file. You can use Compressor to append markers to your job with editing notes or other descriptive information.
Markers can be output when using presets based on the Apple Devices (with H.264 codec), MPEG-2, MPEG-4, and QuickTime Movie preset formats. When you output the source file to an H.264, MPEG-2, or MPEG-4 video format, each marker forces the creation of an I-frame. Added I-frames improve compression quality, but can increase overall file size.
Important: Although you can set and configure markers for all jobs, only jobs that use the output file formats listed above will output a file that includes markers.
Add a marker to a source file
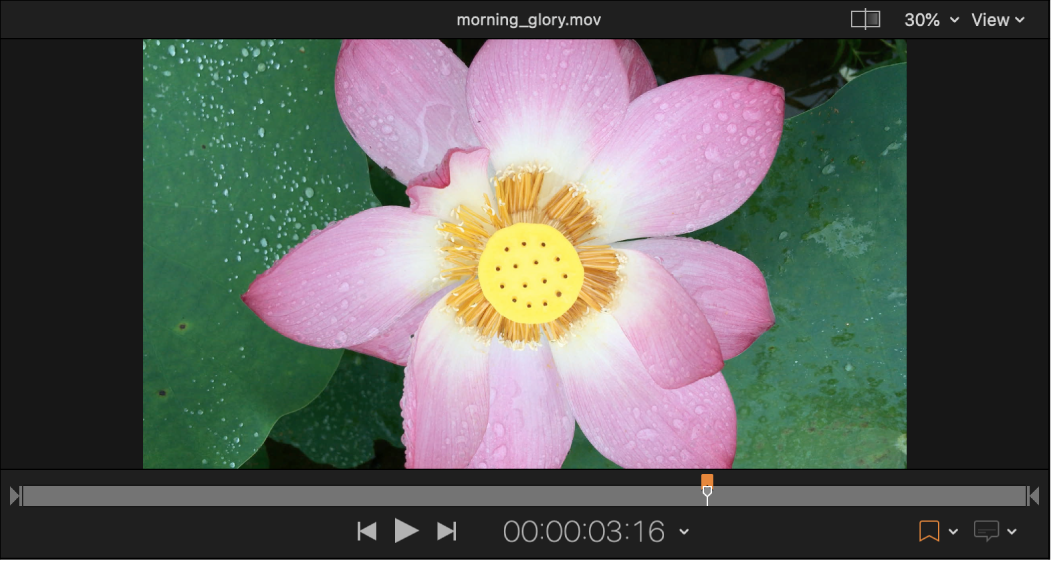
In Compressor, select the job that contains the source file to which you want to add markers.
In the preview area, identify where to place the marker by doing one of the following:
Drag the playhead
 to where you want to add a marker.
Enter a timecode value in the playhead timecode field.
To add a marker, click
 (or press M).
An orange chapter marker appears in the source file’s timeline in the preview area.
To change the marker type, click the Type pop-up menu in the Marker inspector, then choose a different marker type.
Compression markers and edit markers do not have editable properties. For chapter markers and podcast markers, you can adjust the following properties:
Name: Enter a name for the marker. During playback of a transcoded file, chapter marker names are displayed on Apple playback devices, in QuickTime Player, and in DVD menus. Podcast marker names are not displayed.
URL: Enter a web address. When viewing the transcoded file, you can click the URL to open a web browser and view a website.
Image: Select an image to be displayed at the marker point. You can set no image, use the frame on which the marker is placed, or upload a different image file.
Change the default marker type
When you add a new marker, it’s automatically set as a chapter marker. You can change this default so new markers are always added as one of the other types of markers.
In the Compressor preview area, click the arrow next to the Marker button
, then choose an item in the Default Marker category.
Hide markers
Compressor can show or hide different types of markers.
In the Compressor preview area, click the the arrow next to the Marker button
, then choose Chapter/Podcast Markers, Compression Markers, or Edit Markers in the Show category to remove the checkmark.To reveal a type of markers, select the same item in the pop-up menu so that the checkmark reappears.
Remove markers
Select a job in the Compressor batch area, and then select a marker in the preview area.
You can also select markers by clicking
 or
or  in the preview area.
Do one of the following:
Remove all markers in the source file: Click the arrow next to the Marker button
, then choose Remove All Markers.Remove one marker: Select a marker, then click
.
Add markers using a chapter marker list
You can import a list of timecode points into Compressor to create chapter markers.
The file containing the list of timecode points must follow these rules:
The list of timecode values must be a plain text file. For best results, create the list with TextEdit and save the files using the .chp or .txt extension.
Each marker must be on a new line that starts with a timecode value in the format 00:00:00:00.
After the timecode value, you can include a name for the marker. You can use a space or tab character to separate the timecode value from the marker name.
Any lines that do not begin with a timecode value are ignored. This makes it easy for you to add comments to the list.
The timecode values do not have to be listed in chronological order.
After creating the list, import it into Compressor:
In Compressor, select the job that you want to add markers to.
In the preview area, click the arrow next to the Marker button
, then choose Import Chapter List.In the window that appears, select your chapter marker file and click Open.
The markers are added to the source file as chapter markers. You can view them in the preview area.
Download this guide: PDF