Motion User Guide
- Welcome
-
- Intro to basic compositing
-
- Intro to transforming layers
-
- Intro to transforming layers in the canvas
- Transform layer properties in the canvas
- Transform tools
- Change layer position, scale, or rotation
- Move a layer’s anchor point
- Add a drop shadow to a layer
- Distort or shear a layer
- Crop a layer
- Modify shape or mask points
- Transform text glyphs and other object attributes
- Align layers in the canvas
- Transform layers in the HUD
- Transform 2D layers in 3D space
-
- Intro to behaviors
- Behaviors versus keyframes
-
- Intro to behavior types
-
- Intro to Parameter behaviors
- Audio behavior
- Average behavior
- Clamp behavior
- Custom behavior
- Add a Custom behavior
- Exponential behavior
- Link behavior
- Logarithmic behavior
- MIDI behavior
- Add a MIDI behavior
- Negate behavior
- Oscillate behavior
- Create a decaying oscillation
- Overshoot behavior
- Quantize behavior
- Ramp behavior
- Randomize behavior
- Rate behavior
- Reverse behavior
- Stop behavior
- Track behavior
- Wriggle behavior
-
- Intro to Simulation behaviors
- Align to Motion behavior
- Attracted To behavior
- Attractor behavior
- Drag behavior
- Drift Attracted To behavior
- Drift Attractor behavior
- Edge Collision behavior
- Gravity behavior
- Orbit Around behavior
- Random Motion behavior
- Repel behavior
- Repel From behavior
- Rotational Drag behavior
- Spring behavior
- Vortex behavior
- Wind behavior
- Additional behaviors
-
- Intro to using generators
- Add a generator
-
- Intro to image generators
- Caustics generator
- Cellular generator
- Checkerboard generator
- Clouds generator
- Color Solid generator
- Concentric Polka Dots generator
- Concentric Shapes generator
- Gradient generator
- Grid generator
- Japanese Pattern generator
- Lens Flare generator
- Manga Lines generator
- Membrane generator
- Noise generator
- One Color Ray generator
- Op Art 1 generator
- Op Art 2 generator
- Op Art 3 generator
- Overlapping Circles generator
- Radial Bars generator
- Soft Gradient generator
- Spirals generator
- Spiral Drawing generator
- Use Spiral Drawing onscreen controls
- Star generator
- Stripes generator
- Sunburst generator
- Truchet Tiles generator
- Two Color Ray generator
- Save a modified generator
-
- Intro to filters
- Browse and preview filters
- Apply or remove filters
-
- Intro to filter types
-
- Intro to Color filters
- Brightness filter
- Channel Mixer filter
- Color Balance filter
- Example: Color-balance two layers
- Color Curves filter
- Use the Color Curves filter
- Color Reduce filter
- Color Wheels filter
- Use the Color Wheels filter
- Colorize filter
- Contrast filter
- Custom LUT filter
- Use the Custom LUT filter
- Gamma filter
- Gradient Colorize filter
- HDR Tools filter
- Hue/Saturation filter
- Hue/Saturation Curves filter
- Use the Hue/Saturation Curves filter
- Levels filter
- Negative filter
- OpenEXR Tone Map filter
- Sepia filter
- Threshold filter
- Tint filter
-
- Intro to Distortion filters
- Black Hole filter
- Bulge filter
- Bump Map filter
- Disc Warp filter
- Droplet filter
- Earthquake filter
- Fisheye filter
- Flop filter
- Fun House filter
- Glass Block filter
- Glass Distortion
- Insect Eye filter
- Mirror filter
- Page Curl filter
- Poke filter
- Polar filter
- Refraction filter
- Ring Lens filter
- Ripple filter
- Scrape filter
- Sliced Scale filter
- Use the Sliced Scale filter
- Sphere filter
- Starburst filter
- Stripes filter
- Target filter
- Tiny Planet filter
- Twirl filter
- Underwater filter
- Wave filter
-
- Intro to Stylize filters
- Add Noise filter
- Bad Film filter
- Bad TV filter
- Circle Screen filter
- Circles filter
- Color Emboss filter
- Comic filter
- Crystallize filter
- Edges filter
- Extrude filter
- Fill filter
- Halftone filter
- Hatched Screen filter
- Highpass filter
- Indent filter
- Line Art filter
- Line Screen filter
- MinMax filter
- Noise Dissolve filter
- Pixellate filter
- Posterize filter
- Relief filter
- Slit Scan filter
- Slit Tunnel filter
- Texture Screen filter
- Vignette filter
- Wavy Screen filter
- Publish filter parameters to Final Cut Pro
- Using filters on alpha channels
- Filter performance
- Save custom filters
-
- Intro to 3D objects
- Add a 3D object
- Move and rotate a 3D object
- Reposition a 3D object’s anchor point
- Exchange a 3D object file
- 3D object intersection and layer order
- Using cameras and lights with 3D objects
- Save custom 3D objects
- Guidelines for working with 3D objects
- Working with imported 3D objects
-
- Intro to 360-degree video
- 360-degree projects
- Create 360-degree projects
- Add 360-degree video to a project
- Create a tiny planet effect
- Reorient 360-degree media
- Creating 360-degree templates for Final Cut Pro
- 360-degree-aware filters and generators
- Export and share 360-degree projects
- Guidelines for better 360-degree projects
-
-
- Intro to preferences and shortcuts
-
- Intro to Keyboard shortcuts
- Use function keys
- General keyboard shortcuts
- Audio list keyboard shortcuts
-
- Tools keyboard shortcuts
- Transform tool keyboard shortcuts
- Select/Transform tool keyboard shortcuts
- Crop tool keyboard shortcuts
- Edit Points tool keyboard shortcuts
- Edit shape tools keyboard shortcuts
- Pan and Zoom tools keyboard shortcuts
- Shape tools keyboard shortcuts
- Bezier tool keyboard shortcuts
- B-Spline tool keyboard shortcuts
- Paint Stroke tool keyboard shortcuts
- Text tool keyboard shortcuts
- Shape mask tools keyboard shortcuts
- Bezier Mask tool keyboard shortcuts
- B-Spline Mask tool keyboard shortcuts
- Transport control keyboard shortcuts
- View option keyboard shortcuts
- HUD keyboard shortcuts
- Inspector keyboard shortcuts
- Keyframe Editor keyboard shortcuts
- Layers keyboard shortcuts
- Library keyboard shortcuts
- Media list keyboard shortcuts
- Timeline keyboard shortcuts
- Keyframing keyboard shortcuts
- Shape and Mask keyboard shortcuts
- 3D keyboard shortcuts
- Miscellaneous keyboard shortcuts
- Touch Bar shortcuts
- Move assets to another computer
- Work with GPUs
- Glossary
- Copyright

Add a replicator in Motion
There are two basic ways to add a replicator to a Motion project:
Choose a preset from the Replicators category of the Library.
Create a custom replicator using your own image, shape, or video clip as a cell source. You can increase replicator complexity by using multiple cell sources.
Add a preset replicator from the Library
In the Library in Motion, select the Replicators category, then select a subcategory, such as Mattes, Transitional, Backgrounds, and so on.
In the Library stack under the categories and subcategories, select a replicator object.
A preview of the selected replicator appears in the Library preview area.
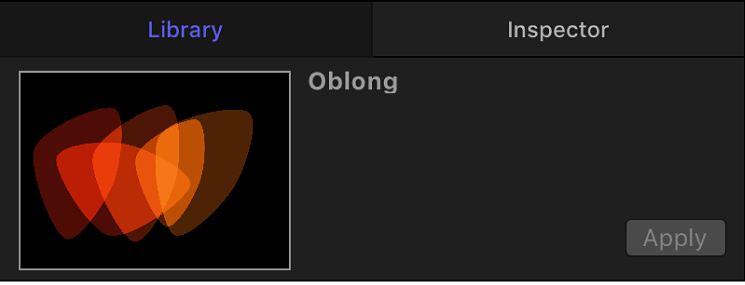
Do one of the following:
Click Apply in the preview area to add the replicator to the center of the canvas.
Note: If Create Layers At is set to “Start of project” in the Project pane of Motion Preferences, the replicator is added at the first frame. See If it’s your first import in Motion.
Drag the replicator from the Library stack into the canvas at the position where you want it to appear.
Drag the replicator from the Library stack to a group in the Layers list or Timeline layers list.
Drag the replicator to the track area of the Timeline or mini-Timeline. When you reach the frame where you want the new replicator to start, release the mouse button.
The replicator preset appears in the project, composited above objects below it in the Layers list.
To modify the default parameters, see Adjust a replicator from the HUD in Motion and Adjust a replicator from the Inspector in Motion.
Create a simple custom replicator
You can create a custom replicator pattern by designating an image layer in your project as a source for the cell. Applying a replicator to that layer creates a nonanimated, filled rectangular pattern. You can then modify the replicator parameters to suit your project needs.
In Motion, create a layer to serve as the cell source for a custom replicator.
This example uses a bird graphic from the Content folder in the Library.
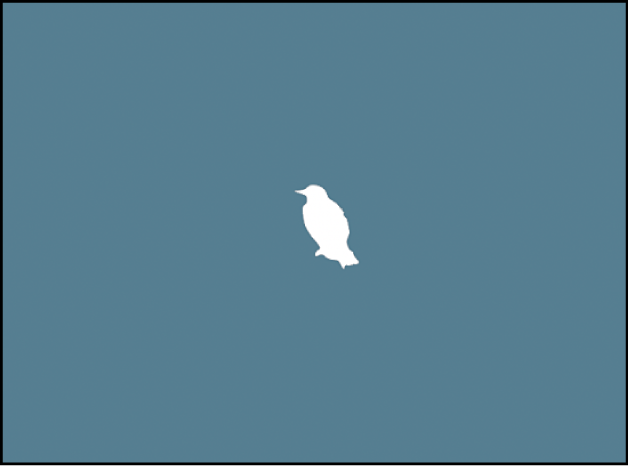
Select the layer in the Layers list or canvas, then do one of the following:
In the toolbar, click the Replicate button.
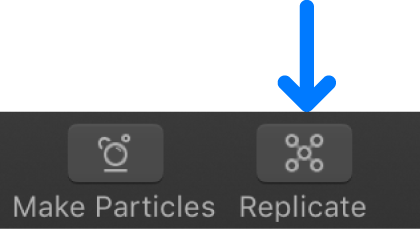
Choose Object > Replicate (or press L).
The new custom replicator layer appears in the Layers list and in the canvas, composited against any other layers you’ve already added.
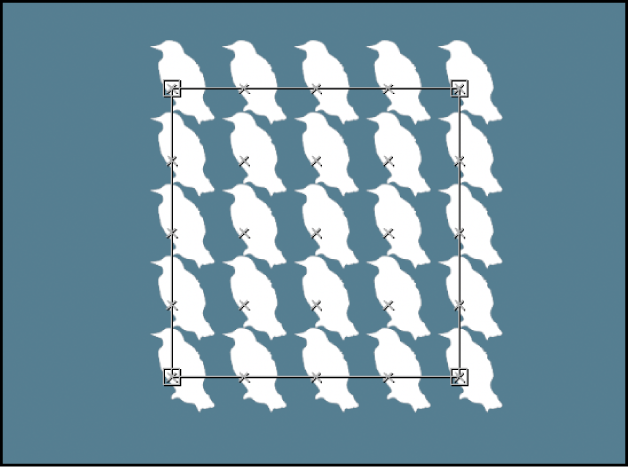
To modify the default parameters, see Adjust a replicator from the HUD in Motion and Adjust a replicator from the Inspector in Motion.
Create a complex replicator using multiple source layers
You can create a more complex pattern containing multiple elements by adding multiple image sources to a single replicator. Each source becomes a cell in the replicator, and each cell has its own set of parameters.
In the Layers list or Timeline in Motion, select the layers to replicate.
This example uses two graphics from the Content folder in the Library.
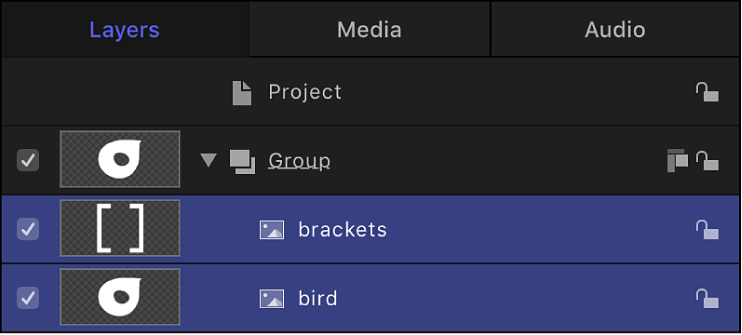
Note: Shift-click to select contiguous layers; Command-click to select noncontiguous layers.
Do one of the following:
In the toolbar, click the Replicate button.
Choose Object > Replicate (or press L).
The cells of the default replicator pattern are created from the source layers (which are deselected so they don’t appear in the composition).
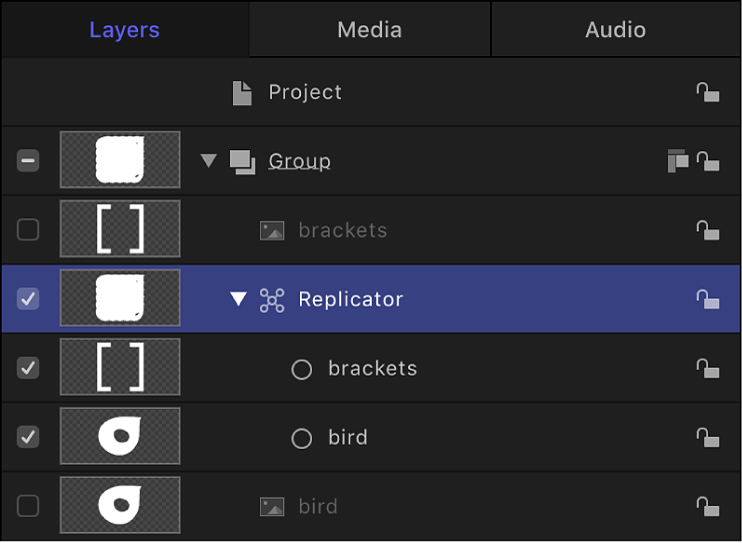
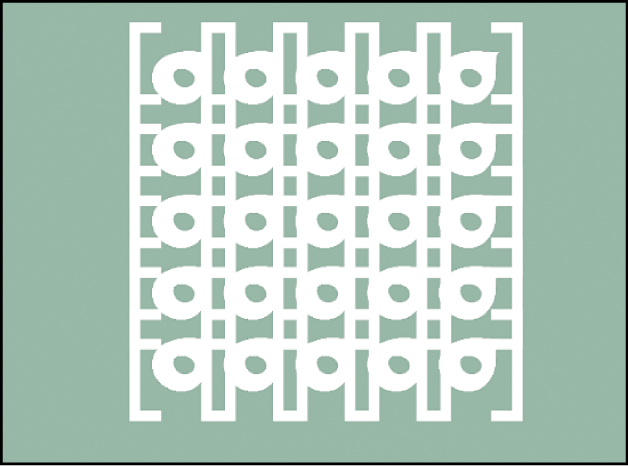
When multiple cells create a replicator pattern, the elements appear at the same points on the pattern. The replicator is positioned at the average of the source’s positions.
Add additional cells to an existing replicator
In the Layers list in Motion, drag an existing image layer onto the replicator.
Note: You cannot drag a media item from the Library onto a replicator in the Layers list.

The layer is duplicated as a new cell in the replicator.
Note: If the layer you drag to a replicator is a shape or mask, a drop menu appears, giving you the option to add it as a replicator cell or as a mask. See Using filters and masks with replicators in Motion.
Download this guide: Apple Books | PDF