Final Cut Pro User Guide for Mac
- Welcome
- What’s new
-
- Intro to effects
-
- Intro to transitions
- How transitions are created
- Add transitions and fades
- Quickly add a transition with a keyboard shortcut
- Set the default duration for transitions
- Delete transitions
- Adjust transitions in the timeline
- Adjust transitions in the inspector and viewer
- Merge jump cuts with the Flow transition
- Adjust transitions with multiple images
- Modify transitions in Motion
-
- Add storylines
- Use the precision editor
- Conform frame sizes and rates
- Use XML to transfer projects
- Glossary
- Copyright

Show trimming details in the viewer in Final Cut Pro for Mac
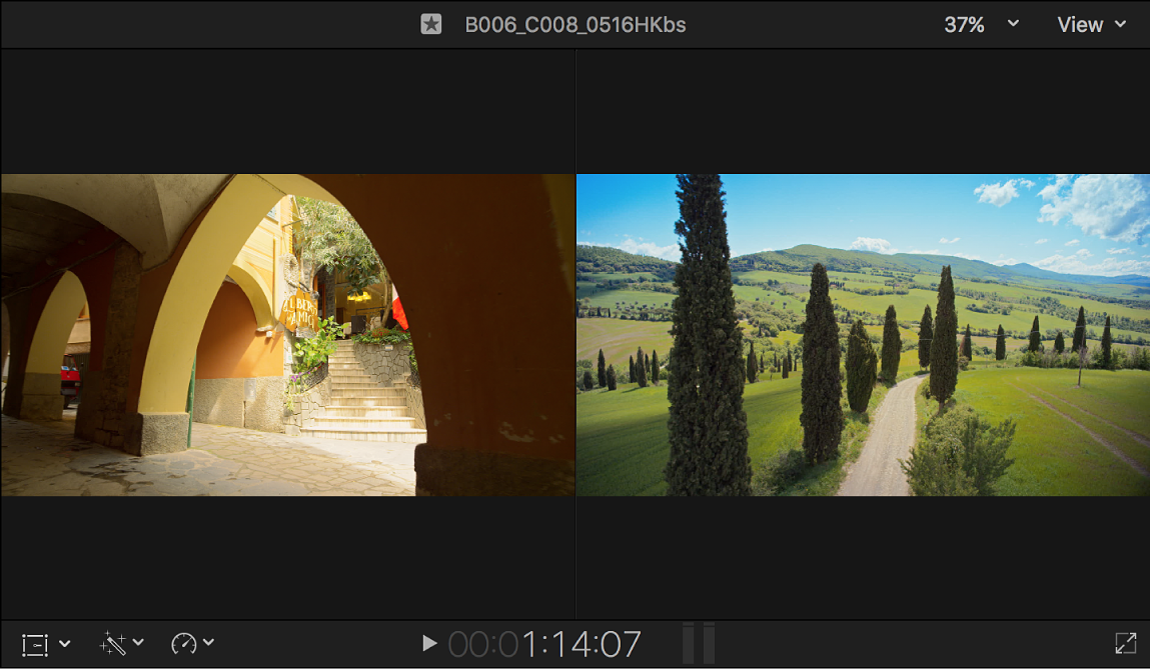
For more accurate visual feedback on edits involving contiguous or connected clips, you can see a “two-up” display in the viewer. For example, for a simple ripple edit, this two-up display shows the end point of the left clip and the start point of the right clip.

This display is available for ripple edits, roll edits, slip edits, and slide edits, as well as for trimming in the precision editor.
Choose Final Cut Pro > Settings, or press Command-Comma (,).
Click Editing.
In the Timeline section, select the “Show detailed trimming feedback” checkbox.
The two-up display appears in the viewer whenever you use a supported edit type or when trimming in the precision editor.
Tip: You can use the Option key to change the detailed trimming feedback display on the fly. If detailed trimming feedback is enabled, press the Option key to disable it. If detailed trimming feedback is disabled, press the Option key to switch the view between the end point of the left clip and the start point of the right clip.
Download this guide: Apple Books | PDF