
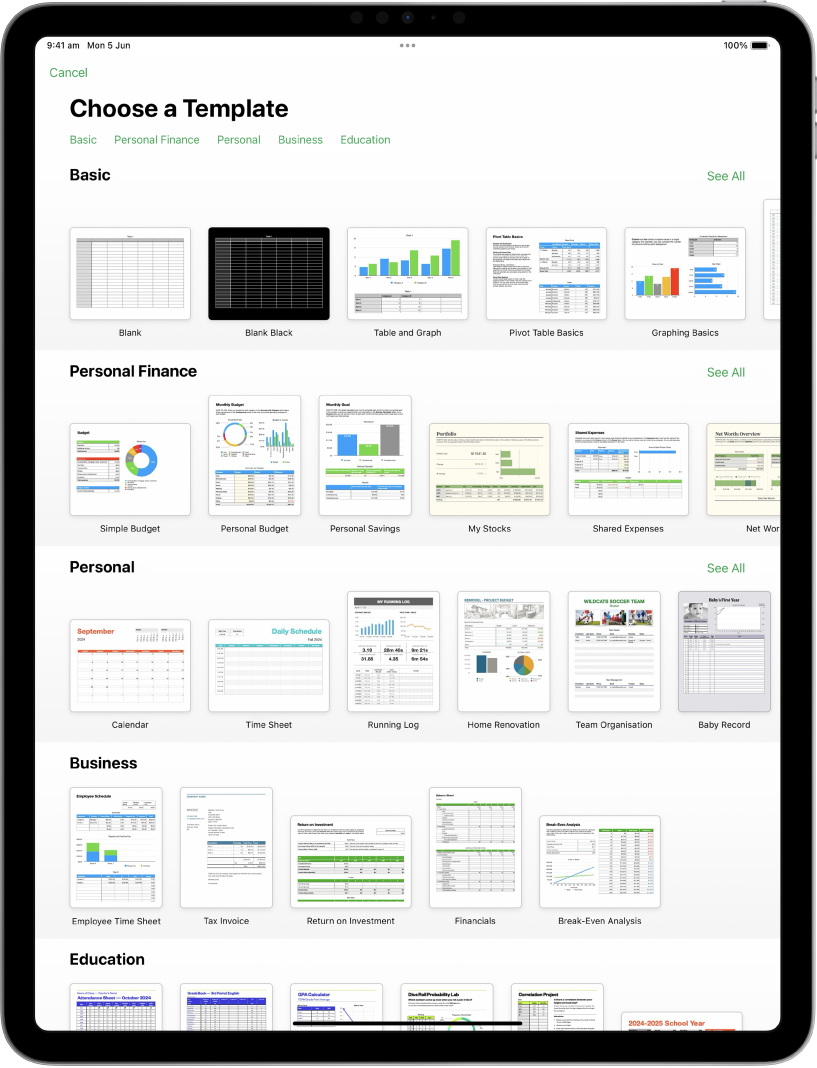
Get started with a template
All spreadsheets begin with a template — a model you can use as a starting point. Replace the template’s graphs and data with your own content and add new tables, formulas and more.
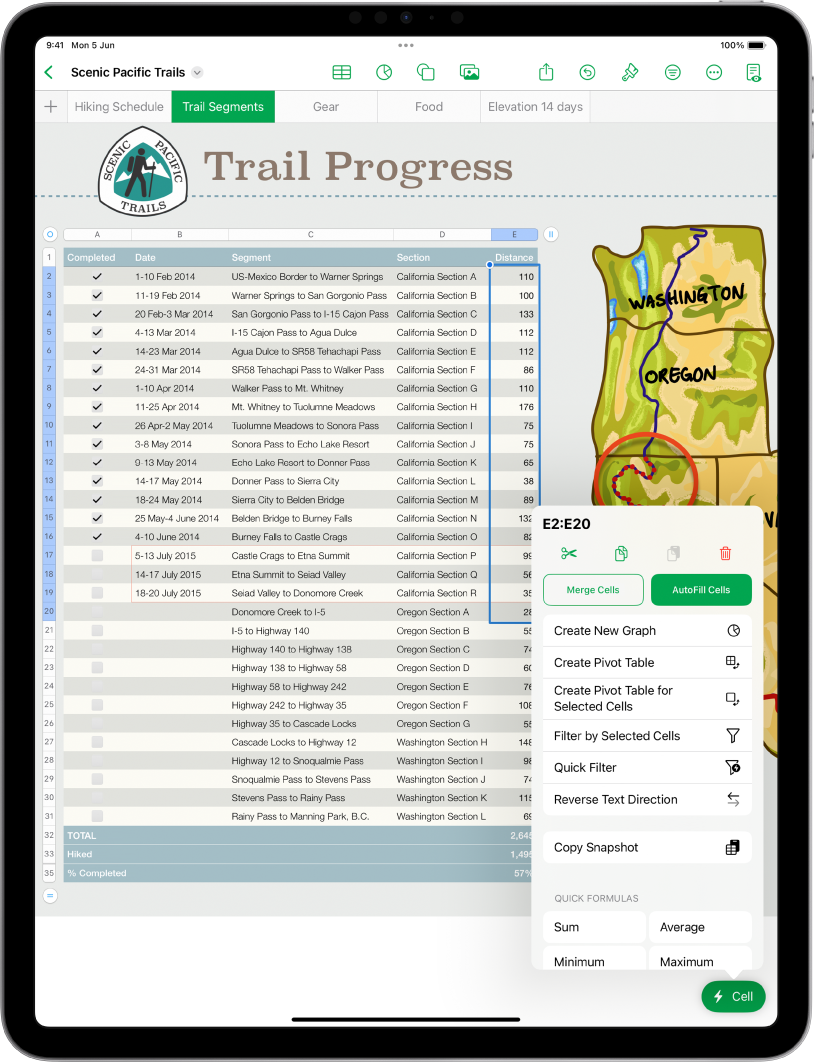
Add data to a table
Enter your own data or import data from another file. You can also add a wide range of formulas, like sum or average to any cell. To organise your data and identify trends, you can add filters, group data into categories, create pivot tables and more.
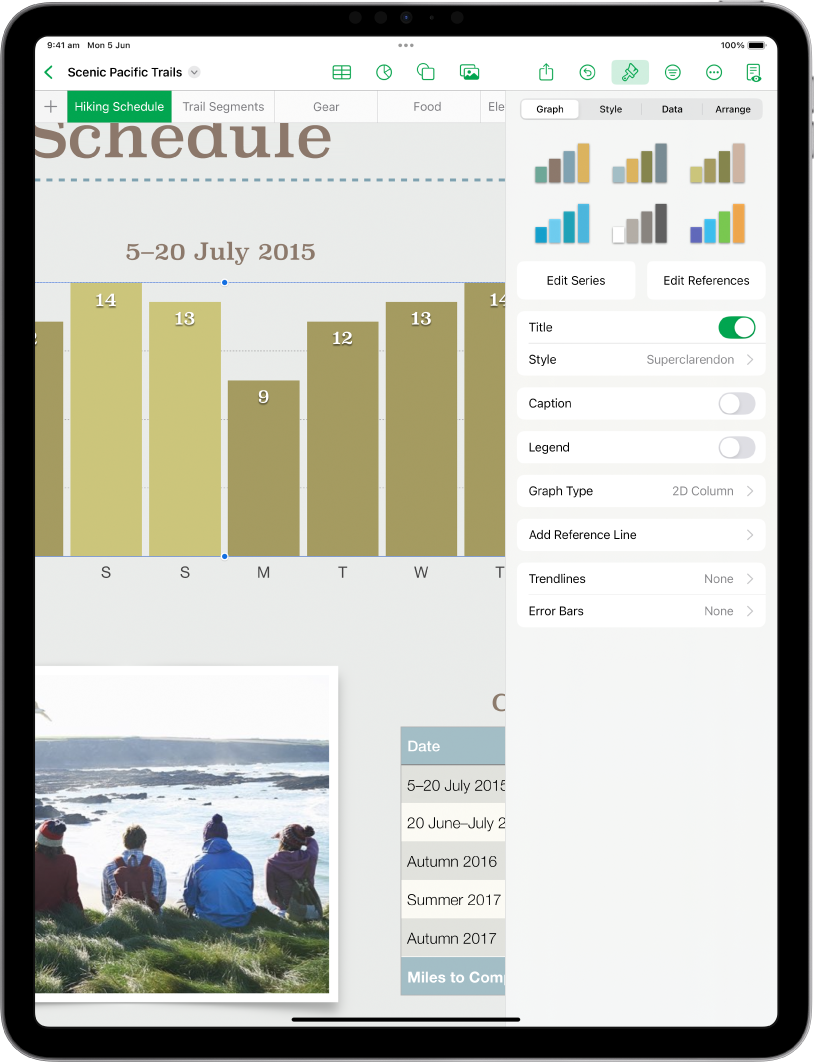
Create a graph
Illustrate your data with a 2D, 3D or interactive chart. When you make changes to the data in the table, the chart updates automatically.
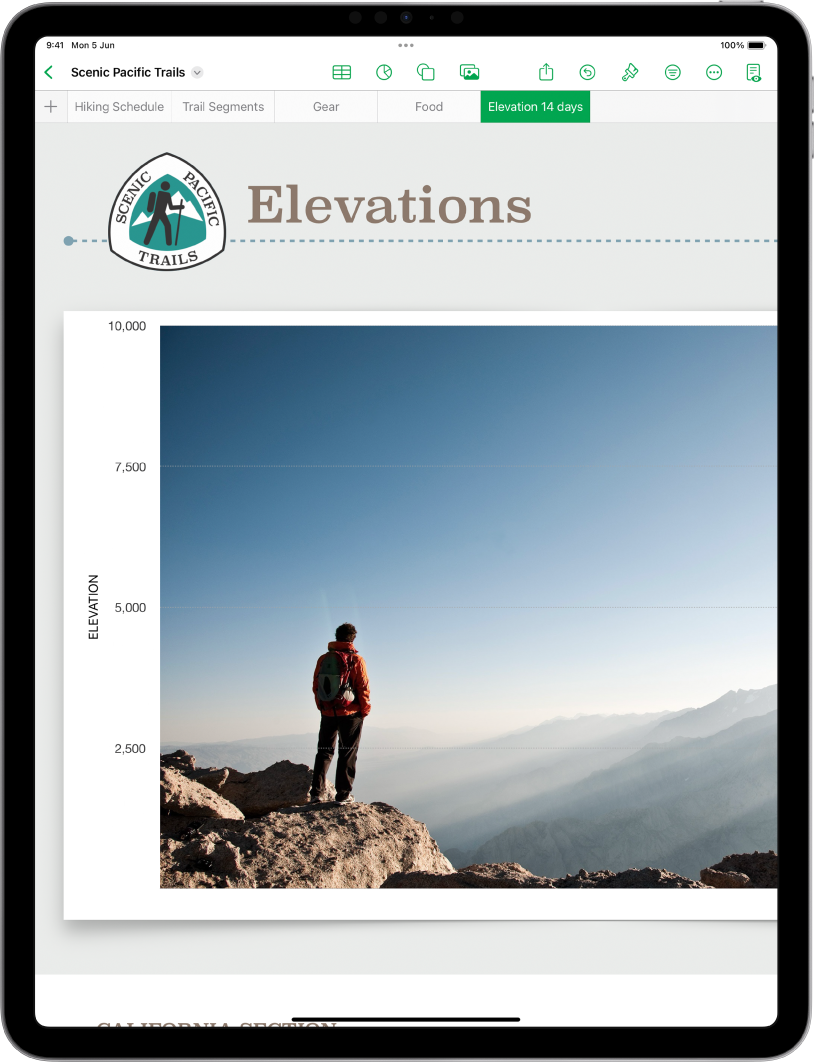
Get organised with sheets
Organise your spreadsheet with different sheets for each type of information you want to track — income, expenses and so on. Then just tap a tab at the top of the spreadsheet to switch to the sheet you want to see.
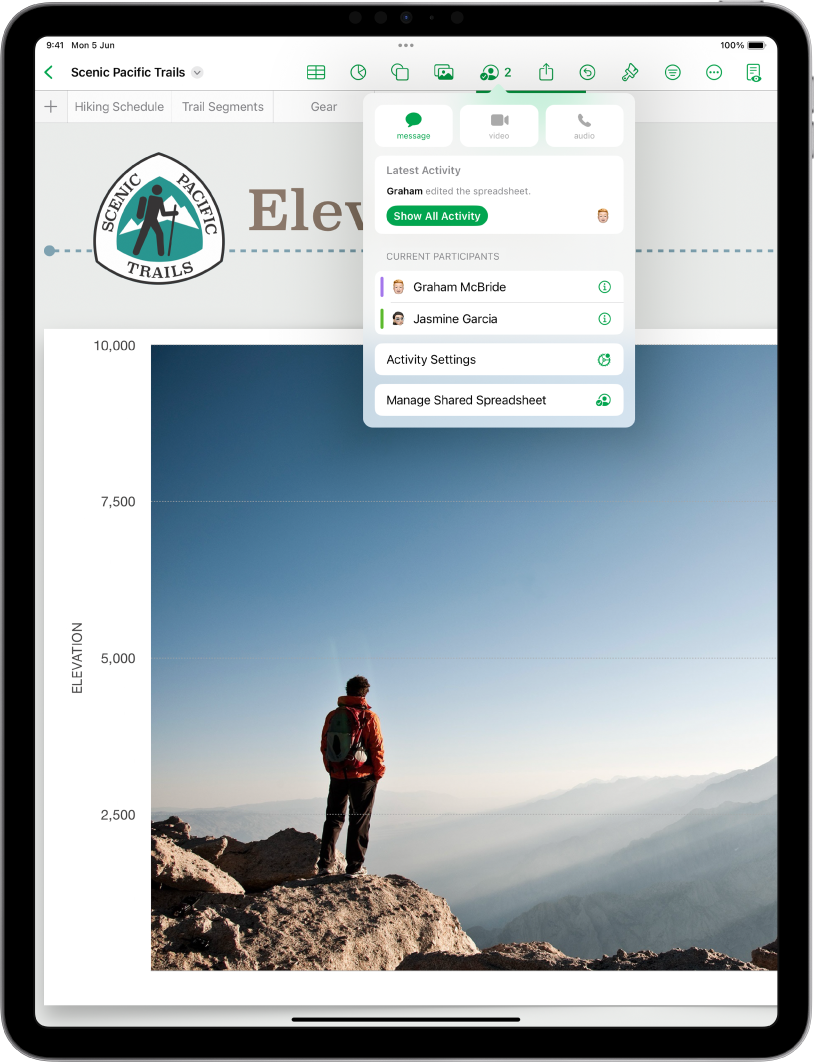
Collaborate in real time
Invite others to work with you on your spreadsheet. Everyone you invite can see changes as they’re made, but you control who can edit or only view the spreadsheet.
This guide helps you get started using Numbers 14.4 on your iPad. (To see which version of Numbers you have, go to Settings ![]() > Apps > Numbers.) To explore the Numbers User Guide tap Table of Contents at the top of the page, or enter a word or phrase in the search field.
> Apps > Numbers.) To explore the Numbers User Guide tap Table of Contents at the top of the page, or enter a word or phrase in the search field.
If you need more help, visit the Numbers Support website.
Numbers User Guide for iPad
- Welcome
- What’s new
-
- Get started with Numbers
- Intro to images, graphs and other objects
- Create a spreadsheet
- Open spreadsheets
- Prevent accidental editing
- Personalise templates
- Use sheets
- Undo or redo changes
- Save your spreadsheet
- Find a spreadsheet
- Delete a spreadsheet
- Print a spreadsheet
- Change the sheet background
- Copy text and objects between apps
- Customise the toolbar
- Touchscreen basics
- Use Apple Pencil with Numbers
- Copyright