Final Cut Pro X User Guide
- Welcome
-
- What’s new in Final Cut Pro 10.4.7
- What’s new in Final Cut Pro 10.4.6
- What’s new in Final Cut Pro 10.4.4
- What’s new in Final Cut Pro 10.4.1
- What’s new in Final Cut Pro 10.4
- What’s new in Final Cut Pro 10.3
- What’s new in Final Cut Pro 10.2
- What’s new in Final Cut Pro 10.1.2
- What’s new in Final Cut Pro 10.1
- What’s new in Final Cut Pro 10.0.6
- What’s new in Final Cut Pro 10.0.3
- What’s new in Final Cut Pro 10.0.1
-
- Intro to effects
-
- Intro to transitions
- How transitions are created
- Set the default transition
- Add transitions
- Delete transitions
- Adjust transitions in the timeline
- Adjust transitions in the inspector and viewer
- Merge jump cuts with the Flow transition
- Adjust transitions with multiple images
- Modify transitions in Motion
-
- Add storylines
- Use the precision editor
- Conform frame sizes and rates
- Use XML to transfer projects
-
- Glossary
- Copyright

View and navigate 360° video in Final Cut Pro
In Final Cut Pro, you can view and navigate 360° clips in a dedicated 360° viewer or in a virtual reality (VR) headset connected to your Mac. You can view and navigate the 360° image in any direction, even when the video is paused.
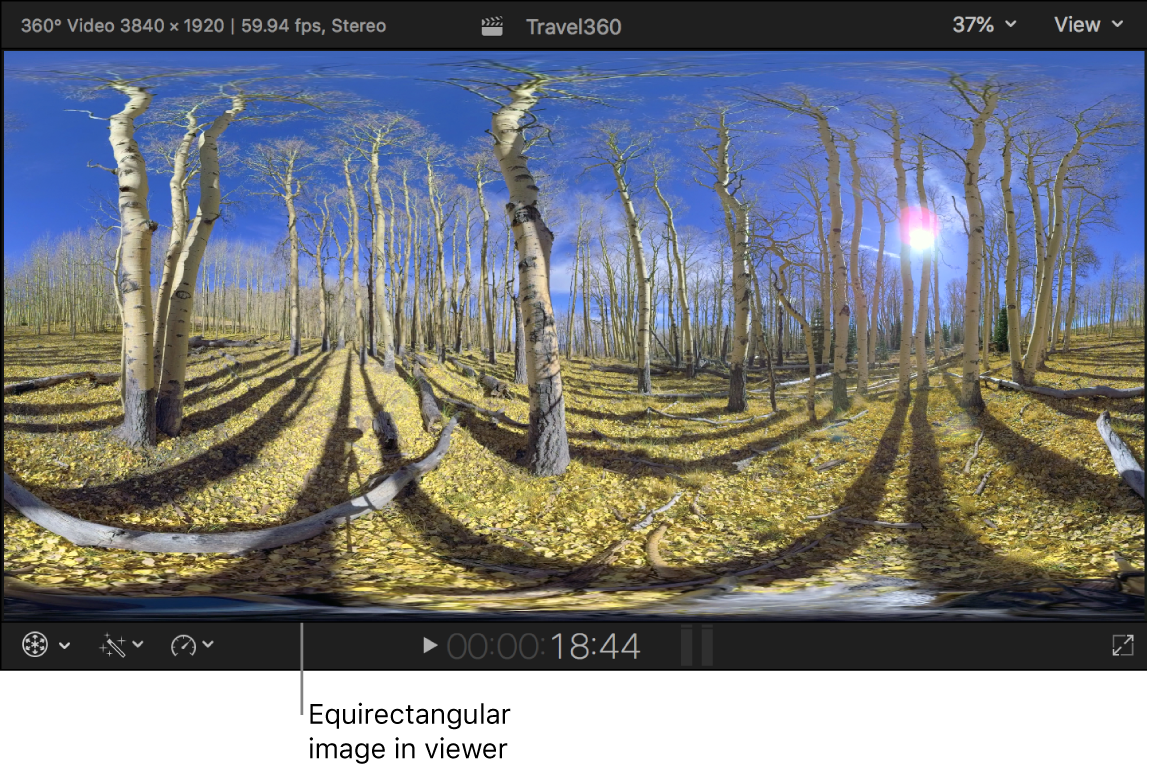
For proper 360° playback and editing in Final Cut Pro, you must use files rendered in the equirectangular format, and they must be tagged as Equirectangular in Final Cut Pro. See Import 360° video into Final Cut Pro.
Note: Navigating within 360° video clips does not affect the orientation of any media files that you export from your 360° project. To change the orientation of output media files, see Reorient 360° video in Final Cut Pro.
View 360° video clips in the 360° viewer
In Final Cut Pro, do one of the following:
Select a 360° clip in the browser, then position the playhead in the clip.
Add a 360° clip to a 360° project in the timeline, then position the playhead in the clip.
The equirectangular image appears in the viewer.

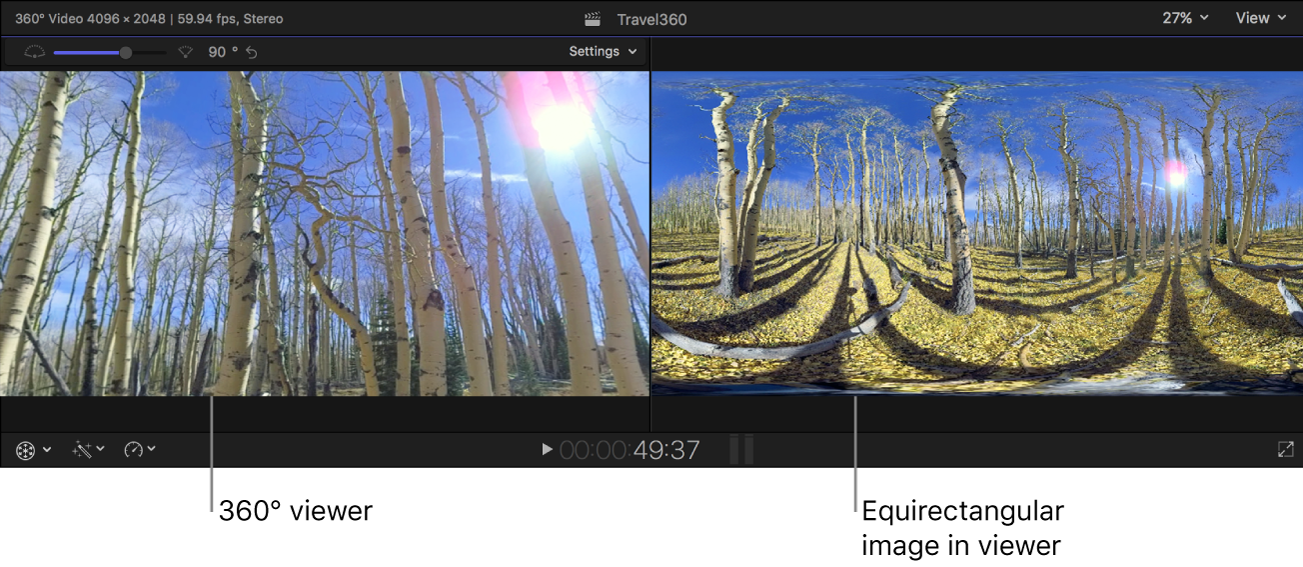
Choose View > Show in Viewer > 360° (or press Option-Command-7).
The 360° viewer appears to the left of the viewer, showing the 360° clip as a 360° projection.

If you wish, play back the clip.
To navigate within the clip, drag in any direction in the 360° viewer, or do any of the following:
Look up: Press Control-Option-Command-Up Arrow.
Look down: Press Control-Option-Command-Down Arrow.
Look left: Press Control-Option-Command-Left Arrow.
Look right: Press Control-Option-Command-Right Arrow.
Roll clockwise: Press Control-Option-Command-Right Bracket.
Roll counterclockwise: Press Control-Option-Command-Left Bracket.
Adjust the view
As you play back or edit your 360° video clips in Final Cut Pro, you can adjust the view in the 360° viewer.
Note: You can’t adjust the view in the 360° viewer when a VR headset is connected.
In Final Cut Pro, view a 360° video clip in the 360° viewer.
Do any of the following:
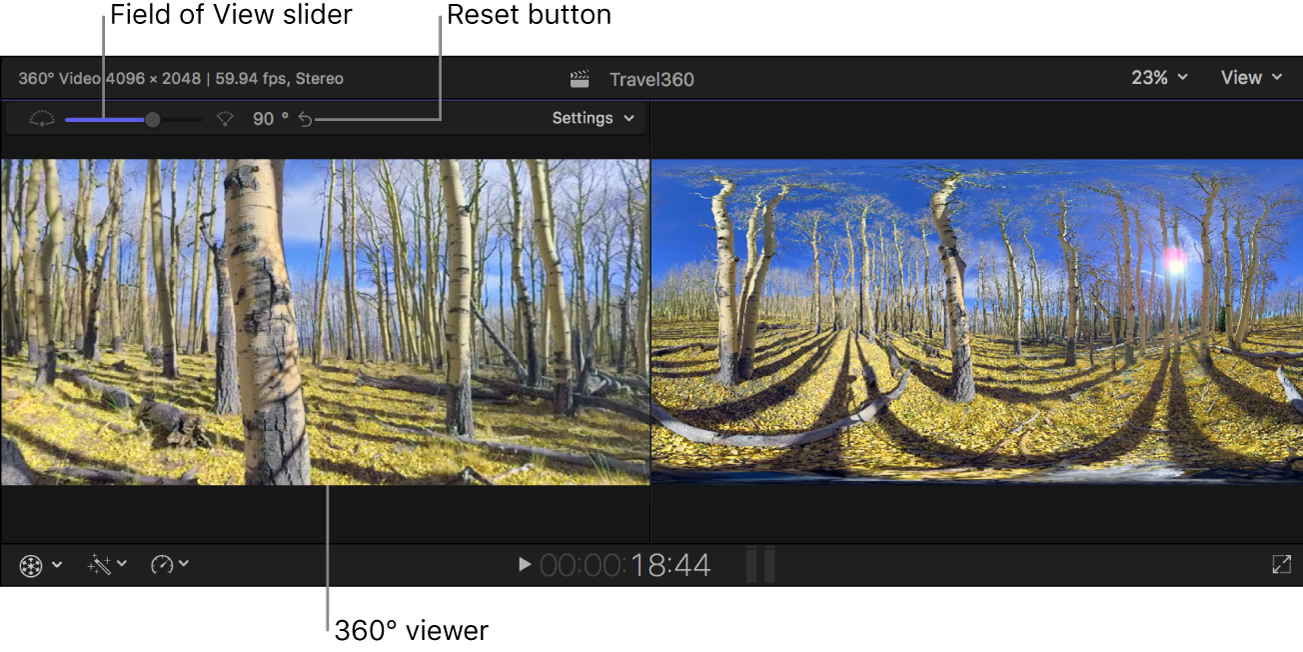
Widen the field of view: Drag the Field of View slider to the left, or press Control-Option-Command-Minus Sign (–).
Narrow the field of view: Drag the Field of View slider to the right, or press Control-Option-Command-Plus Sign (+).
Reset the field of view: Click the Reset button to the right of the Field of View slider.
Superimpose information about the viewing angle: Click the Settings pop-up menu in the upper-right corner and choose Show Overlays.
Reset the angle of view to the default direction: Click the Settings pop-up menu in the upper-right corner and choose Reset Angle (or press Control-Option-Command-0).

View 360° video clips with a VR headset
Connect a VR headset to your Mac.
Using a VR headset with Final Cut Pro requires macOS High Sierra 10.13 or later.
Important: For more information about setting up your VR headset, see the Apple Support article Use a VR headset with Final Cut Pro X and Motion, the Final Cut Pro X Technical Specifications page, and the documentation that came with your headset.
In Final Cut Pro, click the Settings pop-up menu in the upper-right corner of the 360° viewer and choose Output to VR Headset (or press Control-Option-Command-7).
The 360° video appears in the VR headset display.
If you want the 360° video to appear in both the 360° viewer and the VR headset display, click the Settings pop-up menu and choose Mirror VR Headset (or press Control-Option-Command-9).
To navigate the 360° video, put on the headset and look in any direction.
The display in the headset changes as you turn your head.
To set a default (home) direction for the headset, point the headset in the direction that you want to set as the default, then click the Settings pop-up menu and choose Reset Orientation.
The default direction of the headset is usually determined by headset software when the headset is initialized, but you can change the direction using the Reset Orientation command.