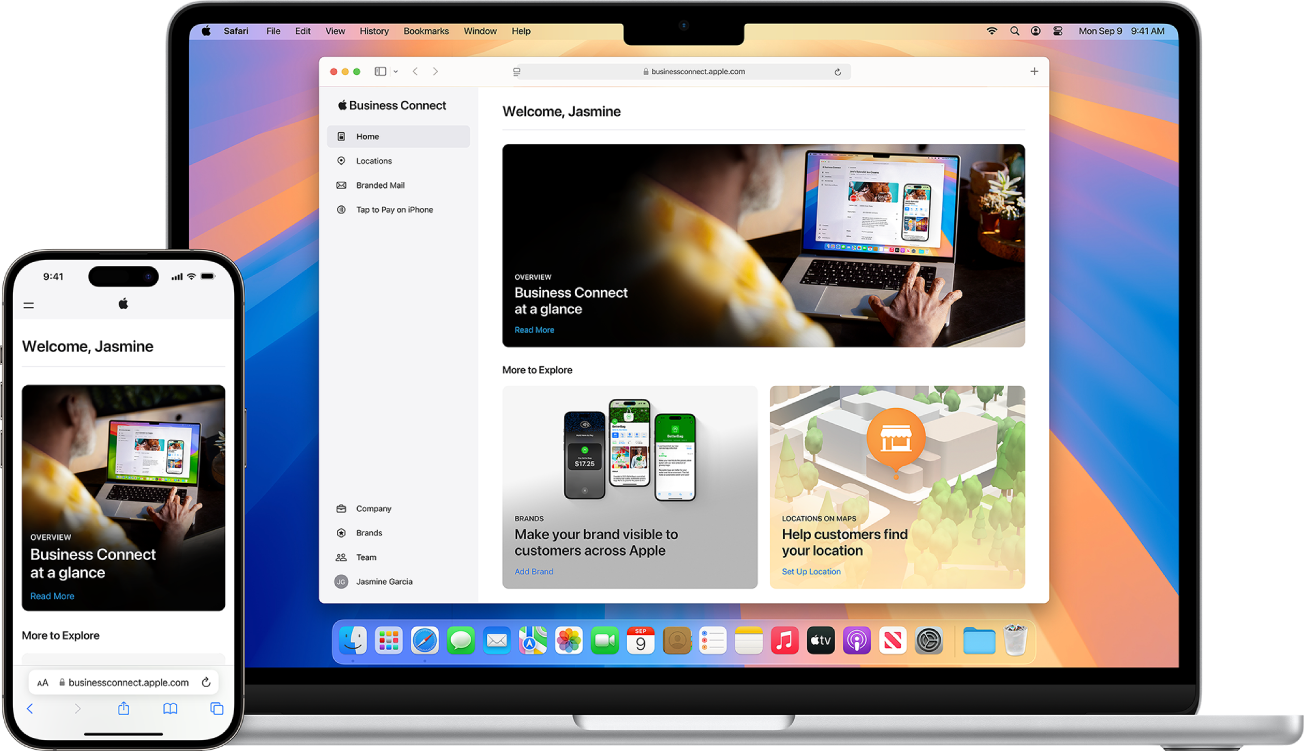
Create your Small Business account in Apple Business Connect
Get discovered everywhere businesses appear on Apple devices—in Maps, Apple Wallet, Siri, and more. In just a few easy steps, you can add your business to Apple Business Connect. From there, personalize your business to stand out, and attract and engage customers.
Note: A Small Business account is for one business with fewer than 25 locations in the same country. If you have either one business with more than 25 locations or multiple businesses with multiple locations, see Create your Enterprise account.
What do I need to get started using Apple Business Connect?
Before you begin, you’ll need the following information for your company and each location.
Item required | Company | Locations |
---|---|---|
Legal name of the company and businesses | ||
Country or region | ||
Physical address | ||
Phone number | ||
Logo | Logos are subject to review before they are shown to customers. | |
Photos | Photos are subject to review before they are shown to customers. | |
Descriptions | Descriptions are subject to review before they are shown to customers. |
To view a task below, select the plus button next to its title.
Step 1: Add one of your locations
Search for an existing location of your business by entering its name, then select Next. If your location isn’t shown in the search results, select “Add location with this name.”
If you need to add a line to your address, such as a suite number, select Add Line, then enter the information.
If the location you entered is already claimed by another company, you’ll see a note stating “This location is already managed.” You can:
Continue through the process. When you get to Step 5: Verify a claimed location, you can request a location transfer to your business.
Select “Ask to join the team,” fill out the request form, then select Send. The request is sent to the current Business Admin of that claimed location to deny or add you to as a team member. If they add you, your role will be Business Admin or Business Read-Only for specific businesses. You receive an email letting you know whether your request was denied or approved.
Drag the map so the pin is over your building. You can zoom the map using the + or - buttons in the lower right corner. To make it easier to see your entrance, switch to Hybrid or Satellite view by selecting the Map Mode button in the upper right corner.
If you have precise latitude and longitude for the entrance to your location, you can enter them directly by selecting Enter Coordinates.
Review the location and if the pin isn’t over the correct building, select Reset.
When the pin is over the correct building, select Next.
Step 2: Add some details about this location
Select the default language for this location, and enter the name you want it to have.
Confirm or change the primary category and, optionally, add an additional category.
Note: Categories are updated regularly. Check back from time to time to see if new categories have been added that more accurately reflect your business.
Enter a phone number for customers to call.
If your business has a website or if this location has a specific website link, enter it, then select Next.
Step 3: Add the hours of operation for this location
Select the days of the week and the open and close times.
If necessary, add more details about different hours for different days.
Select Next.
Step 4: Add your company details
Add your legal company name, then add your address and contact information.
Note: This may be different than your initial location
If necessary, add your website and DUNS number.
Read the Apple Business Connect Terms of Use.
When you agree, select the box next to “I have the legal authority to agree on behalf of the Business and confirm that the Business agrees to the Terms of Service.”
Select Next.
Complete one of the next three tasks, depending on whether the location is new, existing, or claimed.
Step 5: Verify a new location
You can request verification from Apple now, or you can do so at a later date. No public information about your location is shown until your business is verified. This can take up to 5 business days.
Do one of the following:
Don’t have Apple verify your business: Select Skip.
Have Apple review and verify you own or manage this business by submitting documentation: Select Upload document and upload an official document (such as a lease, insurance policy, or utility bill) that shows this location’s name and address.
You can also add a short description of the document.
Select Send.
After your business is verified, you can upload photos, create your Place Card, add a Showcase, and more.
Step 5: Verify an existing location
You can request verification from Apple now, or you can do so at a later date. No public information about your location is shown until your business is verified. This can take up to 5 business days.
Do one of the following:
Have Apple review and verify you own or manage this business by submitting documentation: Select Upload document and upload an official document (such as a lease, insurance policy, or utility bill) that shows this location’s name and address.
You can also add a short description of the document.
Request a phone call: You can request a phone call to the existing location’s phone number.
Select Send.
After your business is verified, you can upload photos, create your Place Card, add a Showcase, and more.
Step 5: Verify a claimed location
If a location is already managed by another business, you can request a transfer. This can take up to 5 business days.
Enter a transfer request explanation, upload official documentation showing a business name and the identical address.
Select Send.
If approved by Apple, emails are sent to the administrator of the business requesting a transfer and the administrator of the current business notifying them of the change.
After your business is verified, you can upload photos, create your Place Card, add a Showcase, and more.