Final Cut Pro User Guide for Mac
- Welcome
- What’s new
-
- Intro to effects
-
- Intro to transitions
- How transitions are created
- Add transitions and fades
- Quickly add a transition with a keyboard shortcut
- Set the default duration for transitions
- Delete transitions
- Adjust transitions in the timeline
- Adjust transitions in the inspector and viewer
- Merge jump cuts with the Flow transition
- Adjust transitions with multiple images
- Modify transitions in Motion
-
- Add storylines
- Use the precision editor
- Conform frame sizes and rates
- Use XML to transfer projects
- Glossary
- Copyright

Track an effect to a moving object in Final Cut Pro for Mac
In Final Cut Pro, you can track the shape mask of a video effect (such as a blur, highlight, or color effect) to a moving object in a video clip.
Track an effect to a moving object
In Final Cut Pro, position the playhead in the timeline so that the object or face that you want to track appears in the viewer.
For the best results, make sure the object is in focus and has details with high contrast.
Open the Effects browser.
In the Effects browser, locate the effect you want to use and drag the effect to the viewer.
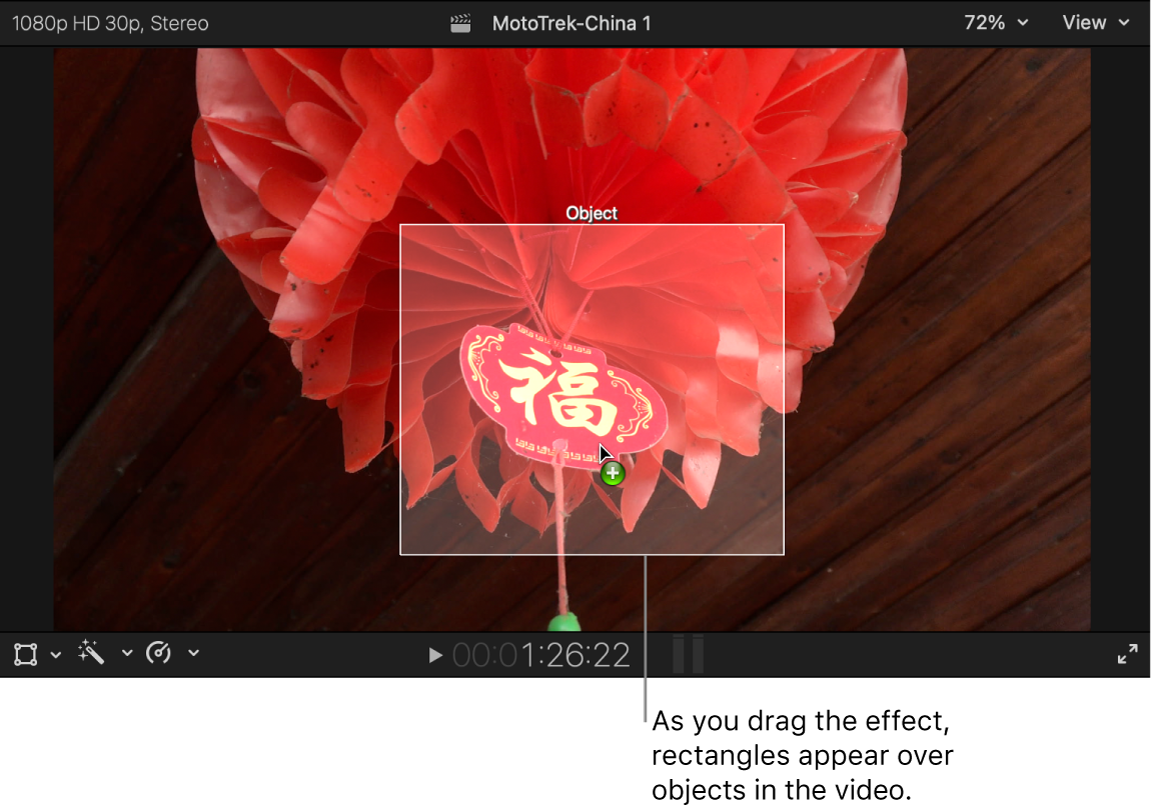
As you drag the effect over the viewer, rectangles appear over objects in the video clip and oval shapes appear over faces, indicating items whose motion can be tracked.

When a rectangle or oval shape appears over the object or face you want to track, release the mouse or trackpad button.
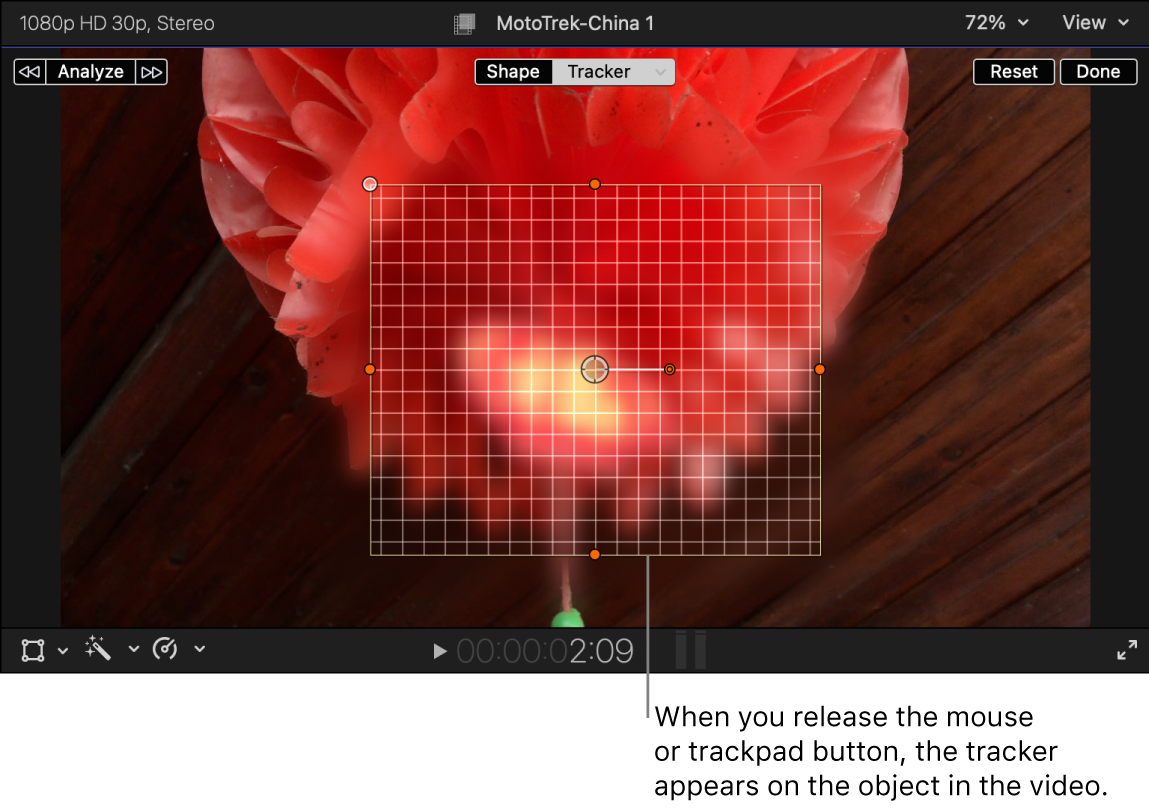
An onscreen tracker appears on the object in the video. By default, the effect shape mask is pinned to the tracker, so that the effect is applied to the exact area defined by the tracker.

Additionally, the Tracking Editor appears on the clip in the timeline.
Optionally, drag the sides and the corners of the grid to further fit the tracker to the object or face you want to track.
Tip: Fit the grid to the target object as tightly as possible, or even consider picking just a part of the object you want to track. (If the grid includes too much information in the background, it could potentially confuse the tracker.)
Confirm that Tracker is selected at the top of the viewer.
In the upper-left corner of the viewer, click one of the following buttons:
Analyze: Final Cut Pro tracks forward from the playhead position, then tracks backward before the playhead until the entire clip has been analyzed.
Left arrow: Final Cut Pro analyzes the portion of the clip before the playhead position only.
Right arrow: Final Cut Pro analyzes the portion of the clip after the playhead position only.
Final Cut Pro adds a shape mask to the effect that matches the bounding box of the tracker, and the tracking data from the analysis is applied to the shape mask. See How does object tracking work in Final Cut Pro for Mac?.
To view the tracking effect, position the skimmer (or the playhead) at the start of the clip in the timeline, then press the Space bar to play the clip.
You can repeat the steps above (with the same effect or a different effect) to track other objects in the same clip.
Adjust the shape mask of a tracking effect
In the Final Cut Pro timeline, select a clip that has an effect tracking an object, then position the playhead so that the clip appears in the viewer.
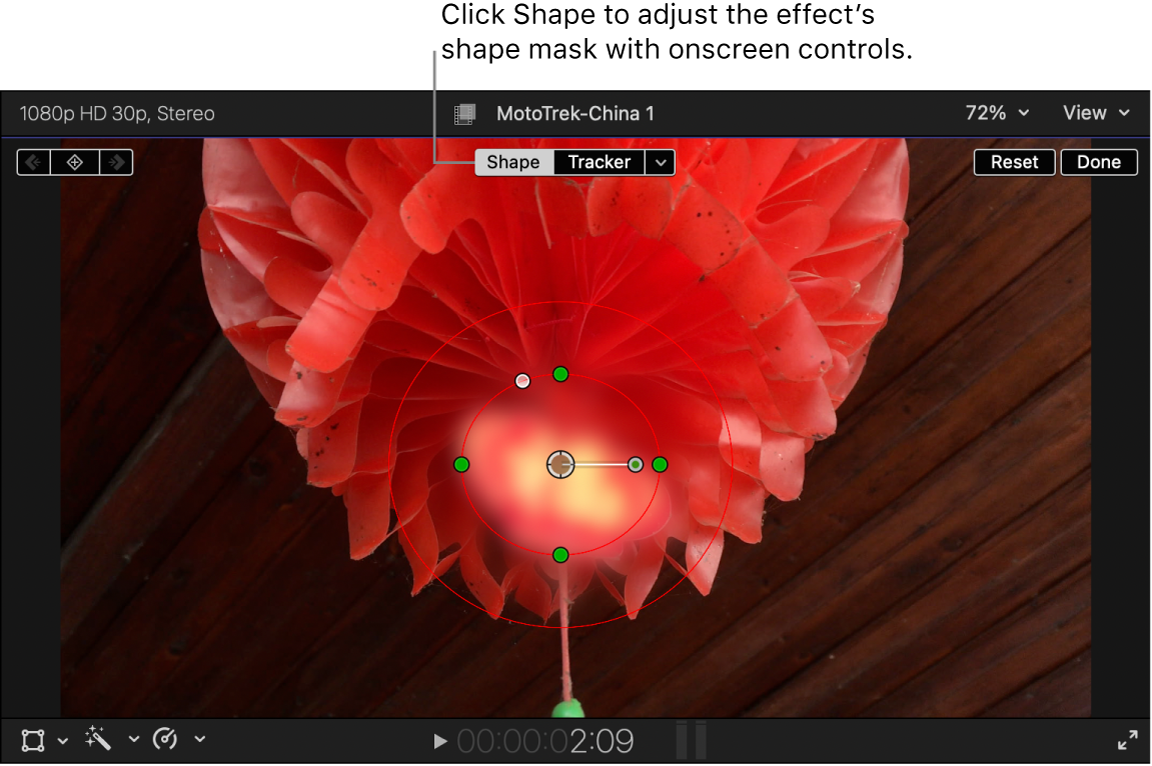
If the Shape and Tracker buttons are not already shown at the top of the viewer, open the Video inspector and select the shape mask of the effect that you’re tracking to the object.
Click Shape at the top of the viewer, then use the onscreen controls to adjust the effect’s shape mask.
See Add a shape mask to a video effect in Final Cut Pro for Mac.

If you make changes to the shape mask after the tracking analysis described in Track an effect to a moving object is complete, the changes will overwrite the existing tracking keyframe at the playhead location, which may cause an interruption in the tracking animation. To avoid this, you can do one of the following:
Unlink (unpin) the shape mask from the tracker before adjusting the shape mask. See Offset the position of a tracking effect in Final Cut Pro for Mac.
Reset the tracking keyframes for the entire clip (or a section of the clip). See Add, rename, reset, delete, or duplicate motion tracks.
Download this guide: PDF