Customize the timeline in Final Cut Pro for iPad
You can customize the timeline to suit your workflow. For example, you can change clip height, expand clips to show video and audio separately, and show or hide the audio meter.
Change clip height
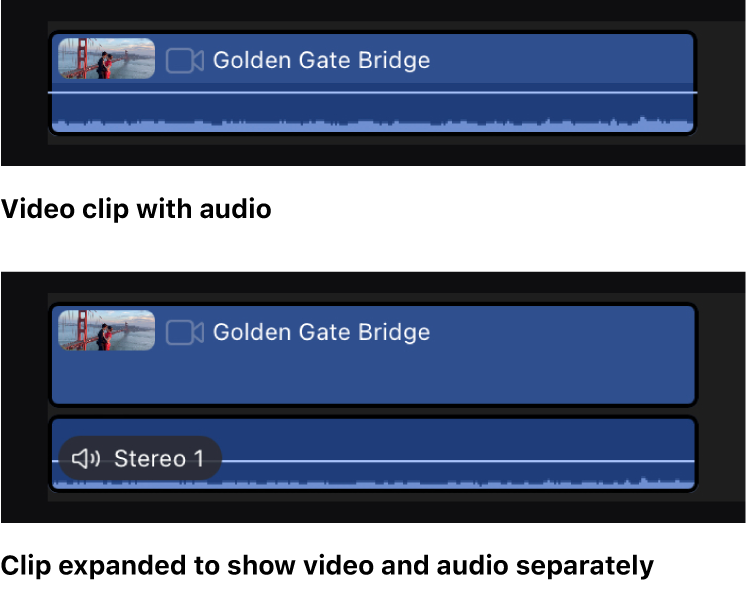
Expand clips to show video and audio separately
Showing video and audio separately can be useful if you need to zoom in to the audio portion of clips to view and edit audio components at the individual channel level.
Go to the Final Cut Pro app on your iPad.
Open a project.
Tap
 in the top-right corner of the timeline, then tap an option:
Expand All Clips: Shows video and audio components separately in the timeline.
Collapse All Clips: Shows consolidated clips in the timeline.
When you’re finished, tap outside Timeline Options.

When you expand clips in the timeline, the audio and video portions of each clip remain attached and synced to each other, but you can trim the video and audio components separately.
Tip: To expand an individual timeline clip, touch and hold the clip, then tap Expand Audio Components. To collapse it, touch and hold the clip, then tap Collapse Audio Components.
Show the audio meter
The audio meter shows the audio levels of clips in Final Cut Pro and warns you if a particular clip or section of a clip reaches peak levels, which may result in audible distortion. See View audio levels.
Go to the Final Cut Pro app on your iPad.
Open a project.
Tap
in the top-right corner of the timeline, then turn on Audio Meter.When you’re finished, tap outside Timeline Options.


To hide the audio meter, tap ![]() in the top-right corner of the timeline and turn off Audio Meter. When you’re finished, tap outside Timeline Options.
in the top-right corner of the timeline and turn off Audio Meter. When you’re finished, tap outside Timeline Options.