
Keyframe audio effects in Final Cut Pro
With Final Cut Pro, you can use keyframes to create simple changes to audio over time, such as fading the volume or an effect in or out in the middle of a clip.
You place keyframes at specific points in a clip to change the parameter value of an audio enhancement or effect at those points. For example, you can keyframe specific points for volume or for an effect such as reverb or distortion.
You can set keyframes to adjust a clip’s volume directly in the timeline or the Audio inspector. To see keyframes in the timeline for all other effects, you need to display the Audio Animation editor.
For information about using keyframes with video clips, see Add video effect keyframes in Final Cut Pro.
Add keyframes to a clip
In Final Cut Pro, do one of the following:
Select the clip in the timeline, then choose Clip > Show Audio Animation (or press Control-A).
Control-click the clip in the timeline and choose Show Audio Animation.
If you’re adding keyframes for volume adjustment only, go to step 4.
Each effect in the Audio Animation editor has a separate area for adding keyframes.
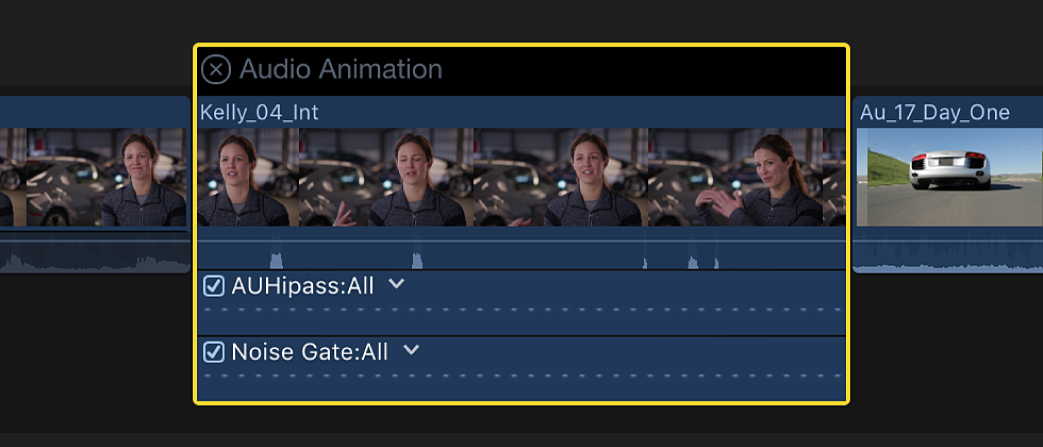
Some effects have more than one parameter and allow you to add keyframes to individual parameters separately. They appear in the Audio Animation editor with a triangle next to the effect’s name or in the Audio inspector as additional parameter controls.
In either the Audio Animation editor or the Effects section of the Audio inspector, select the effect for which you want to add keyframes.
Do one of the following:
See expanded parameters in the Audio Animation editor: Click the triangle to choose an individual parameter from the pop-up menu, or choose All to see all keyframes.
See expanded parameters in the Audio inspector: Click the Parameters disclosure triangle for the effect.
For each parameter, do one of the following:
In the Audio Animation editor (or the audio clip for volume only): Option-click (or press Option-K) at a point on the horizontal effect control where you want to add a keyframe.
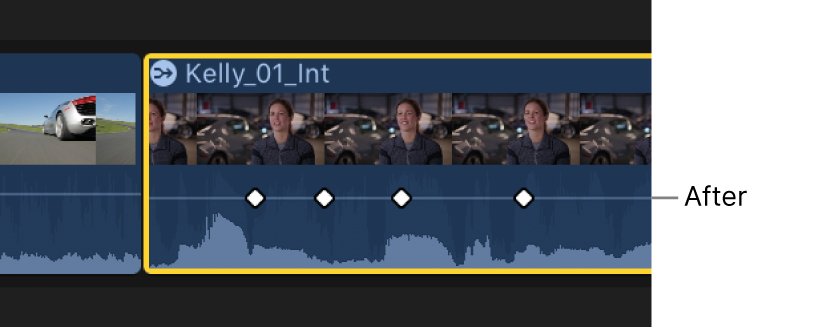
Keyframes for volume adjustment appear as white diamonds.

For effects with more than one parameter, keyframes for the selected parameter appear as white diamonds, and keyframes for other parameters appear gray.

Keyframes appear as white diamonds for all parameters when you choose All from the effect pop-up menu. Double diamonds indicate that you added a keyframe for more than one parameter at that point.

In the Audio inspector: Position the playhead in the timeline at the point where you want to add a keyframe, then click the Keyframe button (or press Option-K).

After you add a keyframe, the Keyframe button changes to solid white, indicating that the playhead is currently on this keyframe.
When you move the playhead in the timeline, arrows appear next to the Keyframe button in the Audio inspector to indicate which side of the playhead has keyframes. To go to the previous keyframe, click the left arrow or press Option-Semicolon (;). To go to the next keyframe, click the right arrow or press Option-Apostrophe (’).

Add keyframes as needed.
Tip: After you’ve added one keyframe, you can add another automatically by moving the playhead in the timeline and then adjusting the effect parameter (or the Volume slider when keyframing volume) in the Audio inspector.
Add keyframes automatically across a selected area
When making volume adjustments to a clip in the timeline, you can use the Range Selection tool to add keyframes automatically across a selected range.
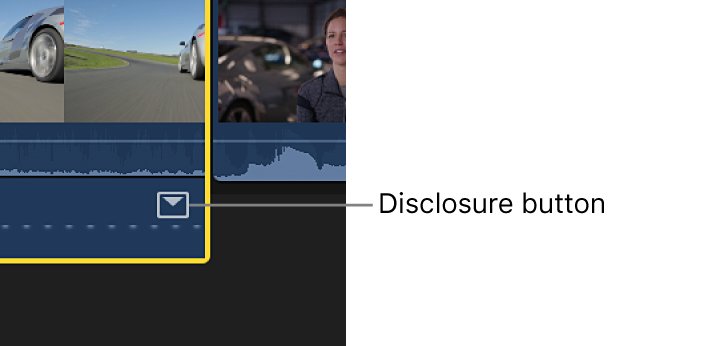
If an effect appears in the Audio Animation editor with a disclosure button, you can use either the Select tool or the Range Selection tool to add keyframes across a selected area.
In Final Cut Pro, do one of the following:
Select the clip in the timeline, then choose Clip > Show Audio Animation (or press Control-A).
Control-click the clip in the timeline and choose Show Audio Animation.
If you’re adding keyframes for volume adjustment only, go to step 3.
Select an effect, then click the disclosure button to expand it in the Audio Animation editor.
In the timeline, do one of the following:
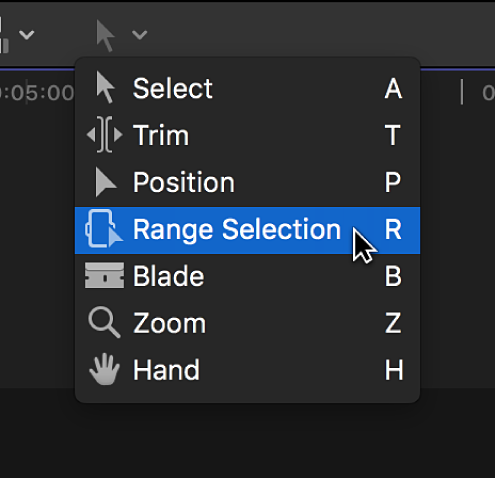
If you’re adjusting volume only: Click the Tools pop-up menu above the timeline and choose Range Selection (or press R).
The pointer changes to the Range Selection tool
 .
. If you’re adjusting an effect in the Audio Animation editor: Click the Tools pop-up menu above the timeline and choose either Select or Range Selection (or press A for Select, or R for Range Selection).
Drag across the area where you want to adjust the volume or effect.
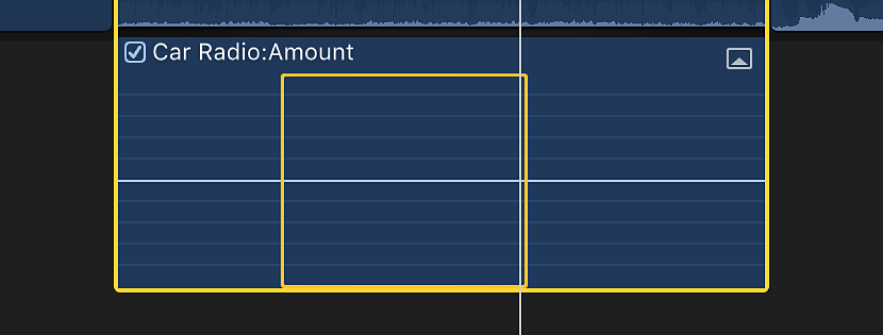
Adjust the volume or effect within the range by dragging the effect’s horizontal control up or down.
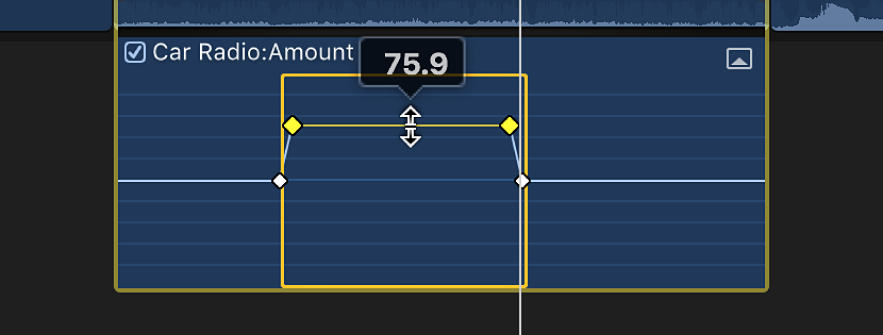
Keyframes are automatically created along the adjustment points within the range.
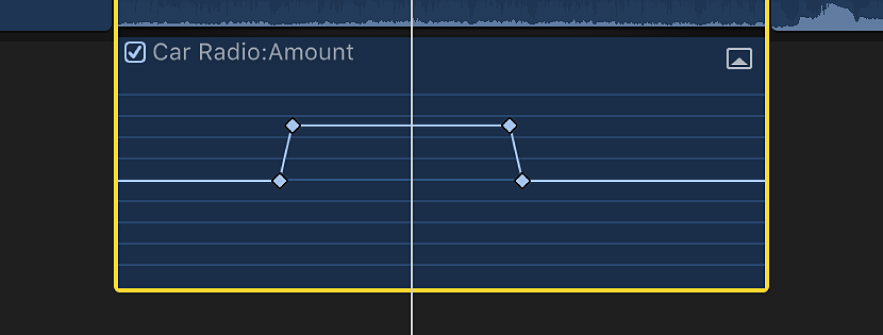
Adjust keyframes in the Audio Animation editor
You can move keyframes left or right in the Audio Animation editor. If an effect appears with a disclosure button, you can expand the effect view and move keyframes up or down to change the parameter value.
In Final Cut Pro, select a keyframe.
Do one of the following:
To change the keyframe’s position in time, drag it left or right.
As you drag, the timecode value appears.

If an effect appears with a disclosure button, click the button (or double-click the effect) to expand the effect view.

With the effect view expanded, you can drag the keyframe up or down to change the effect’s parameter value.
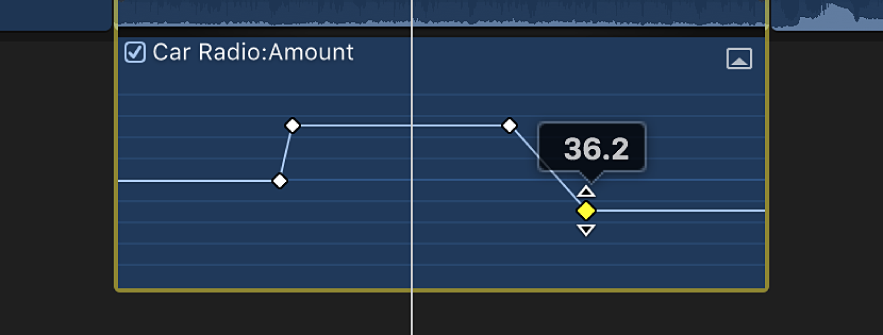
To add another keyframe, Option-click (or press Option-K) at a point on the effect control where you want to add the keyframe. To add a keyframe and change the effect’s parameter value at the same time, Option-click while dragging the effect control up or down.
Adjust keyframes in the Audio inspector
For many effects, you adjust the parameter value of individual keyframes using the Audio inspector.
In Final Cut Pro, select a keyframe or position the playhead on a keyframe, then adjust the parameter value in the Audio inspector.
To change the value at the next keyframe, go to the next keyframe and adjust the value again.
Adjust all keyframes at once in the Audio Animation editor
In Final Cut Pro, hold down the Command and Option keys, then drag either a keyframe or the effect control up or down.
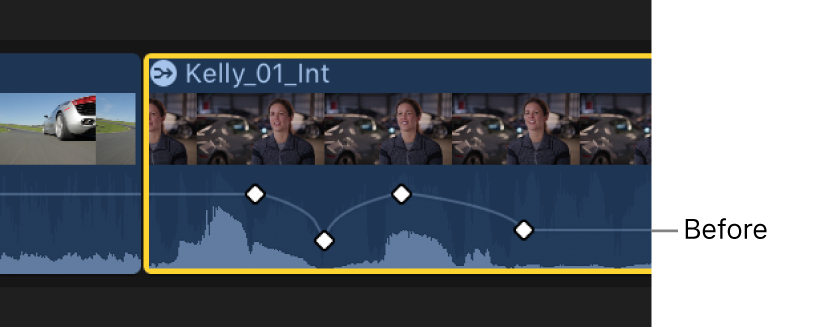
All keyframes are adjusted by the same amount, preserving the original shape created by any keyframe adjustments.
However, if you “flatten” the curve by dragging all the way to the top or bottom of the graph, the keyframe values remain in that flattened state, with all keyframes sharing the same value.
View one effect at a time in the Audio Animation editor
You can collapse the Audio Animation editor to view only one effect at a time. This can be useful if you have multiple effects applied to a clip and want to preserve screen space.
In Final Cut Pro, choose Clip > Solo Animation (or press Control-Shift-V).
In the Audio Animation editor, click the triangle next to the displayed effect’s name, then choose an effect from the pop-up menu.
Note: When Solo Animation is turned on, you can’t delete effects from the Audio Animation editor.
To turn off Solo Animation, choose Clip > Solo Animation (or press Control-Shift-V).
Delete keyframes
In Final Cut Pro, do one of the following:
Select a keyframe in the Audio Animation editor, then press Option-Shift-Delete.
Navigate to a keyframe in the Audio inspector, then click the Keyframe button.

Hide audio animation
In Final Cut Pro, do one of the following:
Select the clip in the timeline, then choose Clip > Hide Audio Animation (or press Control-A).
Click the close button
 in the upper-left corner of the Audio Animation editor.
Control-click the clip in the timeline and choose Hide Audio Animation.
You can also manipulate multiple keyframes simultaneously. This works the same way for audio keyframes as it does for video keyframes. See Modify groups of keyframes in Final Cut Pro.
To copy specific keyframes between different attributes or between different clips, see Copy and paste keyframes in Final Cut Pro.
Tip: If you applied a reverb effect to a clip and you want the reverb to extend beyond the end of the clip, add a hold segment to the last frame. The hold segment duration is fully adjustable, and you can extend the reverb keyframing into the hold segment.