Final Cut Pro User Guide for Mac
- Welcome
- What’s new
-
- Intro to effects
-
- Intro to transitions
- How transitions are created
- Add transitions and fades
- Quickly add a transition with a keyboard shortcut
- Set the default duration for transitions
- Delete transitions
- Adjust transitions in the timeline
- Adjust transitions in the inspector and viewer
- Merge jump cuts with the Flow transition
- Adjust transitions with multiple images
- Modify transitions in Motion
-
- Add storylines
- Use the precision editor
- Conform frame sizes and rates
- Use XML to transfer projects
- Glossary
- Copyright

Access external audio files in Final Cut Pro for Mac
Post-production professionals often download stock music and sound effects and maintain their own library of audio files (in addition to more than 1300 royalty-free sound effects available in Final Cut Pro).
You can create custom folders in the Sound Effects category of the Photos, Videos, and Audio sidebar that link to external collections of audio files, providing quick access to the files from any Final Cut Pro project. These custom folders can contain multiple levels of subfolders so that your audio files remain organized the way you like.
If you add or remove files in the external audio library, the changes appear in the Sound Effects category after you quit and reopen Final Cut Pro.
The following instructions assume that you have an existing set of audio files (such as sound effects or music) in a folder on your Mac.
In the Finder, select the top-level folder that contains the audio files you want to access from Final Cut Pro.
Choose File > Make Alias (or press Command-L).
In the Finder, choose Go > Go to Folder, then enter the following in the “Go to the folder” field:
/Library/Audio/Apple Loops/Apple/Final Cut Pro Sound Effects/
Click Go.
The Final Cut Pro Sound Effects folder opens in the Finder.
In the Finder, drag the alias of your custom audio folder into the Final Cut Pro Sound Effects folder.
Delete the word “alias” from the end of the folder name.
In Final Cut Pro, if the Photos, Videos, and Audio sidebar isn’t already shown, do one of the following:
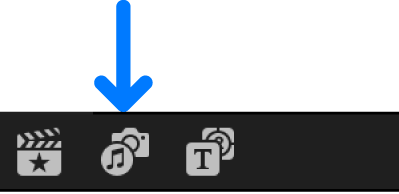
Click the Photos, Videos, and Audio button in the top-left corner of the Final Cut Pro window.

Choose Window > Go To > Photos, Videos, and Audio (or press Shift-Command-1).
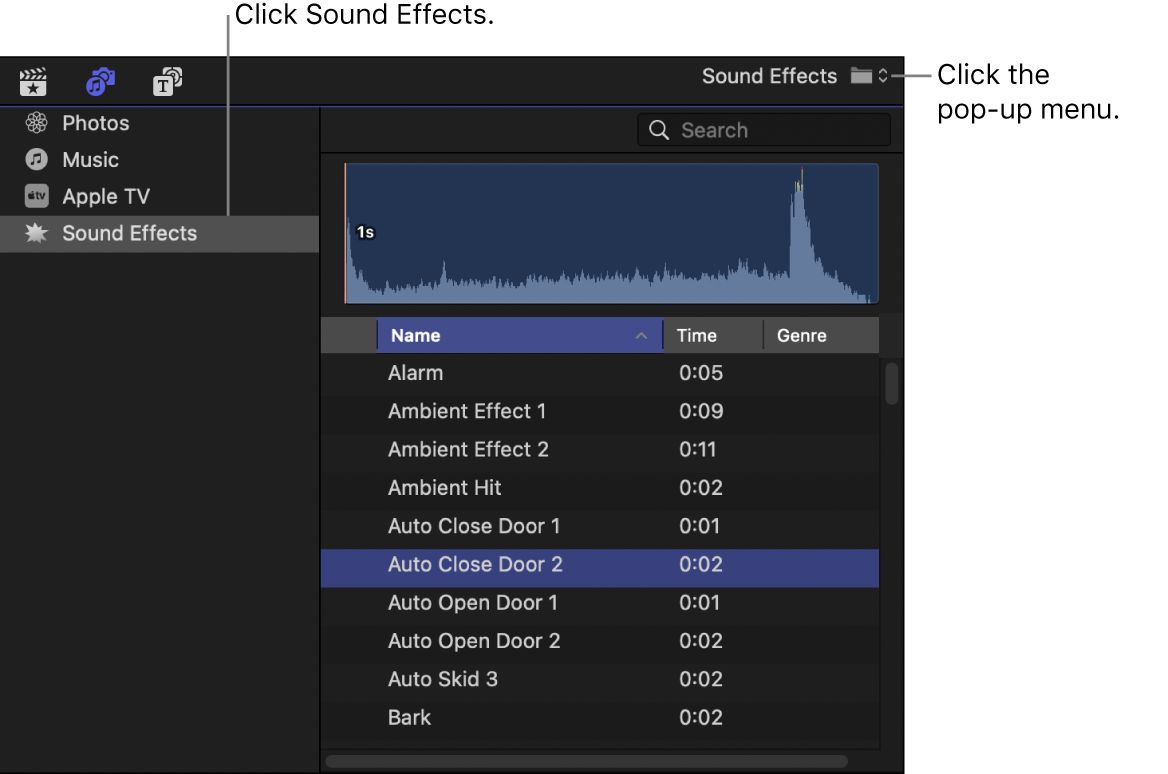
In the sidebar, select the Sound Effects category.
Click the pop-up menu above the search field in the upper-right corner of the browser.

Your custom audio folder and any subfolders appear in the Final Cut Pro Sound Effects section of the menu.
To access the clips in your custom audio folder, do any of the following:
Choose your custom audio folder (or any of its subfolders) from the pop-up menu.
Type text in the search field to search for clips by name.
The corresponding clips appear in the browser.
To add audio clips from your custom audio folder to your projects or libraries, see Add music and sound in Final Cut Pro for Mac.
Note: By default, Final Cut Pro assigns the Effects role to every clip that is added from the Sound Effects category of the Photos, Videos, and Audio sidebar. To change the role assignment for a clip, see View and reassign roles in Final Cut Pro for Mac.
Download this guide: Apple Books | PDF