Keynote User Guide for iPhone
- Welcome
- What’s new in Keynote 14.2
-
- Intro to Keynote
- Intro to images, graphs and other objects
- Create a presentation
- Choose how to navigate your presentation
- Open a presentation
- Save and name a presentation
- Find a presentation
- Print a presentation
- Copy text and objects between apps
- Basic touch screen gestures
- Create a presentation using VoiceOver
-
- Send a presentation
- Intro to collaboration
- Invite others to collaborate
- Collaborate on a shared presentation
- See the latest activity in a shared presentation
- Change a shared presentation’s settings
- Stop sharing a presentation
- Shared folders and collaboration
- Use Box to collaborate
- Create an animated GIF
- Post your presentation in a blog
- Copyright

Intro to images, graphs and other objects in Keynote on iPhone
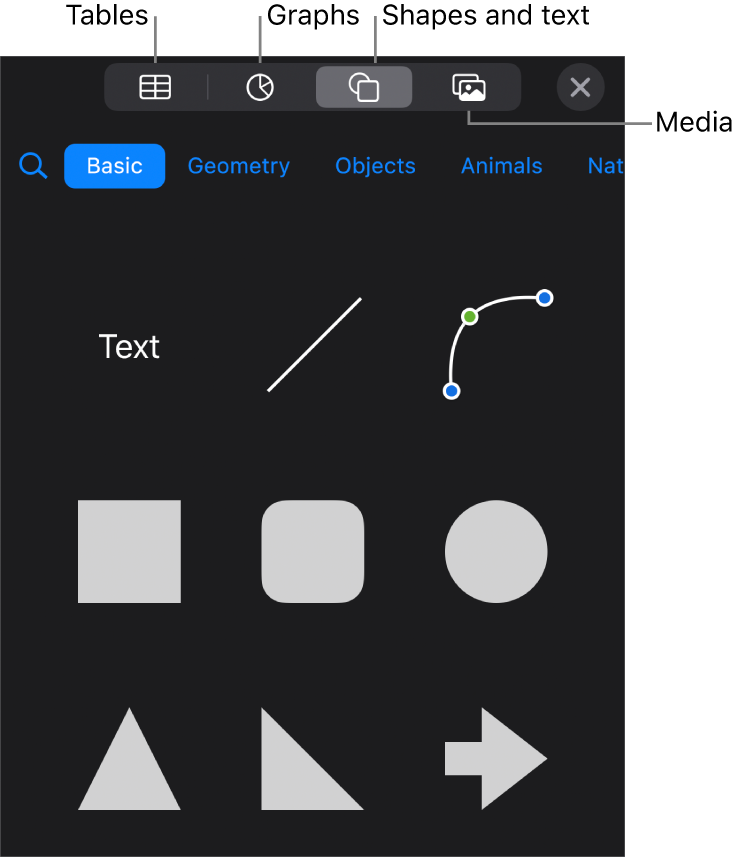
An object is any item you place on a slide. Tables, graphs, text boxes, shapes and photos are examples of objects. To add an object to a slide, tap ![]() , tap one of the object buttons at the top of the menu, then select an object.
, tap one of the object buttons at the top of the menu, then select an object.

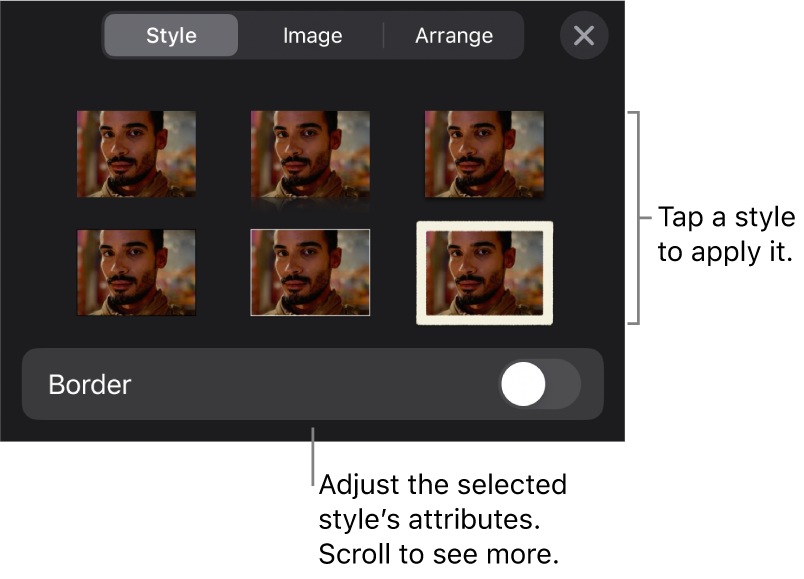
You can change the look of an object by modifying individual attributes of it — like its fill colour, border, shadow and more — or you can quickly change the overall appearance of an object by applying a pre-designed object style to it. Object styles are combinations of attributes that are designed to match the theme you’re using.
To see controls for changing the look of objects, tap an object to select it, then tap ![]() . Each object has its own formatting options; when you select an image, for example, you see only controls for formatting images.
. Each object has its own formatting options; when you select an image, for example, you see only controls for formatting images.

You can layer objects on a slide, resize them or nest them so they appear in-line with the text inside a text box or shape. You can also add a link to an object so that when you tap the object, a new slide, web page or email opens.