Keynote User Guide for Mac
- Welcome
- What’s new in Keynote 13.2
-
- Change object transparency
- Fill shapes and text boxes with color or an image
- Add a border to an object
- Add a caption or title
- Add a reflection or shadow
- Use object styles
- Resize, rotate, and flip objects
- Move and edit objects using the object list
- Add linked objects to make your presentation interactive
-
- Send a presentation
- Intro to collaboration
- Invite others to collaborate
- Collaborate on a shared presentation
- See the latest activity in a shared presentation
- Change a shared presentation’s settings
- Stop sharing a presentation
- Shared folders and collaboration
- Use Box to collaborate
- Create an animated GIF
- Post your presentation in a blog
-
- Use iCloud Drive with Keynote
- Export to PowerPoint or another file format
- Reduce the presentation file size
- Save a large presentation as a package file
- Restore an earlier version of a presentation
- Move a presentation
- Delete a presentation
- Password-protect a presentation
- Lock a presentation
- Create and manage custom themes
- Copyright

Layer, group, and lock objects in Keynote on Mac
You can work with and arrange the objects on a slide in a number of ways:
Layer (or stack) objects to create the appearance of depth
Group objects to more easily move, resize, or rotate them as a single unit
Lock objects to avoid inadvertently moving, modifying, or deleting them
Layer objects
Drag an object so it overlaps with one or more other objects.
In the Format
 sidebar, click the Arrange tab.
With the object selected, do one of the following:
Move an object one increment at a time: Click Forward or Backward.
Move an object to the very front or back of the stack: Click Front or Back.
You can select multiple objects to layer them all at once.
Tip: You can open the Arrange controls in a separate window that you can move anywhere. Choose View > Show Arrange Tools (from the View menu at the top of your screen). You can also add buttons to the toolbar for Forward, Backward, Front, and Back.
Group or ungroup objects
Group objects: Select multiple objects, then Control-click one of the objects and choose Group from the shortcut menu.
Ungroup objects: Control-click the group, then choose Ungroup from the shortcut menu.
Tip: You can add buttons to the toolbar for grouping and ungrouping objects.
Lock or unlock objects
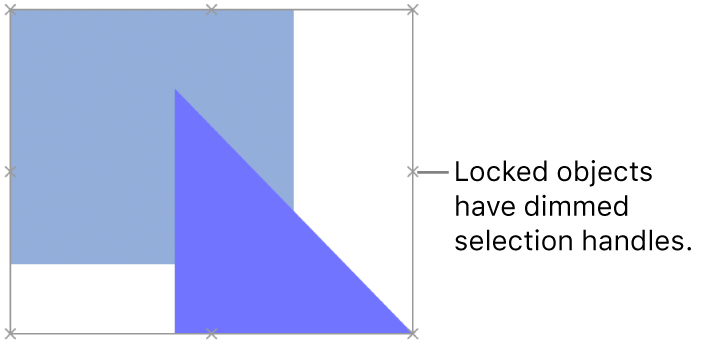
When an object is locked, you can’t move, delete, or modify it in any way until you unlock it.

Click an object to select it or select multiple objects.
Do either of the following:
Lock: Choose Arrange > Lock (from the Arrange menu at the top of your screen).
Unlock: Choose Arrange > Unlock.
Alternatively, select one or more objects. In the Format ![]() sidebar, click the Arrange tab, then click Lock or Unlock (near the bottom of the sidebar).
sidebar, click the Arrange tab, then click Lock or Unlock (near the bottom of the sidebar).
Tip: You can add buttons to the toolbar for locking and unlocking objects.
You can also overlap, group, and lock objects in the object list.