Move and delete taps in Delay Designer in Final Cut Pro
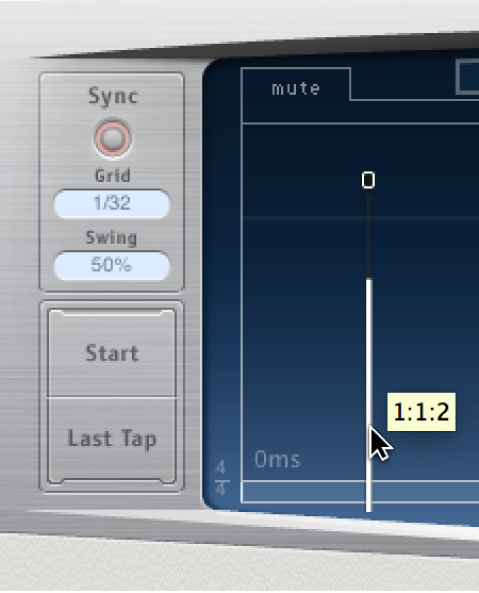
In the Delay Designer effect, you can move a tap backward or forward in time, or completely remove it.
Note: When you move a tap, you are actually editing its delay time.
Move a selected tap in time
In the Final Cut Pro timeline, select a clip with the Delay Designer effect applied, then open the effect’s settings in the Audio inspector.
For information about adding the effect and showing its controls, see Add Logic effects to clips in Final Cut Pro.
Select the tap in the Identification bar, and drag it to the left to go forward in time, or to the right to go backward in time.
This method also works when more than one tap is selected.
Note: Editing the Delay Time parameter in the Tap Delay field of the Tap parameter bar also moves a tap in time. For more details about the Tap Delay field and editing taps, see Delay Designer Tap parameter bar in Final Cut Pro.
Delete taps
In the Final Cut Pro timeline, select a clip with the Delay Designer effect applied, then open the effect’s settings in the Audio inspector.
For information about adding the effect and showing its controls, see Add Logic effects to clips in Final Cut Pro.
Do one of the following:
Delete a tap: Select it and press the Delete or Backspace key.
You can also select a tap letter in the Identification bar and drag it downward, out of the Tap display. This method also works when more than one tap is selected.

Delete all selected taps: Control-click (or right-click) a tap, and choose “Delete tap(s)” from the shortcut menu.