Final Cut Pro X User Guide
- Welcome
-
- What’s new in Final Cut Pro 10.4.9
- What’s new in Final Cut Pro 10.4.7
- What’s new in Final Cut Pro 10.4.6
- What’s new in Final Cut Pro 10.4.4
- What’s new in Final Cut Pro 10.4.1
- What’s new in Final Cut Pro 10.4
- What’s new in Final Cut Pro 10.3
- What’s new in Final Cut Pro 10.2
- What’s new in Final Cut Pro 10.1.2
- What’s new in Final Cut Pro 10.1
- What’s new in Final Cut Pro 10.0.6
- What’s new in Final Cut Pro 10.0.3
- What’s new in Final Cut Pro 10.0.1
-
- Intro to effects
-
- Intro to transitions
- How transitions are created
- Add transitions
- Set the default transition
- Delete transitions
- Adjust transitions in the timeline
- Adjust transitions in the inspector and viewer
- Merge jump cuts with the Flow transition
- Adjust transitions with multiple images
- Modify transitions in Motion
-
- Add storylines
- Use the precision editor
- Conform frame sizes and rates
- Use XML to transfer projects
-
-
- Intro to media management
-
- View a clip’s information
- Override a clip’s metadata
- Locate source media files
- Relink clips to media files
- Consolidate projects and libraries
- Back up projects and libraries
- Create optimized and proxy files
- Create a proxy-only project
- Manage render files
- View background tasks
- Convert incompatible media
- Create camera archives
- Glossary
- Copyright

Adjust 3D text lighting in Final Cut Pro
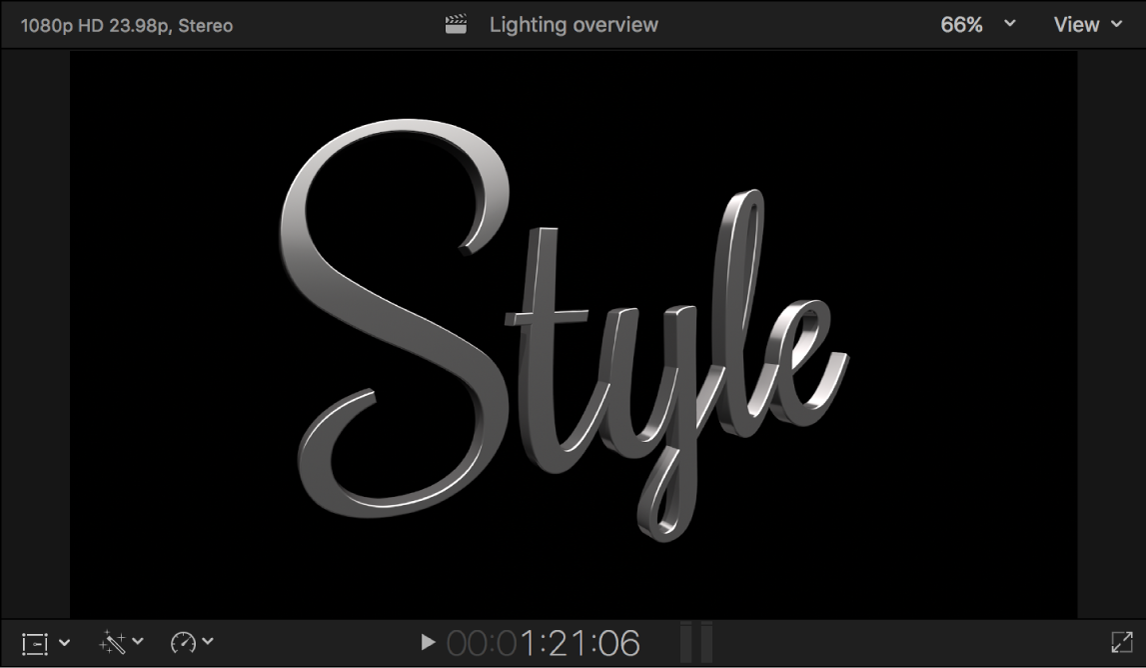
All 3D titles in Final Cut Pro have a set of built-in options that simulate basic lighting conditions, so you can create natural-looking scenes quickly and easily.

Modify the lighting style
Select a 3D title in the Final Cut Pro timeline.
If the inspector isn’t already shown, do one of the following:
Choose Window > Show in Workspace > Inspector (or press Command-4).
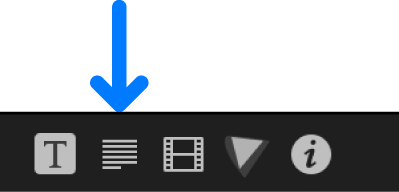
Click the Inspector button on the right side of the toolbar.

Click the Text button at the top of the inspector.

Tip: Double-click the top bar of the inspector to switch between half-height view and full-height view.
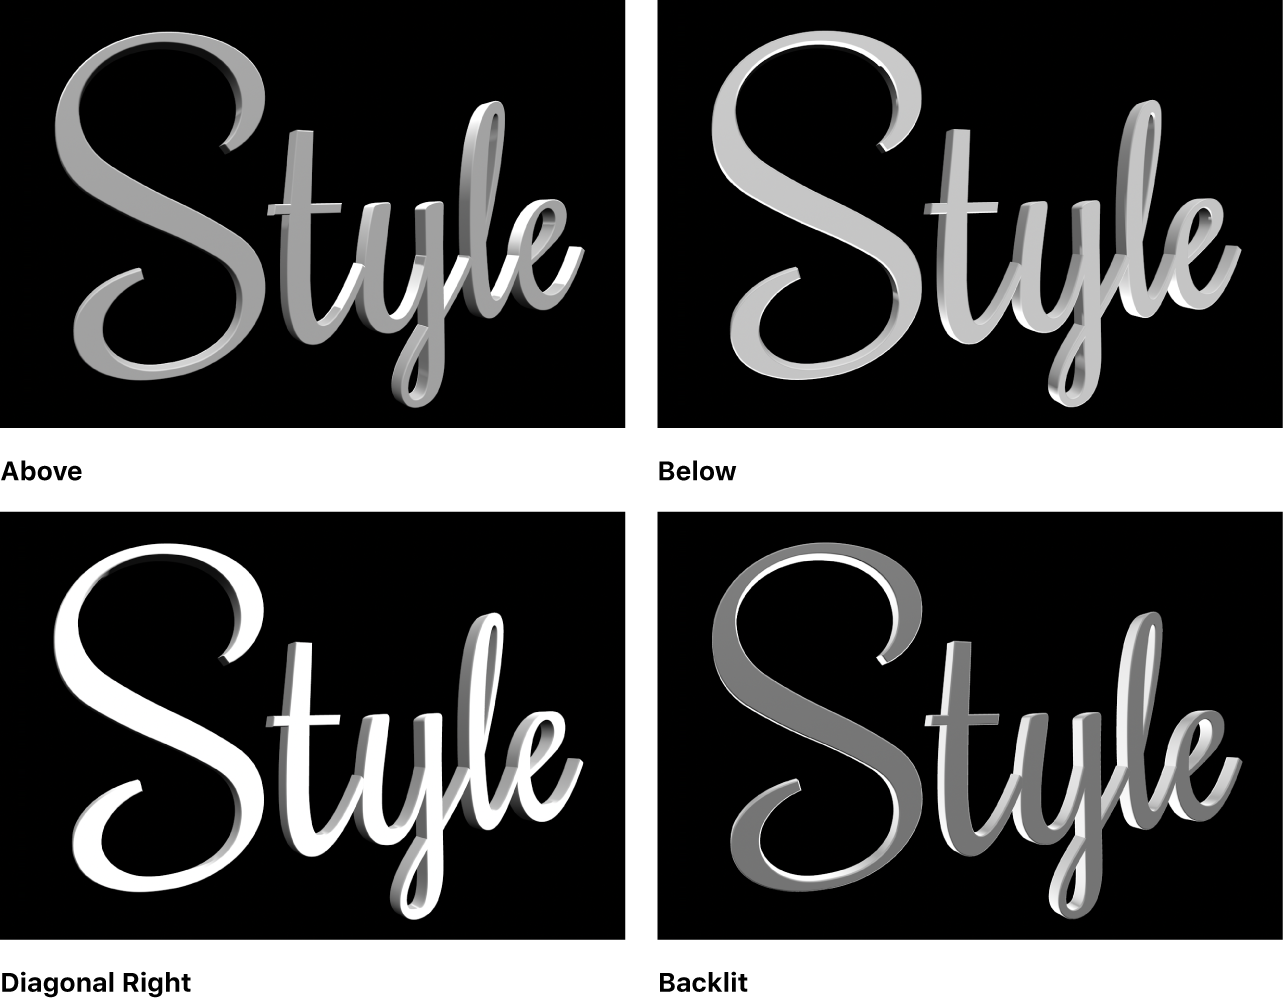
In the Lighting section of the 3D Text section, click the Lighting Style pop-up menu and choose a lighting style.

Tip: In the case of the Backlit option, default environmental light will cause some illumination to fall on the front surface of the title. To create an effect where the front of the object appears entirely unlit (like the Backlit preview sphere), deselect the Environment checkbox.
Drag the Intensity slider to increase or decrease the amount of illumination.
The following examples illustrate a few selected lighting styles using the default Soft Box Above lighting environment set to 80% intensity. For information about lighting environments, see Change the 3D text lighting environment in Final Cut Pro.

For a detailed list of all 3D text lighting controls, see Lighting controls in Final Cut Pro.
Control how 3D titles cast shadows
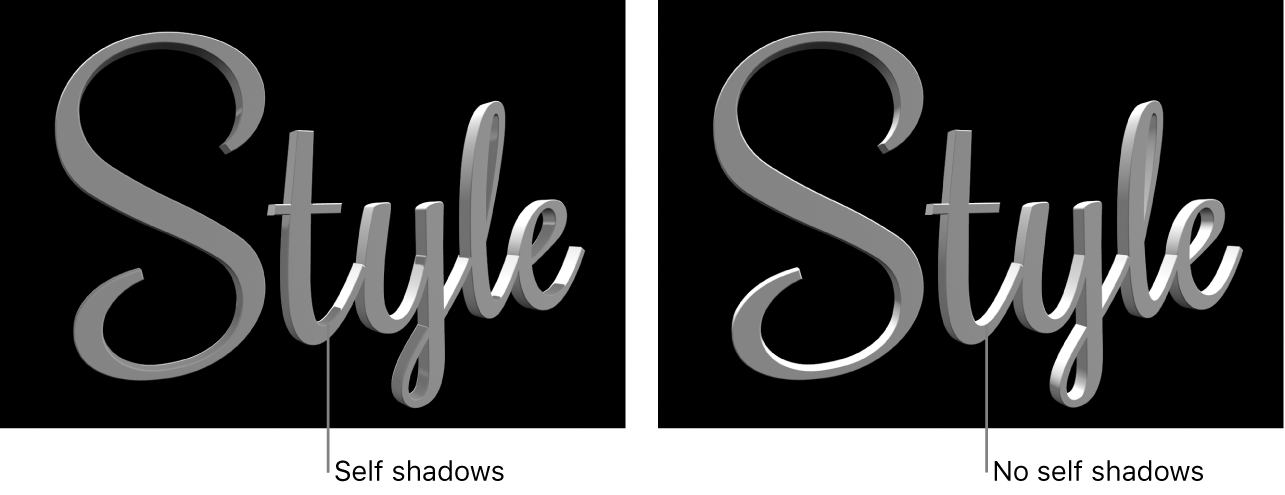
In the real world, complex objects often cast shadows on parts of themselves. You can simulate this effect in Final Cut Pro using the Self Shadows controls. The following examples show what 3D text looks like with Self Shadows turned on and off. Both examples use the Diagonal Left lighting style.

Select a 3D title in the Final Cut Pro timeline.
In the Lighting section of the 3D Text section of the Text inspector, select the Self Shadows checkbox.
Note: If Lighting Style is set to Off, the Self Shadows checkbox is hidden.
With self-shadows enabled, one part of a 3D title casts a shadow on another part of the same title (depending on the light source position). Although this effect can add realism to a text object, in some cases it may add unwanted or distracting shadows.
Click the disclosure triangle next to the Self Shadows checkbox to reveal additional controls, then do any of the following:
Decrease the visibility of self shadows: Drag the Opacity slider to the left.
Soften the edges of self shadows, making them more subtle: Drag the Softness slider to the right.