Final Cut Pro User Guide
- Welcome
-
- What’s new in Final Cut Pro 10.5.3
- What’s new in Final Cut Pro 10.5
- What’s new in Final Cut Pro 10.4.9
- What’s new in Final Cut Pro 10.4.7
- What’s new in Final Cut Pro 10.4.6
- What’s new in Final Cut Pro 10.4.4
- What’s new in Final Cut Pro 10.4.1
- What’s new in Final Cut Pro 10.4
- What’s new in Final Cut Pro 10.3
- What’s new in Final Cut Pro 10.2
- What’s new in Final Cut Pro 10.1.2
- What’s new in Final Cut Pro 10.1
- What’s new in Final Cut Pro 10.0.6
- What’s new in Final Cut Pro 10.0.3
- What’s new in Final Cut Pro 10.0.1
-
- Intro to effects
-
- Intro to transitions
- How transitions are created
- Add transitions
- Set the default transition
- Delete transitions
- Adjust transitions in the timeline
- Adjust transitions in the inspector and viewer
- Merge jump cuts with the Flow transition
- Adjust transitions with multiple images
- Modify transitions in Motion
-
- Add storylines
- Use the precision editor
- Conform frame sizes and rates
- Use XML to transfer projects
-
- Glossary
- Copyright

Final Cut Pro three-point edit examples
In Final Cut Pro, you can make precise edits using a combination of three (or sometimes two) edit points set in the browser and the timeline. See Intro to three-point editing in Final Cut Pro.
Here are a few examples of ways to make three-point edits.
Example: Make a three-point edit
The simplest way to perform a three-point edit is to specify start and end points for the source selection in the browser, and then specify the destination start point in your project by positioning the skimmer (or the playhead) in the timeline.
In Final Cut Pro, set start and end points (or select a range) for the source selection in the browser.
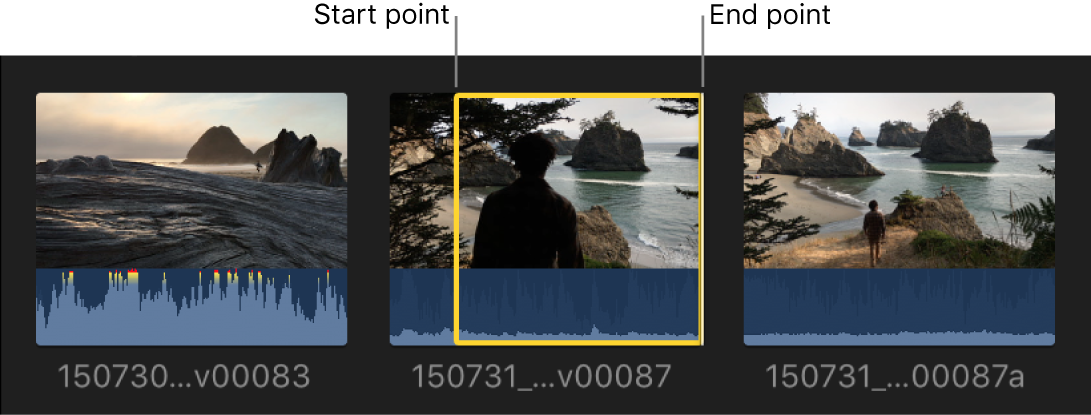
In the timeline, position the skimmer (or the playhead, if the skimmer is not present) at the location in your project where you want the clip to start (the destination start point).

To add the source selection to the project using an overwrite edit, press D.

The portion of your source selection between the start and end points appears in the timeline, starting at the skimmer position.
By defining only three points—the source selection start and end points in the browser and the destination start point in the timeline—you have total control of the edit.
Example: Make a backtimed three-point edit
You can make a three-point edit by defining source selection start and end points in the browser and a destination end point (instead of a destination start point) in the timeline. This is called backtiming a clip. You can use this method when you want to make sure a particular clip ends at a specific point in a project, on a musical beat. In the resulting edit, the end point of the media in the browser selection is aligned with the end point you set in the timeline, and the rest of the source selection appears to the left.
In Final Cut Pro, set start and end points (or select a range) for the source selection in the browser.

In the timeline, position the skimmer (or the playhead, if the skimmer is not present) at the location in your project where you want the clip to end.

Do any of the following:
Backtime the selection using a connect edit: Press Shift-Q.
Backtime the selection using an overwrite edit: Press Shift-D.
Your source selection is edited into the project so that the end point of the media in your source selection lines up with the end point you specified in the timeline.

The rest of your clip overwrites any material to the left of the end point for the duration defined by the source selection start and end points set in the browser.
Example: Make a three-point edit with multiple clips
You can make three-point edits with multiple clips at a time.
In Final Cut Pro, select two or more clips in the browser (don’t select a range within a single clip).
For information about selecting multiple clips, see Select clips in Final Cut Pro.
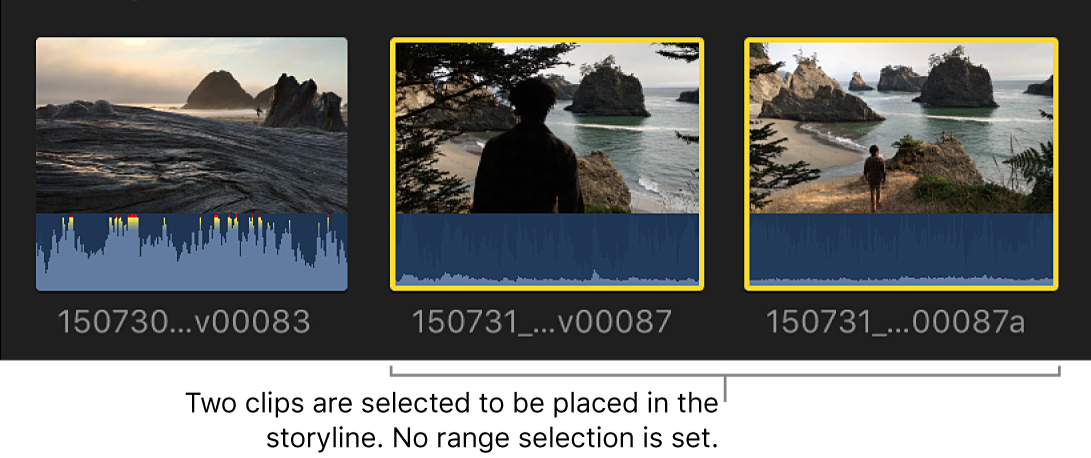
In the timeline, define a destination start point by positioning the skimmer at the location in your project where you want the clips to start.

To add the selected clips to the project using an overwrite edit, press D.
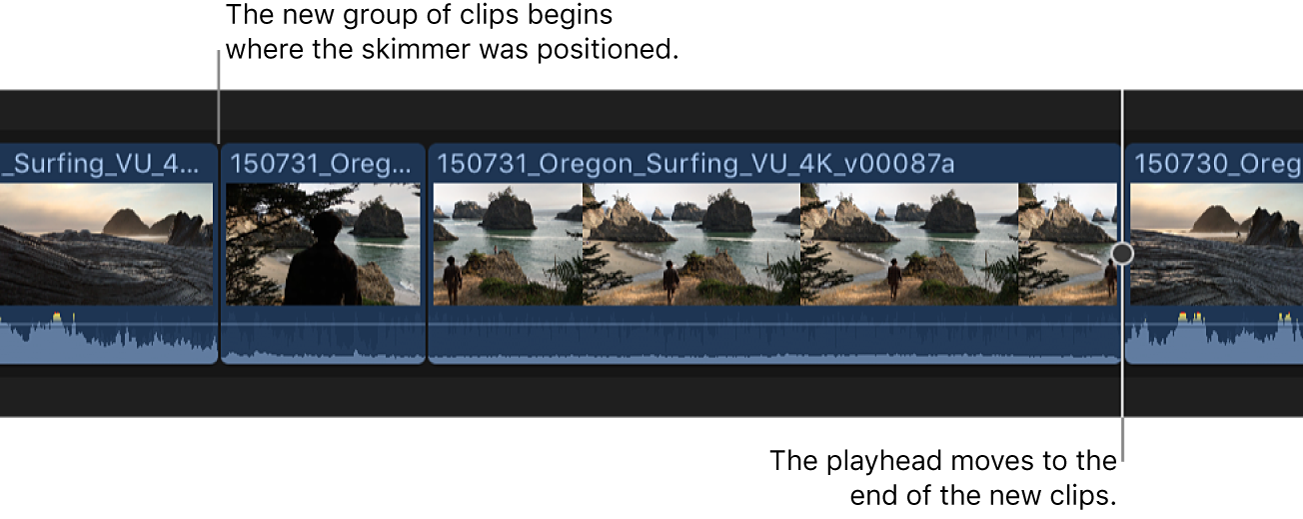
The entire group of clips selected in the browser is edited into the project. The clips are added in the order in which you selected them.
Because you used an overwrite edit, any clip items already in the project are overwritten by the clips selected in the browser, for the duration of the browser clips.
You can also make a three-point edit involving multiple clips in the timeline. To select a range across multiple clips in the timeline, you use the Range Selection tool ![]() or the I and O keys. See Select ranges in Final Cut Pro.
or the I and O keys. See Select ranges in Final Cut Pro.
Example: Make a two-point edit
You can make an edit without any selections in either the browser or the timeline. This is known as a two-point edit. In this case, Final Cut Pro acts on the current clip in the browser from the position of the skimmer or playhead to the end of the clip, and on the project in the timeline from the position of the skimmer or playhead forward.
You can also make backtimed two-point edits, in which Final Cut Pro acts on the current clip in the browser and the project in the timeline from the skimmer or playhead position back.
In either case, the duration of the edit is determined by the skimmer or playhead position and the end of the clip in the browser.
To specify a source selection start point in the Final Cut Pro browser, move the skimmer or playhead to the location where you want the edit to start (but don’t make any selections).
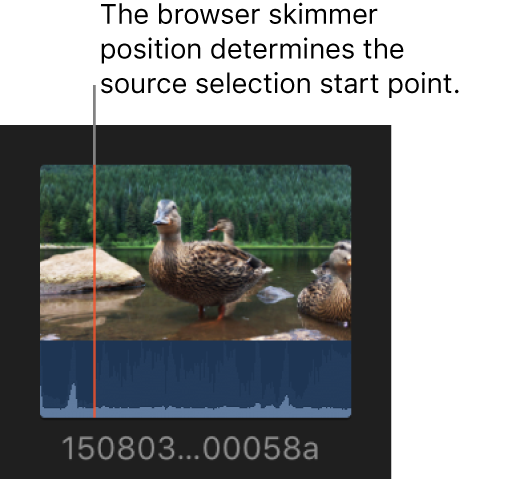
To specify a destination start point in the timeline, move the skimmer or playhead to the location where you want the edit to start (but don’t make any selections).

To add the clip to the project using an overwrite edit, press D.
