
Connect clips in Final Cut Pro
In Final Cut Pro, you can attach clips to other clips in the timeline. Connected clips remain attached and synced until you explicitly move or remove them.

Some uses for connected clips include:
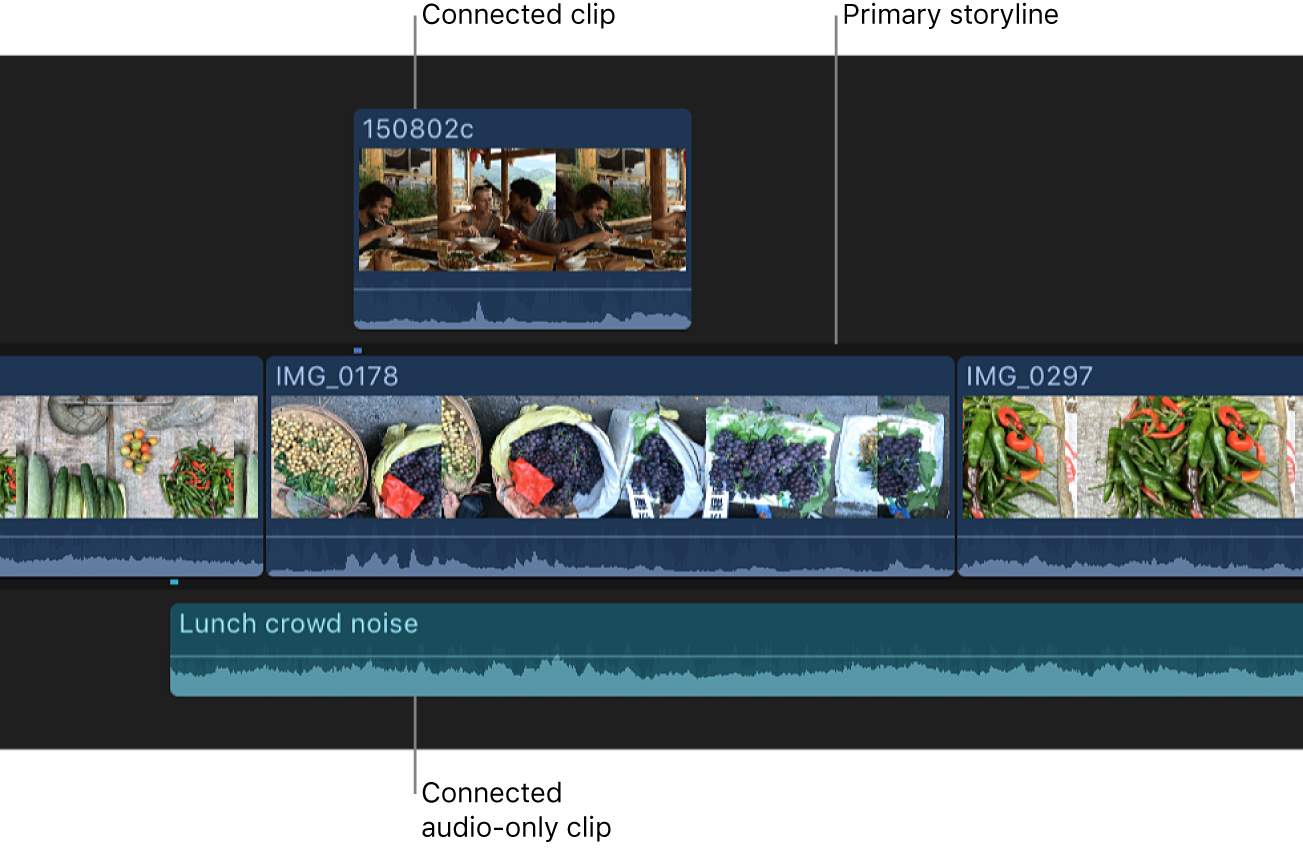
Cutaway shots: Add a cutaway shot by connecting it to a video clip in the timeline.
Superimposed titles: Add a title or a lower third to a video clip or range.
Spot sound effects and background music: Sync audio clips to clips in the primary storyline. The clips remain synced even if you move the primary storyline clips.
When you connect clips using the Connect menu command, the keyboard shortcut, or the button above the timeline, video clips are connected above the primary storyline, and audio clips are connected below the primary storyline.
Note: You can also use three-point editing to make connect edits. See Intro to three-point editing in Final Cut Pro.
Connect clips in the timeline
If your Final Cut Pro project is empty, add clips to the dark gray primary storyline area in the timeline to build your initial sequence.
The clips in the primary storyline serve as a foundation on which you connect (attach) clips to further build your project. Connect edits are slightly different from the other edit types in that they never add clips to the primary storyline. If you perform a connect edit in an empty timeline, a gap clip is first added to the primary storyline, and then the new connected clip is attached to the gap clip.
To indicate where you want to connect the selected source clip, do one of the following:
Position the playhead over a frame of the clip in the primary storyline.

Select a range in the primary storyline.
To connect the selected clips to the clips in the primary storyline, do one of the following:
Choose Edit > Connect to Primary Storyline (or press Q).
Note: If you use the keyboard shortcut and the skimmer is present in the timeline, the clip is connected at the skimmer position.
Click the Connect button in the top-left corner of the timeline.

Drag the clips to the gray area above or below the primary storyline.
The first frame of the source selection is connected to the clip in the primary storyline at the playhead or skimmer position. If you dragged the selection to the timeline, the first frame of the source selection is connected to the primary storyline at the point where you released the mouse or trackpad button.
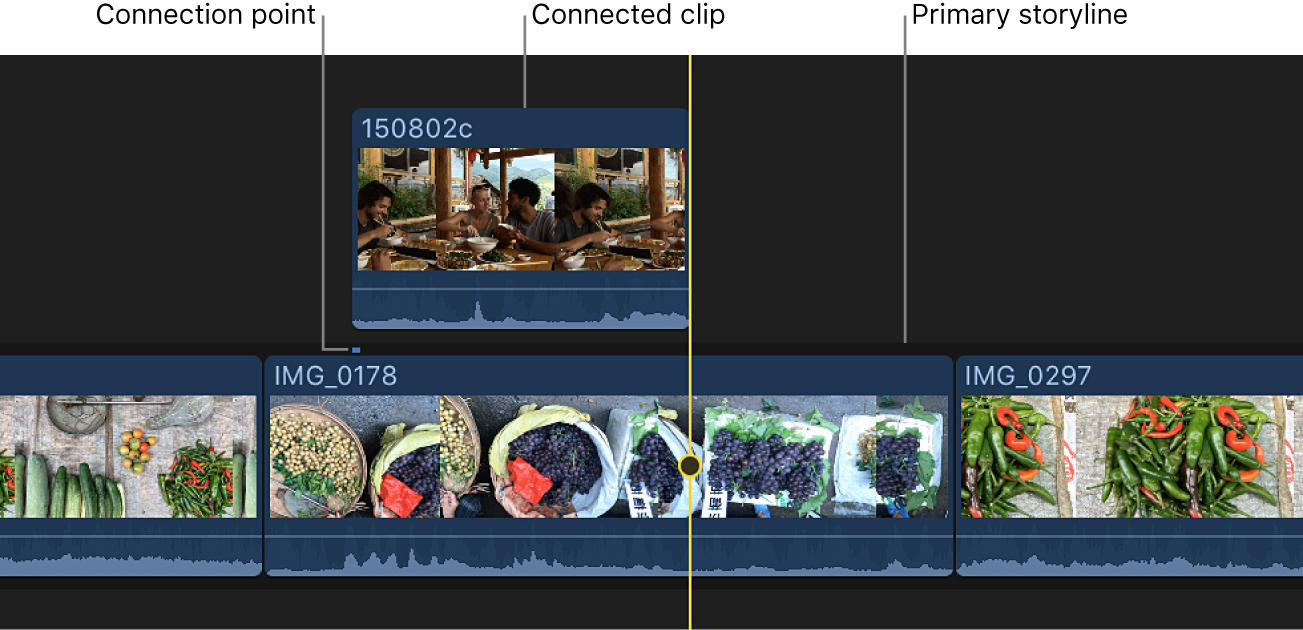
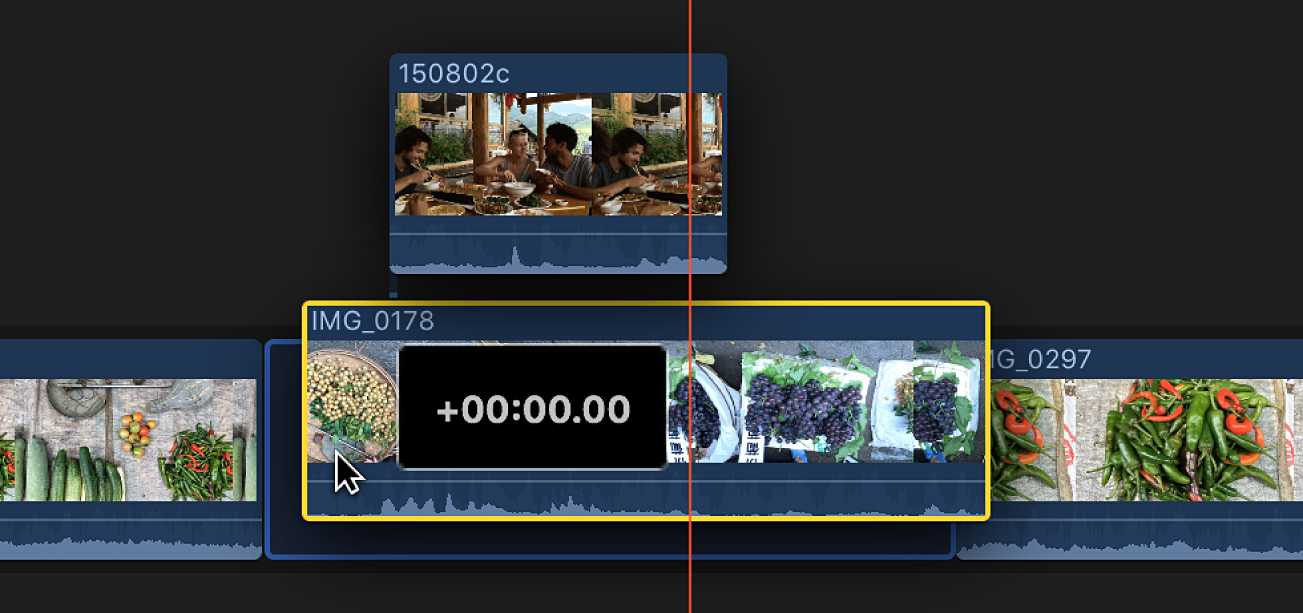
When you rearrange, move, ripple, or delete clips in the primary storyline, any clips connected to them are moved or deleted along with the primary storyline clips.
When you connect clips by dragging them, you have the option to put video clips either above or below the primary storyline.
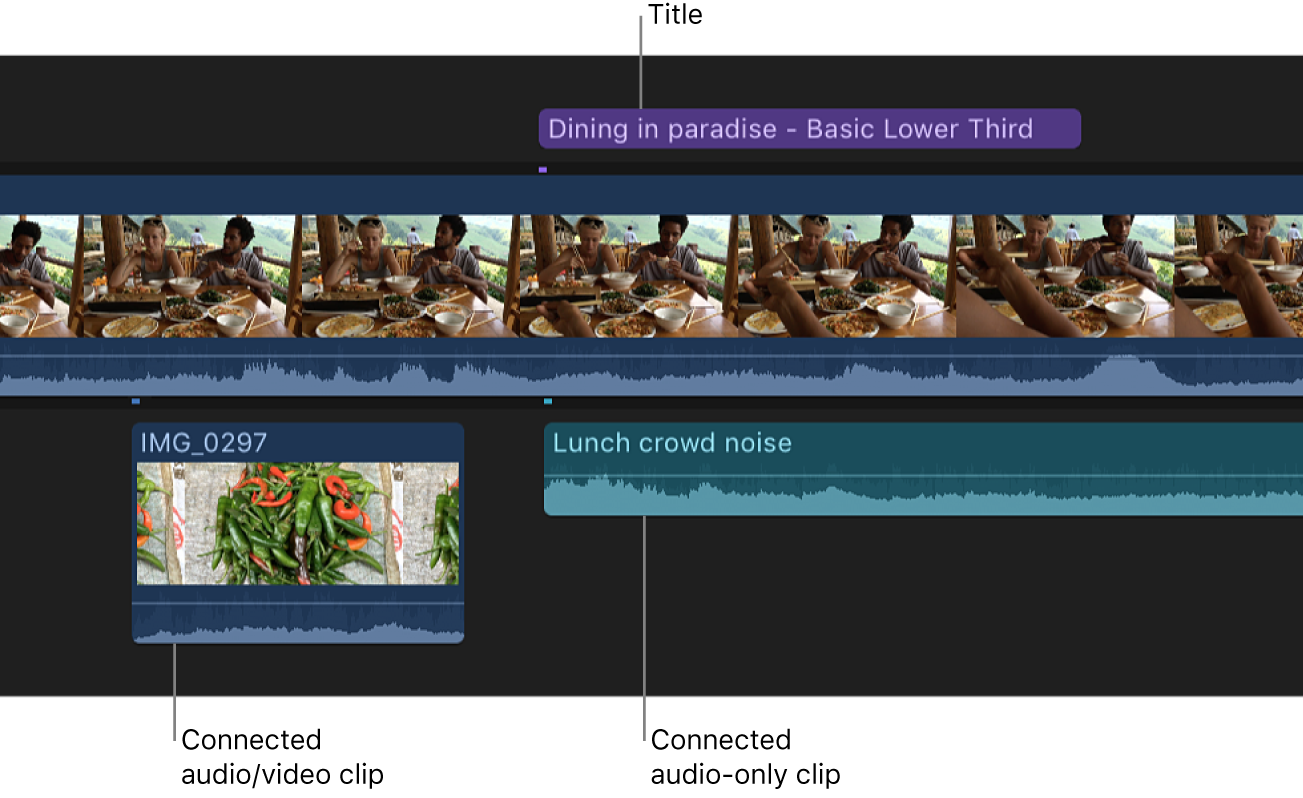
Note: In Final Cut Pro, if you connect clips, the topmost video clips block out any video clips below them. Exceptions to this rule are clips with some type of transparency, keying, or compositing settings. See Intro to compositing in Final Cut Pro. Audio clips never affect video output, even when they’re placed above video clips in the timeline.
Adjust the connection point of a connected clip
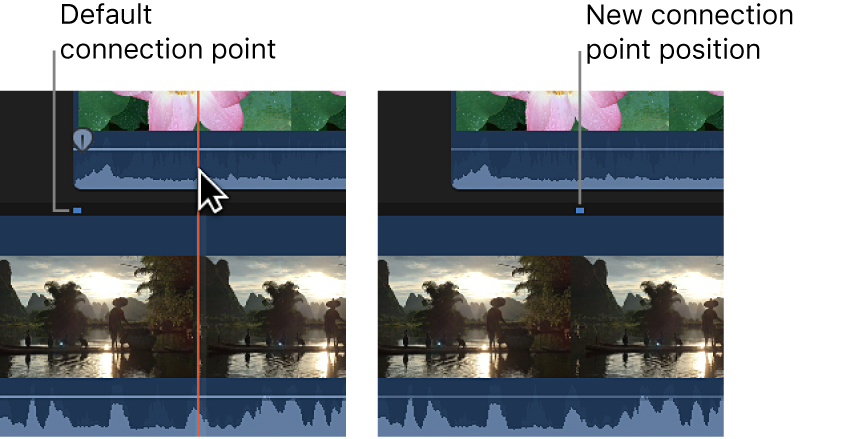
By default, connected clips and storylines are connected to the primary storyline at their first frame, but you can move the connection point. This is useful when you want to connect a specific frame or audio sample in the connected clip or storyline to a specific frame or audio sample in the primary storyline.
In Final Cut Pro, hold down the Command and Option keys, then click the connected clip (or the gray border of the storyline) at the point where you want to position the connection point.
The connection point is moved to the point where you clicked.
Edit clips in the primary storyline without affecting connected clips
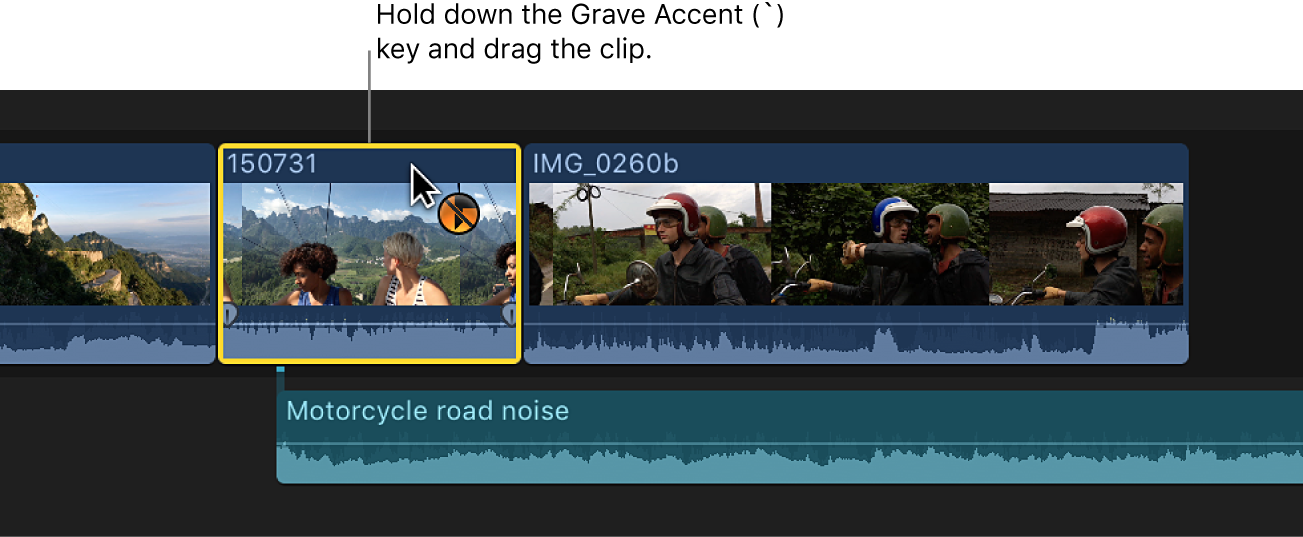
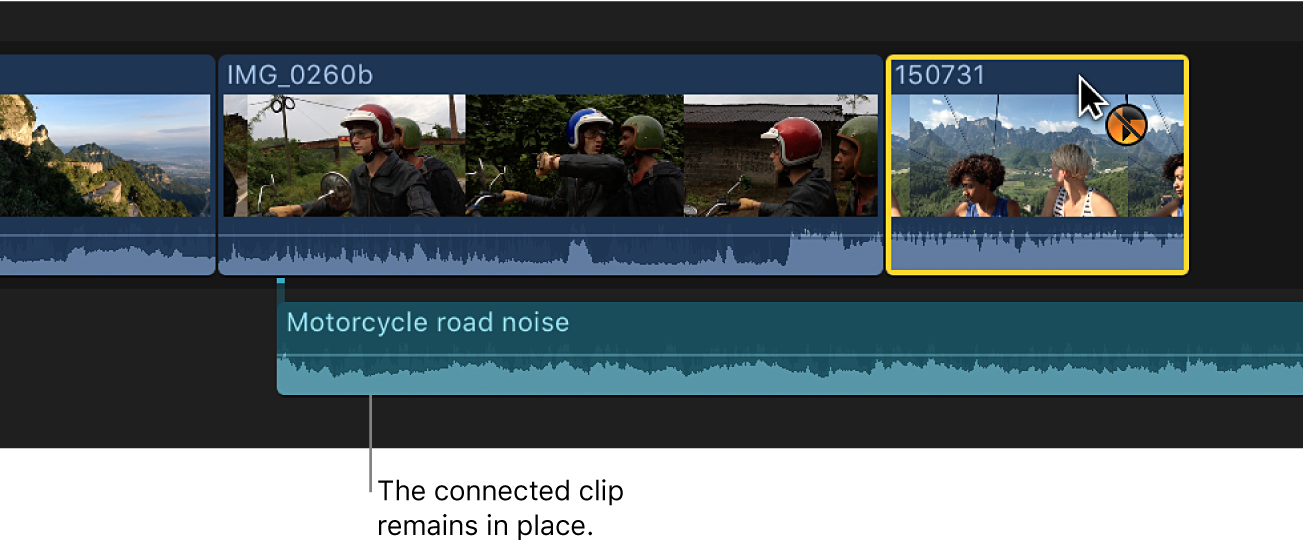
If you need to move, trim, or delete clips in the primary storyline but want to keep any connected clips where they are, you can hold down the Grave Accent (`) key while editing to preserve the timing and position of connected clips.
In Final Cut Pro, do any of the following:
Move a clip without affecting connected clips: While holding down the Grave Accent (`) key, drag the clip to another location in the timeline (using either the Select tool or the Position tool).
Trim a clip without affecting connected clips: While holding down the Grave Accent (`) key, trim the clip using any method, including ripple edits, roll edits, slip edits, and slide edits.
Delete a clip without affecting connected clips: While holding down the Grave Accent (`) key, select the clip and press Delete (or press Option-Command-Delete).
If you remove clips or ranges involved with connected clips and storylines without holding down the Grave Accent (`) key, special rules apply. See Remove clips from projects in Final Cut Pro.
Switch to an alternate clip in an audition without affecting connected clips: While holding down the Grave Accent (`) key, select the pick in the Audition window.
In all of these cases, the connected clip (or clips) remains in exactly the same position, with its timing preserved.