
Intro to Disk Utility on Mac
You can use Disk Utility on your Mac to manage internal and external storage devices. Using Disk Utility, you can:
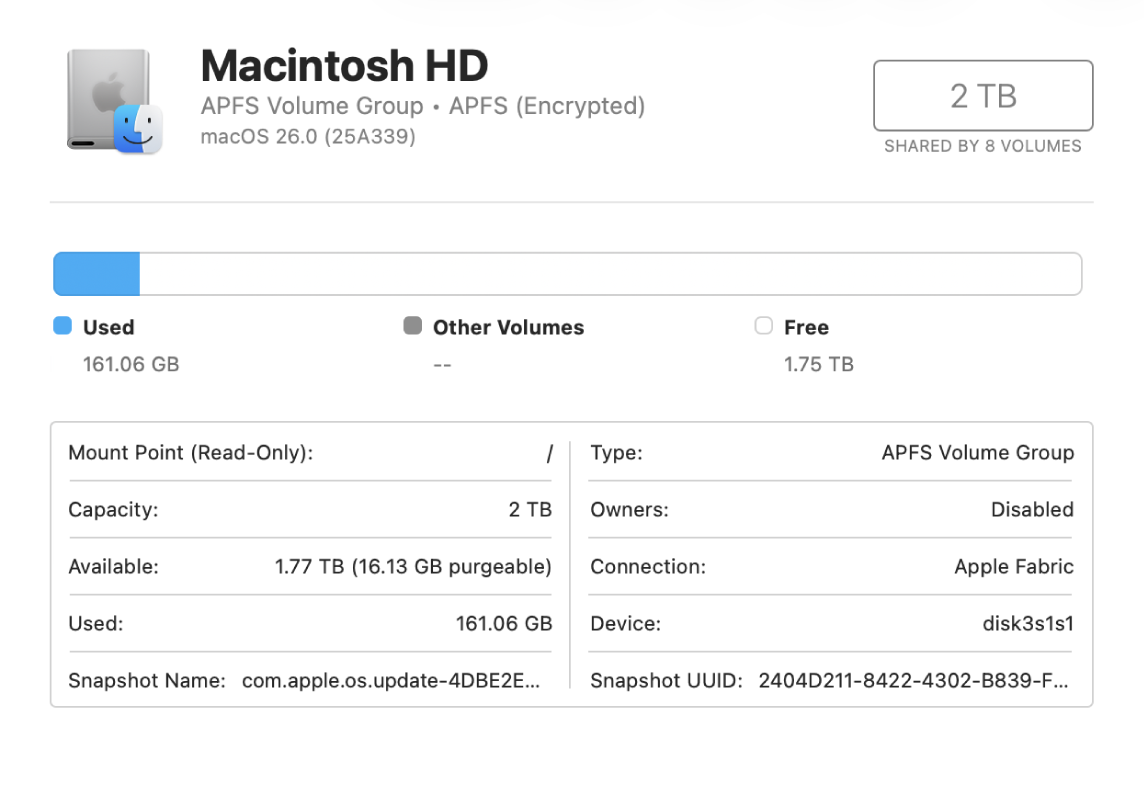
Format and manage volumes on physical storage devices.
Create a disk image, a single file you can use to move files from one computer to another or to back up and archive your work.
Combine multiple hard disks into a RAID set that acts as a single disk. Using multiple hard disks in a RAID set can increase the performance, reliability and storage capacity of your data storage system, depending on the type of set you choose.
Check for and repair errors on your disks and volumes.
On your Mac, use one of the following methods to open Disk Utility:
Use Apps: Click
 in the Dock, type Disk Utility in the search field, then click .
Use the Finder: In the Finder
 on your Mac, choose Go > Utilities, then double-click the Disk Utility icon. (Disk Utility is located in the /Applications/Utilities folder.)
Open Disk Utility in macOS Recovery: Start up your Mac in macOS Recovery, choose Disk Utility in the Recovery app window, then click Continue. See Intro to macOS Recovery.
Use Disk Utility in macOS Recovery when you need to completely erase your internal storage device and reinstall macOS.
Note: If you want to get your Mac ready to trade in, sell or give away, and your computer is a Mac with Apple silicon or an Intel-based Mac with an Apple T2 Security Chip, use Erase Assistant. See Erase your Mac.