Final Cut Pro User Guide
- Welcome
-
- What’s new in Final Cut Pro 10.6.2
- What’s new in Final Cut Pro 10.6
- What’s new in Final Cut Pro 10.5.3
- What’s new in Final Cut Pro 10.5
- What’s new in Final Cut Pro 10.4.9
- What’s new in Final Cut Pro 10.4.7
- What’s new in Final Cut Pro 10.4.6
- What’s new in Final Cut Pro 10.4.4
- What’s new in Final Cut Pro 10.4.1
- What’s new in Final Cut Pro 10.4
- What’s new in Final Cut Pro 10.3
- What’s new in Final Cut Pro 10.2
- What’s new in Final Cut Pro 10.1.2
- What’s new in Final Cut Pro 10.1
- What’s new in Final Cut Pro 10.0.6
- What’s new in Final Cut Pro 10.0.3
- What’s new in Final Cut Pro 10.0.1
-
- Intro to effects
-
- Intro to transitions
- How transitions are created
- Add transitions
- Set the default transition
- Delete transitions
- Adjust transitions in the timeline
- Adjust transitions in the inspector and viewer
- Merge jump cuts with the Flow transition
- Adjust transitions with multiple images
- Modify transitions in Motion
-
- Add storylines
- Use the precision editor
- Conform frame sizes and rates
- Use XML to transfer projects
-
- Glossary
- Copyright

Apply preset text styles in Final Cut Pro
Final Cut Pro comes with preset text styles (in 2D and 3D) that you can apply to text. A text style is a group of style settings. You can also create your own custom text styles and save them as presets. You apply preset text styles using the pop-up menu at the top of the Text inspector.

Apply preset text styles to titles
In Final Cut Pro, do one of the following:
Double-click a title clip in the timeline.
The title appears in the viewer, and the text in the first text object in the title clip is selected.
Select multiple title clips in the timeline.
Tip: Use the timeline index to easily select multiple titles in your timeline. Click the Clips button at the top of the of the timeline index, then click the Titles button at the bottom. See View your project in the timeline index in Final Cut Pro.
If the inspector isn’t already shown, do one of the following:
Choose Window > Show in Workspace > Inspector (or press Command-4).
Click the Inspector button on the right side of the toolbar.

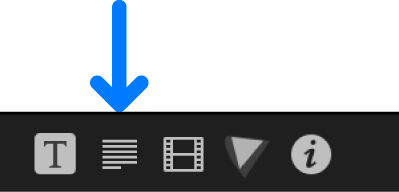
Click the Text button at the top of the inspector.

Tip: Double-click the top bar of the inspector to switch between half-height view and full-height view.
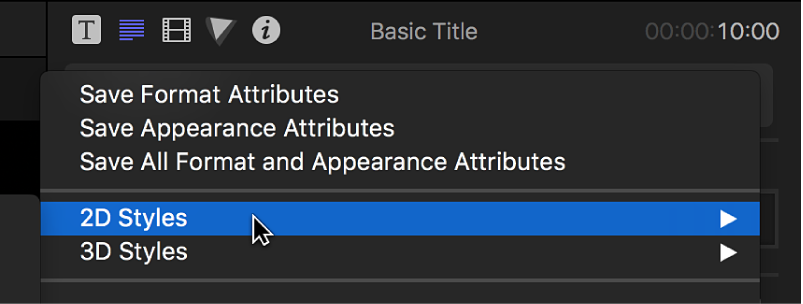
Click the pop-up menu at the top of the Text inspector and choose 2D Styles or 3D Styles.

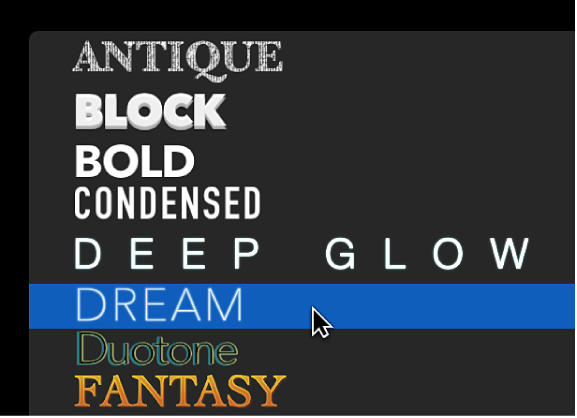
Choose a text style from the submenu that appears.

The text style is applied to the selected title clips.
Save and apply custom text styles
Double-click a title clip in the Final Cut Pro timeline.
The title appears in the viewer, and the text in the first text object in the title clip is selected.
If the inspector isn’t already shown, do one of the following:
Choose Window > Show in Workspace > Inspector (or press Command-4).
Click the Inspector button on the right side of the toolbar.

Click the Text button at the top of the inspector.

Tip: Double-click the top bar of the inspector to switch between half-height view and full-height view.
Make any custom changes to the font or style in the Text inspector.
Click the pop-up menu at the top of the Text inspector and choose one of the following:
Save Format Attributes: Saves basic text attributes, including font, size, alignment, tracking, and line spacing.
Save Appearance Attributes: Saves effects such as text color, outline color, glow, drop shadow, and so on.
Save All Format and Appearance Attributes: Saves both format attributes and style attributes.
In the Save Preset to Library window, type a name for your new custom preset.
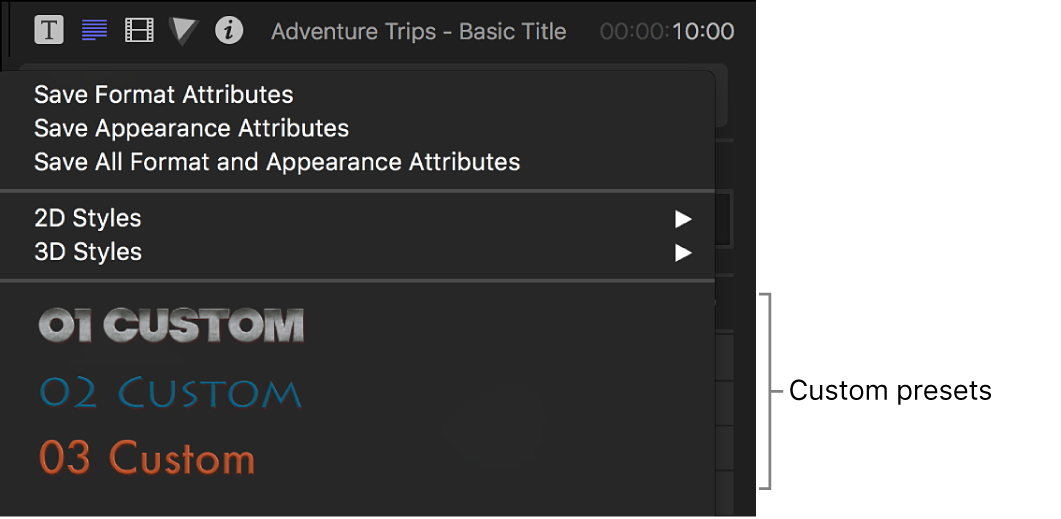
The custom text style is saved and appears in alphabetical order in the pop-up menu at the top of the Text inspector.

To apply the new preset to another title, select the title in the timeline, then click the pop-up menu at the top of the Text inspector and choose the preset.
Organize your saved custom text styles
Quit Final Cut Pro.
In the Finder, hold down the Option key and choose Go > Library.
Navigate to /Users/username/Library/Application Support/Motion/Library/Text Styles/.
The Text Styles folder contains the custom text styles you’ve created. Each text style has three files: a file with the extension .molo, a file with the extension .png that is the preview of the text style, and a file with “_menu” appended to the end of the style’s name (also with a .png extension). The name of the text style appears in the preset menu with the style’s attributes applied to the name.
Create one or more folders and drag the corresponding .molo files and .png files to those folders.
The next time you open Final Cut Pro, the folders appear as categories in the pop-up menu at the top of the Text inspector.
Remove custom text styles
Quit Final Cut Pro.
In the Finder, hold down the Option key and choose Go > Library.
Navigate to /Users/username/Library/Application Support/Motion/Library/Text Styles/.
The Text Styles folder contains the custom text styles you’ve created. Each text style has three files: a file with the extension .molo, a file with the extension .png that is the preview of the text style, and a file with “_menu” appended to the end of the style’s name (also with a .png extension). The name of the text style appears in the preset menu with the style’s attributes applied to the name.
For each custom text style you want to remove, move the .molo file and the .png files to the Trash.
To reset Final Cut Pro preferences, press Option-Command while opening Final Cut Pro.
When Final Cut Pro opens, the custom text styles no longer appear in the pop-up menu at the top of the Text inspector.
Download this guide: Apple Books | PDF