
Adjust white balance
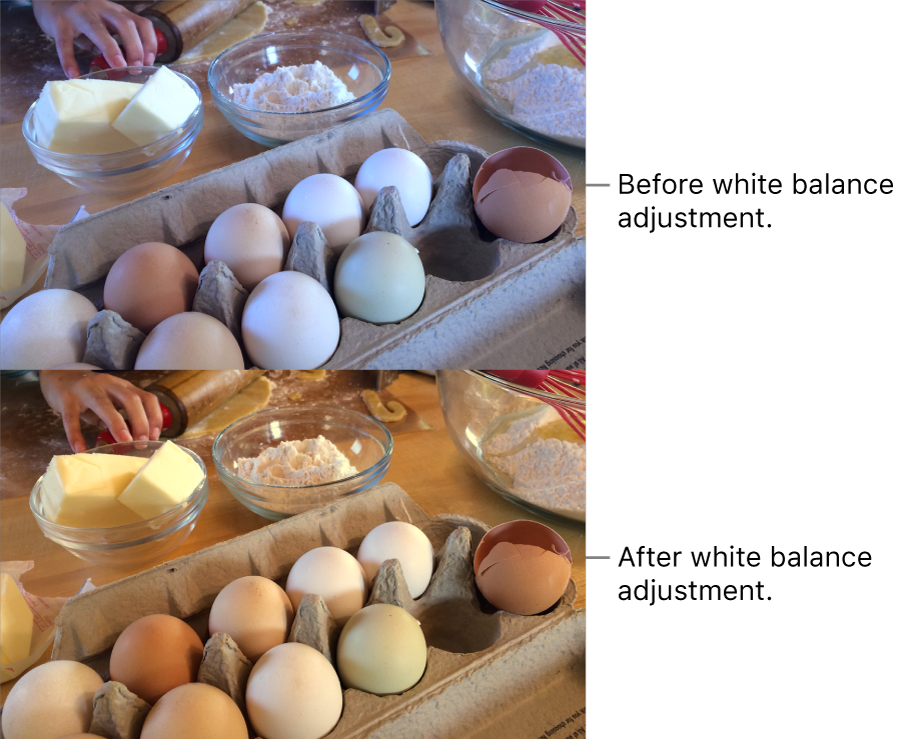
If there’s an area in a photo that you know should be white or gray, but appears off-color, you can balance the photo’s overall color (known as color cast). Sometimes photos may have an undesirable cast due to lighting conditions—for example, a photo may have a yellow or orange cast from the light fixtures in the location where the photo was taken. By changing white balance, you can adjust the white areas in a photo to remove the color cast and make them appear more white.
Double-click a photo, then click Edit in the toolbar.
Click Adjust in the toolbar.
In the Adjust pane, click the disclosure triangle next to White Balance.
Click the pop-up menu and choose the type of white balance correction you’d like to make. Click the Eyedropper button
 and click the eyedropper in a corresponding area of the photo.
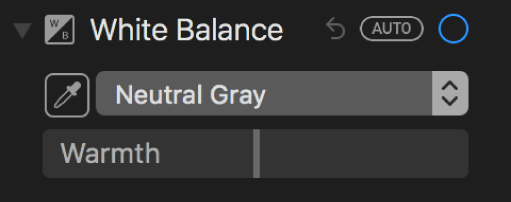
Neutral Gray: Balances the warmth of an image based on natural gray.
Click the eyedropper in a neutral gray area in the photo to automatically adjust the gray areas of your photo.
Skin Tone: Balances the warmth of an image based on skin tones.
Click the eyedropper in a person’s skin in the photo to automatically adjust the skin tones of your photo.
Temperature/Tint: Balances the warmth of an image by adjusting color temperatures (blue-to-yellow) and tint (green-to-magenta).
Click the eyedropper in a neutral gray area in the photo to automatically adjust the temperature and tint of grays of your photo.