Add or reply to comments in Keynote for iCloud
You can add comments to text, objects, and table cells. Comments are indicated by a square marker to the left of the object (text is also highlighted), or a triangle in the corner of table cells. If you don’t want comments to be visible, you can hide them.
When multiple people are working on a presentation, each person’s comments appear in a unique color and include their author name. Anyone can reply to a comment, which is especially useful if you’re collaborating—you can add a comment, then with back-and-forth replies, have a conversation in real time.

Note: Neither comments nor highlights are visible in printed presentations.
Add, edit, or delete a comment
You can add and edit your own comments, and anyone can delete a comment.
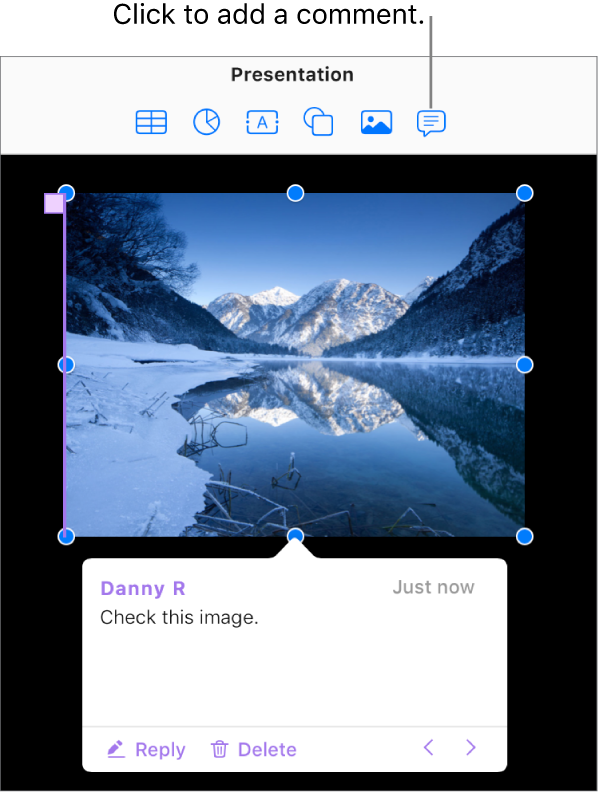
Select some text, an object, or a table cell, then click the Comment button
 in the toolbar.
Note: If you click the background of the slide (so that nothing is selected), you can add a comment to the slide that always stays open. You can resize the comment and reposition it on the slide. Others can’t reply to this type of comment.
Type your comment, then click Done (or click outside the comment).
If you click outside the comment before you type any text, the comment is discarded (unless it’s a comment for the slide, in which case it remains open and empty).
To view, edit, or delete your comment, do one of the following:
Open or close a comment: Move your pointer over or away from the object, table cell, or highlighted text. You can also click the comment marker.
Edit a comment: Open the comment, click in the text, then type. To cancel your changes, press the Esc (Escape) key before you click Done.
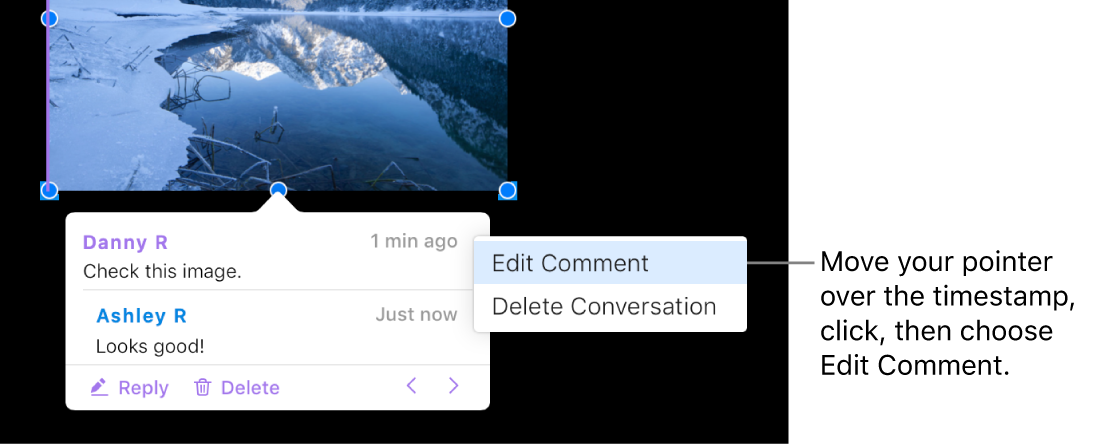
Note: If you share your presentation and someone replies to your comment, you can no longer edit your original comment by clicking its text. Instead, move the pointer over the timestamp to the right of your name at the top of the comment. When the down arrow appears, click it, choose Edit Comment, then make your changes.

Delete a comment: Click Delete at the bottom of the comment. If there are replies to the comment, this action deletes the entire conversation.
Note: You can delete an individual reply only if you’re the author of the reply or the presentation owner.
Reply to a comment or edit your reply
Anyone you share the presentation with—by sending them a copy or inviting them to collaborate (with editing privileges)—can reply to a comment.
If you’re signed in to iCloud.com when you add a reply, only you can edit your reply; if you’re not signed in, anyone who has joined the shared presentation can edit your reply.
Click the comment marker (or move the pointer over highlighted text).
Do any of the following:
Add a reply: Click Reply at the bottom of the comment, type your reply, then click Done.
You can add as many replies as you like.

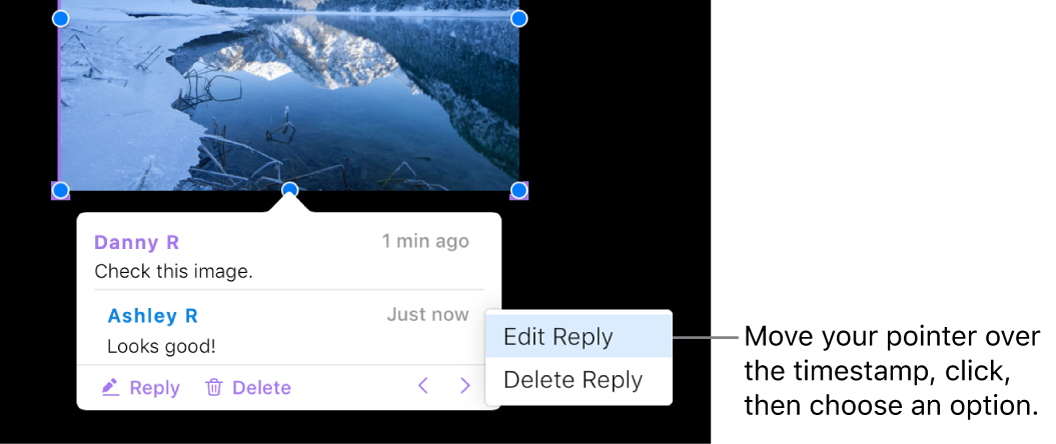
Edit your reply: Move the pointer over the timestamp (to the right of your name) for the reply. When the down arrow appears, click it, then choose Edit Reply. Make your changes then click Done.

Delete a reply: Move the pointer over the timestamp to the right of your name (or if you’re the presentation owner, the person’s reply you want to delete). When the down arrow appears, click it, then choose Delete Reply.
Review comments
Click a comment marker (or move the pointer over highlighted text).
Do any of the following:
Review a comment or conversation: Scroll through the text. If a comment or reply is truncated, click “Show more.” If replies are hidden, click the view more replies link.
Go to the next or previous comment (or highlight) in the presentation: Click the arrows at the bottom of a comment.
View the date and time that a comment or reply was added: Move the pointer over the timestamp in the upper right.
Delete a conversation
Click the comment marker (or move the pointer over highlighted text), then click Delete at the bottom of the conversation.
Show or hide comments
If you don’t want to see comments in your presentation, you can hide them.
Click the View button
 in the toolbar, then choose Show Comments or Hide Comments.
Commented text uses a color unique to the comment’s author, but you can also change your author name and color.