
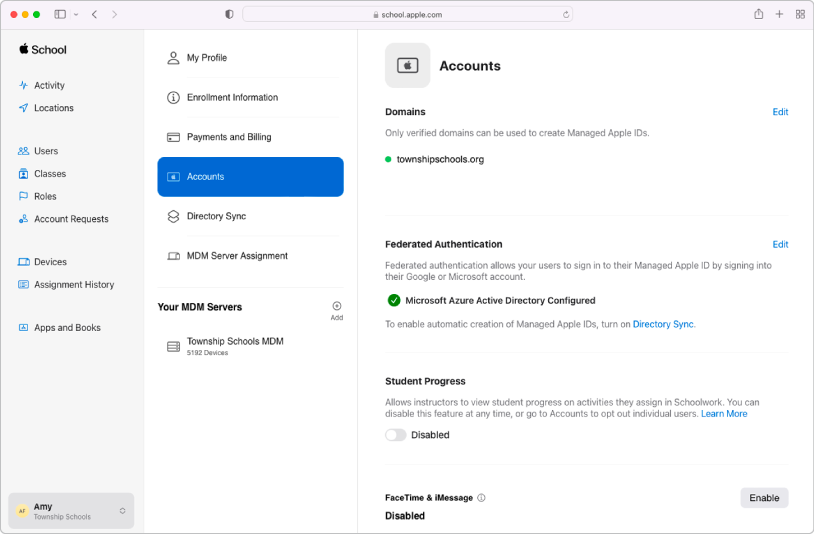
Merge your data
Sync user accounts from your Student Information System, Google Workspace, Microsoft Entra ID, or your identity provider, or with files you create and upload using SFTP.

Manage devices
Streamline how you deploy Apple devices to your organization.
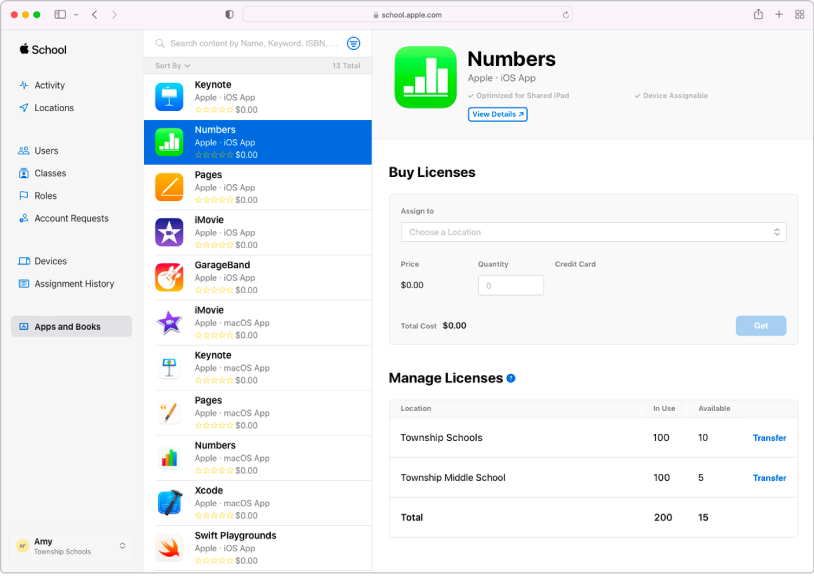
Buy content in bulk and assign it to devices
Buy apps and books in bulk, then assign them to devices for your staff, instructors, and students to use. You can also reassign apps from one device to another.
To explore the Apple School Manager User Guide, select Table of Contents at the top of the page, or enter a word or phrase in the search field.
Thanks for your feedback.