Modifying this control will update this page automatically
Final Cut Pro User Guide
- Welcome
-
- What’s new in Final Cut Pro 10.5
- What’s new in Final Cut Pro 10.4.9
- What’s new in Final Cut Pro 10.4.7
- What’s new in Final Cut Pro 10.4.6
- What’s new in Final Cut Pro 10.4.4
- What’s new in Final Cut Pro 10.4.1
- What’s new in Final Cut Pro 10.4
- What’s new in Final Cut Pro 10.3
- What’s new in Final Cut Pro 10.2
- What’s new in Final Cut Pro 10.1.2
- What’s new in Final Cut Pro 10.1
- What’s new in Final Cut Pro 10.0.6
- What’s new in Final Cut Pro 10.0.3
- What’s new in Final Cut Pro 10.0.1
-
- Intro to effects
-
- Intro to transitions
- How transitions are created
- Add transitions
- Set the default transition
- Delete transitions
- Adjust transitions in the timeline
- Adjust transitions in the inspector and viewer
- Merge jump cuts with the Flow transition
- Adjust transitions with multiple images
- Modify transitions in Motion
-
- Add storylines
- Use the precision editor
- Conform frame sizes and rates
- Use XML to transfer projects
-
- Glossary
- Copyright
audio waveforms
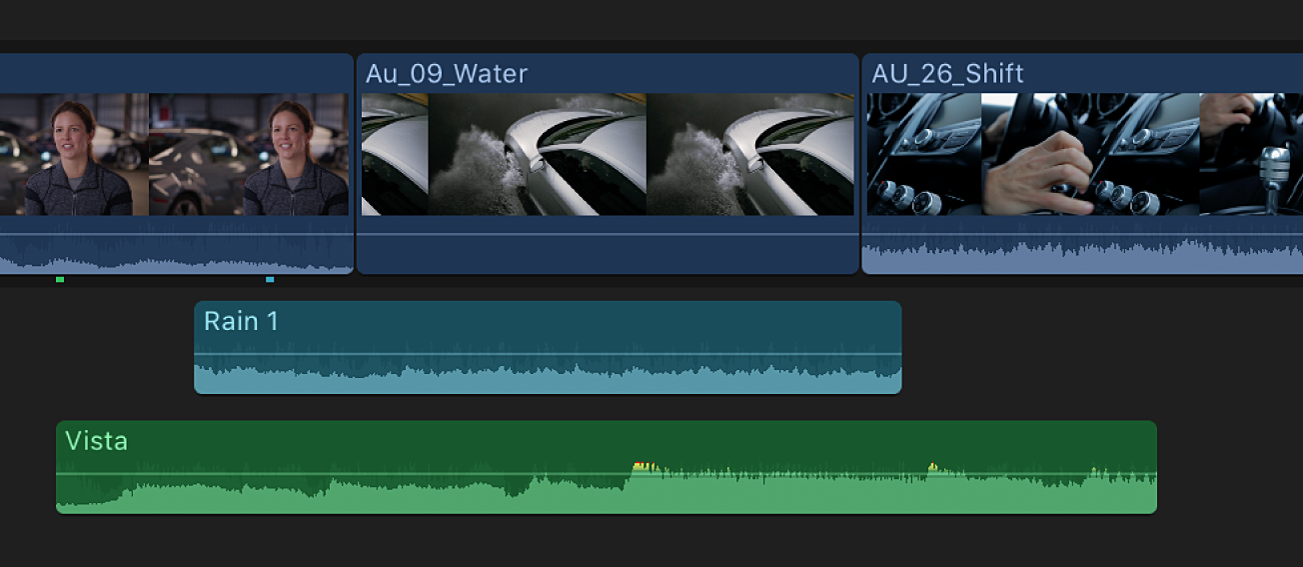
Audio waveforms are visual representations of the actual sound. Audio waveforms appear in clips in the following ways:
As the bottom portion of a video clip
As a detached or audio-only clip
An audio waveform’s amplitude and length change according to the underlying sound’s volume and duration. A short, loud sound such as a drum beat has a sharp, peaked waveform, whereas low-level crowd noise has a lower, more uniform waveform. These properties make it easier to find specific edit points when trimming clips or keyframing effects.
You edit audio clips in the timeline by first listening to a clip’s audio through playback and skimming, and then applying changes to the clip, using the waveform as a reference.
Thanks for your feedback.