Final Cut Pro User Guide for Mac
- Welcome
- What’s new
-
- Intro to importing media
- If it’s your first import
- Organize files during import
-
- Import from Image Playground
- Import from iMovie for macOS
- Import from iMovie for iOS or iPadOS
- Import from Final Cut Pro for iPad
- Import from Final Cut Camera
- Import from Photos
- Import from Music
- Import from Apple TV
- Import from Motion
- Import from GarageBand and Logic Pro
- Import using workflow extensions
- Record into Final Cut Pro
- Memory cards and cables
- Supported media formats
-
- Intro to effects
-
- Intro to transitions
- How transitions are created
- Add transitions and fades
- Quickly add a transition with a keyboard shortcut
- Set the default duration for transitions
- Delete transitions
- Adjust transitions in the timeline
- Adjust transitions in the inspector and viewer
- Merge jump cuts with the Flow transition
- Adjust transitions with multiple images
- Modify transitions in Motion
- Add adjustment clips
-
- Add storylines
- Use the precision editor
- Conform frame sizes and rates
- Use XML to transfer projects
-
- Intro to sharing projects
- Share to Apple devices
- Share on the web
- Send a video frame to Pixelmator Pro
- Share in email
- Share stereo or spatial video
- Batch sharing
- Share using Compressor
- Create share destinations
- Change metadata for shared items
- View the status of shared items
- Speed up exports with simultaneous processing
- Glossary
- Copyright and trademarks
Add color correction effects in Final Cut Pro for Mac
The first step in adjusting a clip’s color manually is adding a color correction effect to the clip. You can apply multiple color corrections to a clip to target specific issues. For example, you could apply one color correction that mutes a bright orange shirt and a second one that enhances the green in the lawn.
Add a color correction
In Final Cut Pro, select a clip in the timeline that you want to correct.
Position the playhead in the timeline so that your clip appears in the viewer.
If the Color inspector isn’t already shown, do one of the following:
Choose Window > Go To > Color Inspector (or press Command-6).
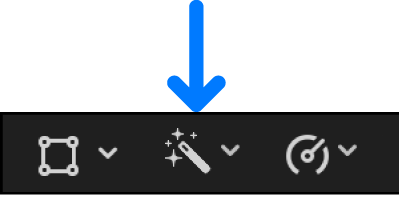
Click the Enhancements pop-up menu below the viewer and choose Show Color Inspector.
Click the Color button at the top of the inspector.
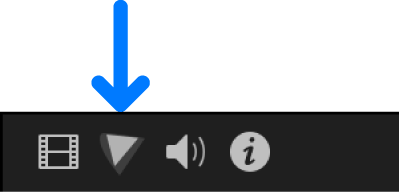
In the Video inspector, click the Color button
 to the right of a color correction to open it in the Color inspector.
Do one of the following:
Click the pop-up menu at the top of the Color inspector and choose a color correction from the Add Correction section of the menu.
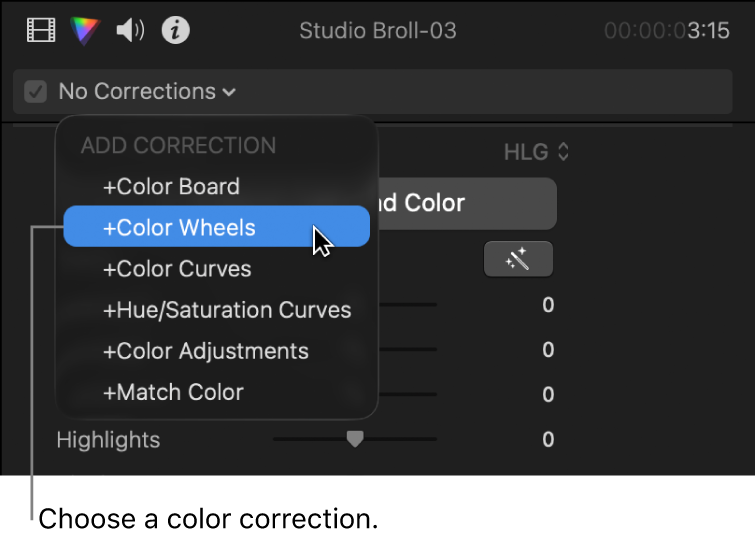
Add a color correction effect from the Color category of the Effects browser. The color correction effects are:
Color Board
Color Wheels
Color Curves
Hue/Saturation Curves
Color Adjustments
Match Color
Tip: If you frequently add a particular color correction effect, you can speed up your workflow by setting it as the default color correction. Then just select a timeline clip and press Command-6 to start adjusting the effect in the Color inspector.

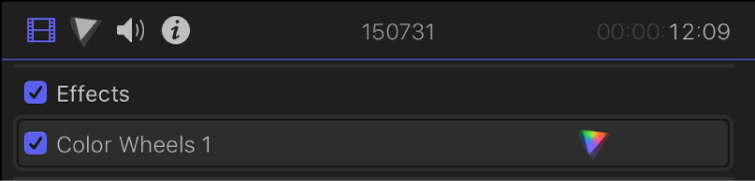
The color correction effect is applied to the clip and appears in the Effects section of the Video inspector.
To proceed with the color correction, follow the instructions for the color correction effect you added:
Apply multiple color corrections to a clip
In the Final Cut Pro timeline, select a clip that has a color correction.
To add an additional color correction, do one of the following:
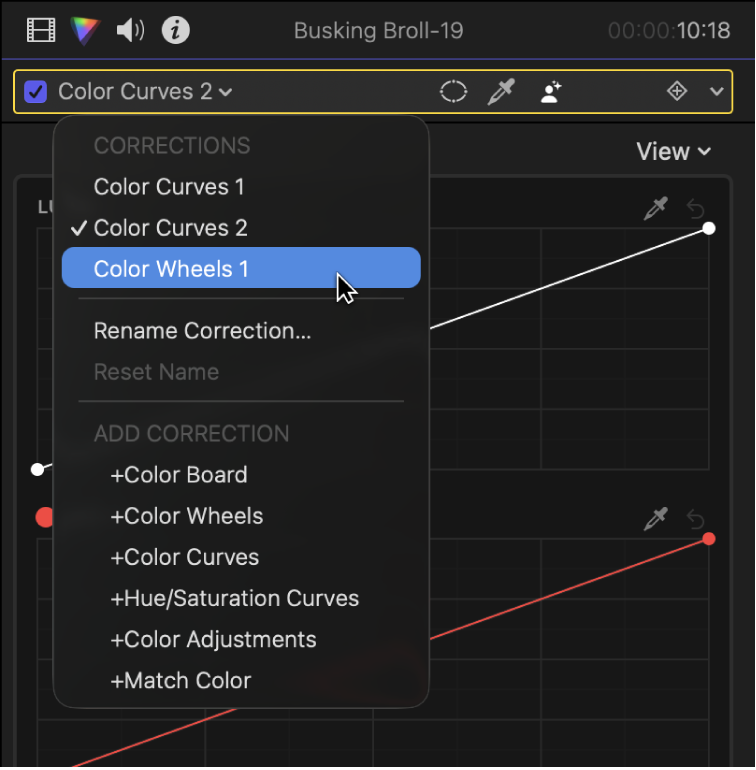
Choose Window > Go To > Color Inspector (or press Command-6), then click the pop-up menu at the top of the Color inspector and choose one of the color correction effects in the Add Correction section.
Add another color correction effect from the Color category of the Effects browser. (The color correction effects are Color Board, Color Wheels, Color Curves, Hue/Saturation Curves, Color Adjustments, and Match Color.)
The Color inspector opens, showing the controls for the additional correction.
Additional color correction effects are named incrementally (for example, Color Wheels 2, Color Wheels 3, and so on) and appear in the pop-up menu at the top of the Color inspector.
The additional color correction effect also appears in the Effects section of the Video inspector, beneath the original color correction effect. You can click the Color Inspector button
to the right of a correction to open the Color inspector with that correction’s settings.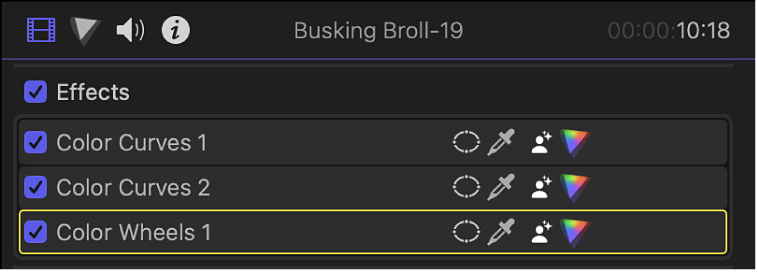
To make the additional color correction adjustments, see the topic for the color correction effect you added:
If you add multiple instances of the same color correction effect to a clip, you can rename the effects to help you keep track of them.
If you have applied multiple corrections to a clip, you can change their order by dragging them in the Video inspector. Rearranging the processing order can provide different results. To ensure the highest-quality results, the Balance Color and Match Color effects appear at the top of the Effects list by default.
Note: Applying multiple color corrections to a clip has no effect on the color masks in the additional color corrections. For example, if the first color correction removes all chroma from the clip, the second color correction can still create a color mask based on the original chroma. See Add a color mask.
Switch to a different color correction
In the Final Cut Pro timeline, select a clip that has multiple color corrections.
Click the pop-up menu at the top of the Color inspector, then choose a different color correction.
After you apply a color correction effect, you can copy it to another clip or group of clips. See Copy effects between clips. You can also combine multiple color correction effects into a single effects preset and then copy it to other clips. See Save color correction presets.
Download this guide: PDF