Get started with Photos
Quickly get started using Photos to view and organize your photos and videos, then learn what else you can do.

Your photos, everywhere
With iCloud Photos, your photos and videos are always with you, no matter which device you’re using. Take a photo on your iPhone and it appears automatically in Photos on your Mac.
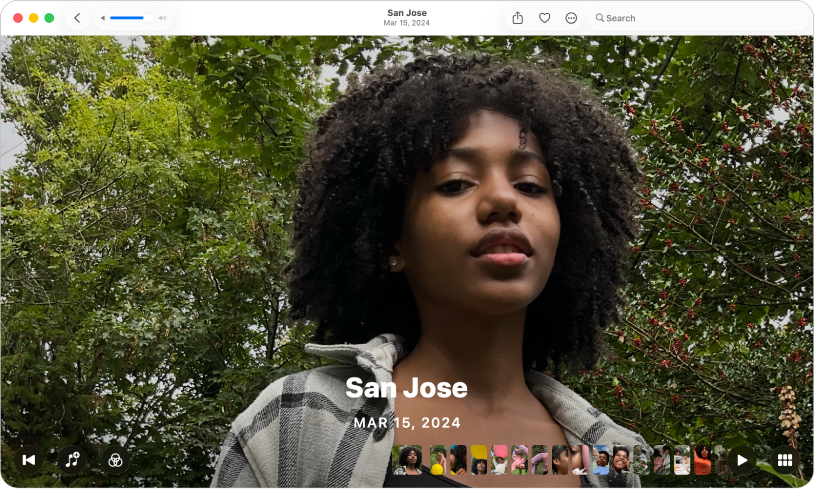
Enjoy the memories
Memories intelligently curates your photos and videos to find trips, holidays, people, pets, and more, then presents them in beautiful collections—complete with theme music, titles, and cinematic transitions.
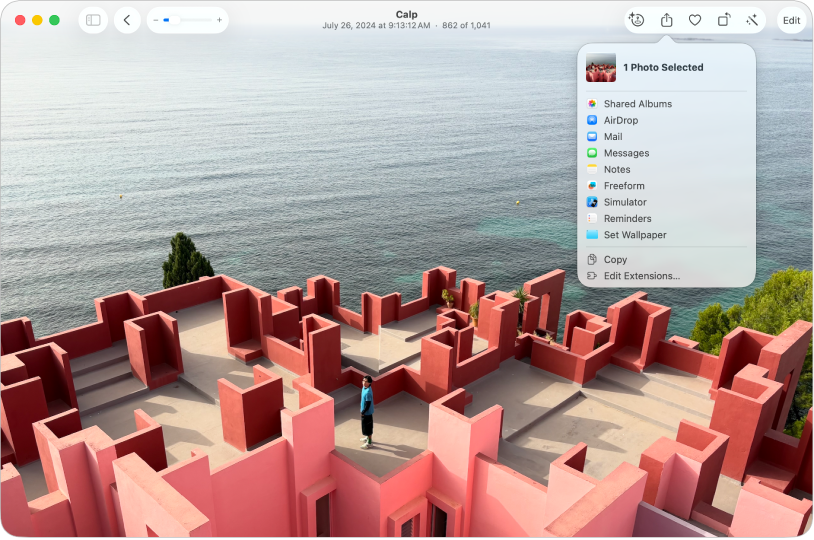
Share the good times
Share photos and videos seamlessly in Mail, Messages, or other apps. Or use AirDrop to instantly share photos with anyone on an Apple device nearby.
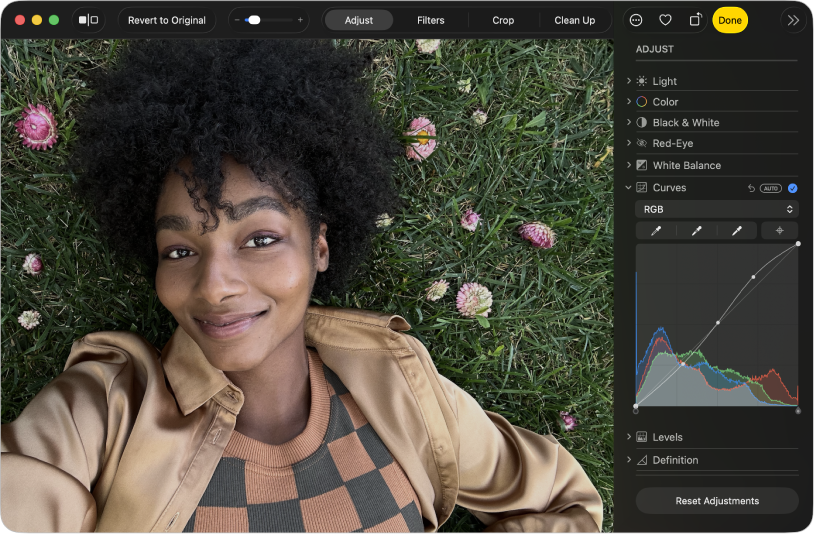
Make good photos great
You don’t have to be a pro to edit like one. Use the Photos editing tools to give your pictures, videos, and Live Photos just the right look. You can improve light and color, apply filters, enhance framing by cropping, and more.
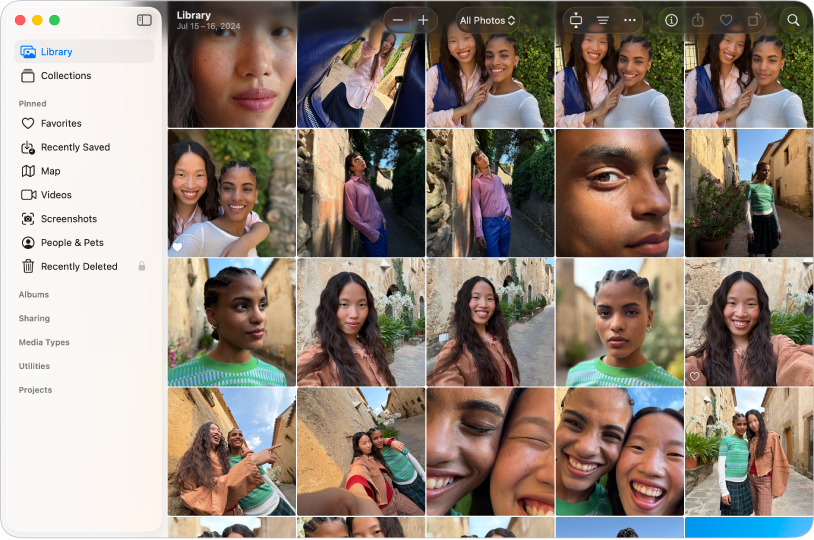
Where are your photos stored?
Use the library to import, manage, and export photos.

Save space on your Mac
Store full-resolution photos and videos in iCloud.

To explore the Photos User Guide, click Table of Contents at the top of the page, or enter a word or phrase in the search field.
If you need more help, visit the Photos Support website.