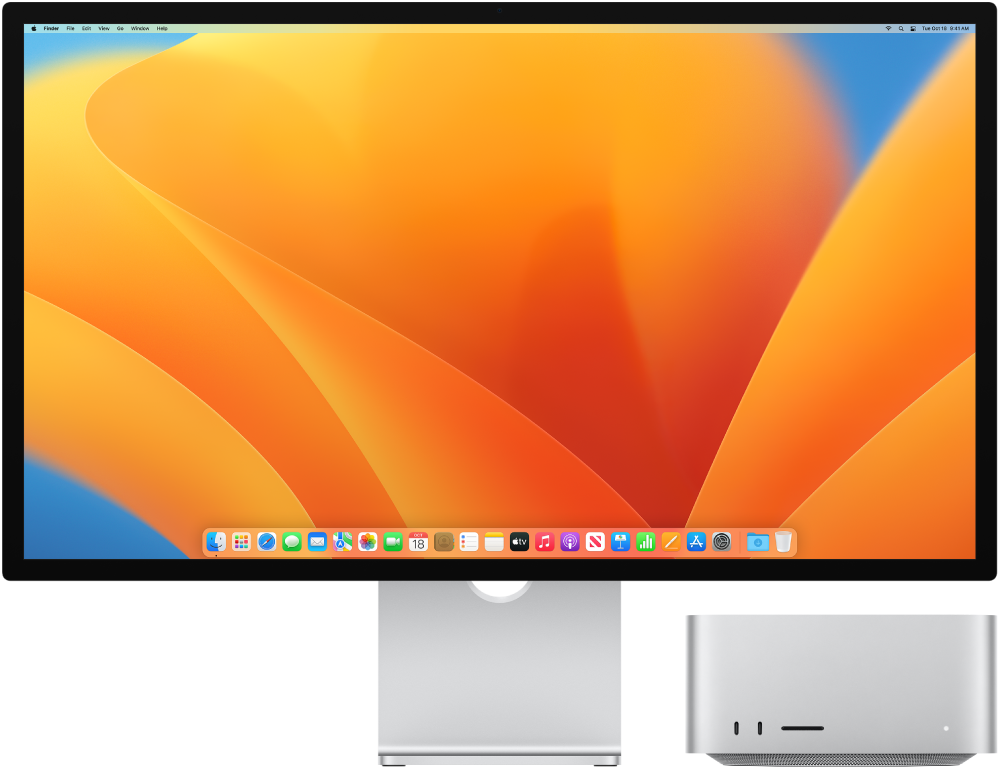
Connect Studio Display

Connect your Studio Display. Here’s how to get started. First, plug in your Studio Display to a wall outlet. Then plug in the included Thunderbolt cable to the Thunderbolt 3 port ![]() on the back of the Studio Display, and connect it to your Mac or iPad. There’s no power button. Your display turns on automatically. To learn more, see the Apple Support article Set up and use your Apple Studio Display.
on the back of the Studio Display, and connect it to your Mac or iPad. There’s no power button. Your display turns on automatically. To learn more, see the Apple Support article Set up and use your Apple Studio Display.
Connect accessories. Use the three USB-C ports on the back of your Studio Display to connect and charge accessories or to pair and charge wireless accessories such as a keyboard, mouse, and trackpad. See Connect an Apple wireless accessory with Mac in the macOS User Guide.

Change your settings. After you connect your Studio Display to your Mac, use Displays settings in System Settings to turn screen mirroring on or off, arrange and manage multiple displays, and make other adjustments to color, resolution, and more.