Add captions automatically in Final Cut Pro for iPad
You can use Generate Captions in Final Cut Pro for iPad to automatically detect and transcribe speech in your video, creating captions you can customize to make accessible, ready-to-share content for social media and video platforms.

The Generate Captions feature uses a default caption title named Subtitle, which comes with settings designed specifically for creating captions.
Note: The Generate Captions feature requires iPadOS 26 or later and is available in U.S. English only.
Add captions automatically
Go to the Final Cut Pro app on your iPad.
Open a project, then select one or more clips in the timeline that contain speech.
Do one of the following:
Touch and hold the selection, then tap Generate Captions.
Tap Edit in the menu bar, then choose Generate Captions (or press Shift-Command-S on a connected or paired keyboard).
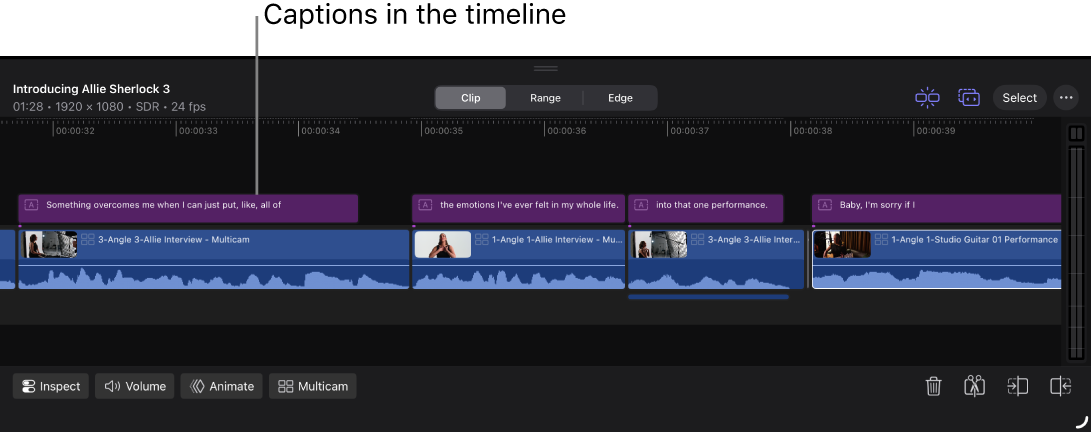
Final Cut Pro for iPad transcribes each clip in the selection and automatically connects the resulting caption clips to the clips they were transcribed from. Each title clip starts and ends in sync with the spoken words.

The Subtitles role is automatically assigned to all captions created using Generate Captions. See Use roles to organize clips.
Adjust captions
When you use Generate Captions, captions are created using a default title named Subtitle, which has unique settings designed for captions, including animation and vertical video options for social media. You can find this title in the Titles category of the content browser.

Go to the Final Cut Pro app on your iPad.
Open a project.
Add captions to your timeline using Generate Captions.
Select one or more captions in the timeline.
Tip: To quickly select all captions, tap Select in the top-right corner of the timeline, then tap Select All Subtitles. Or select a caption, then press Command-A on a connected or paired keyboard.
Tap Inspect in the lower-left corner of the screen, then adjust any of these caption-specific settings in the inspector:
Animation Style: Choose how the caption text becomes visible:
None: No animation is applied.
Fade: Words fade up one at a time.
Scale: Words appear large, then scale down, one at a time.
Highlight: Words are highlighted in color, one at a time.
Fill: Words are filled in color, one at a time, until every word in the caption is that color.
Animate By: Choose how the animation is applied:
Character: Animates one letter at a time.
Word: Animates one word at a time.
Line: Animates one line at a time.
All: In multiple-line captions, animates all lines at once.
Vertical Social Media Safe: For vertical (9:16) video, turn on to make sure that captions are positioned within the viewable area of the video on most social media platforms.
To change standard title settings, such as the font, size, color, and more, see Adjust a title’s appearance, Adjust a title’s layout, and Adjust a title’s animation.
Set the default caption
The Generate Captions feature uses a default caption title named Subtitle, which comes with settings designed specifically for creating captions. You can change the default caption to any title in the browser. The next time you use Generate Captions, it uses the title you chose.