
Add a file
When you are sure content is complete and correct, including all asset files, you can add your pre-generated package files or your app files to the Transporter window.
Add files
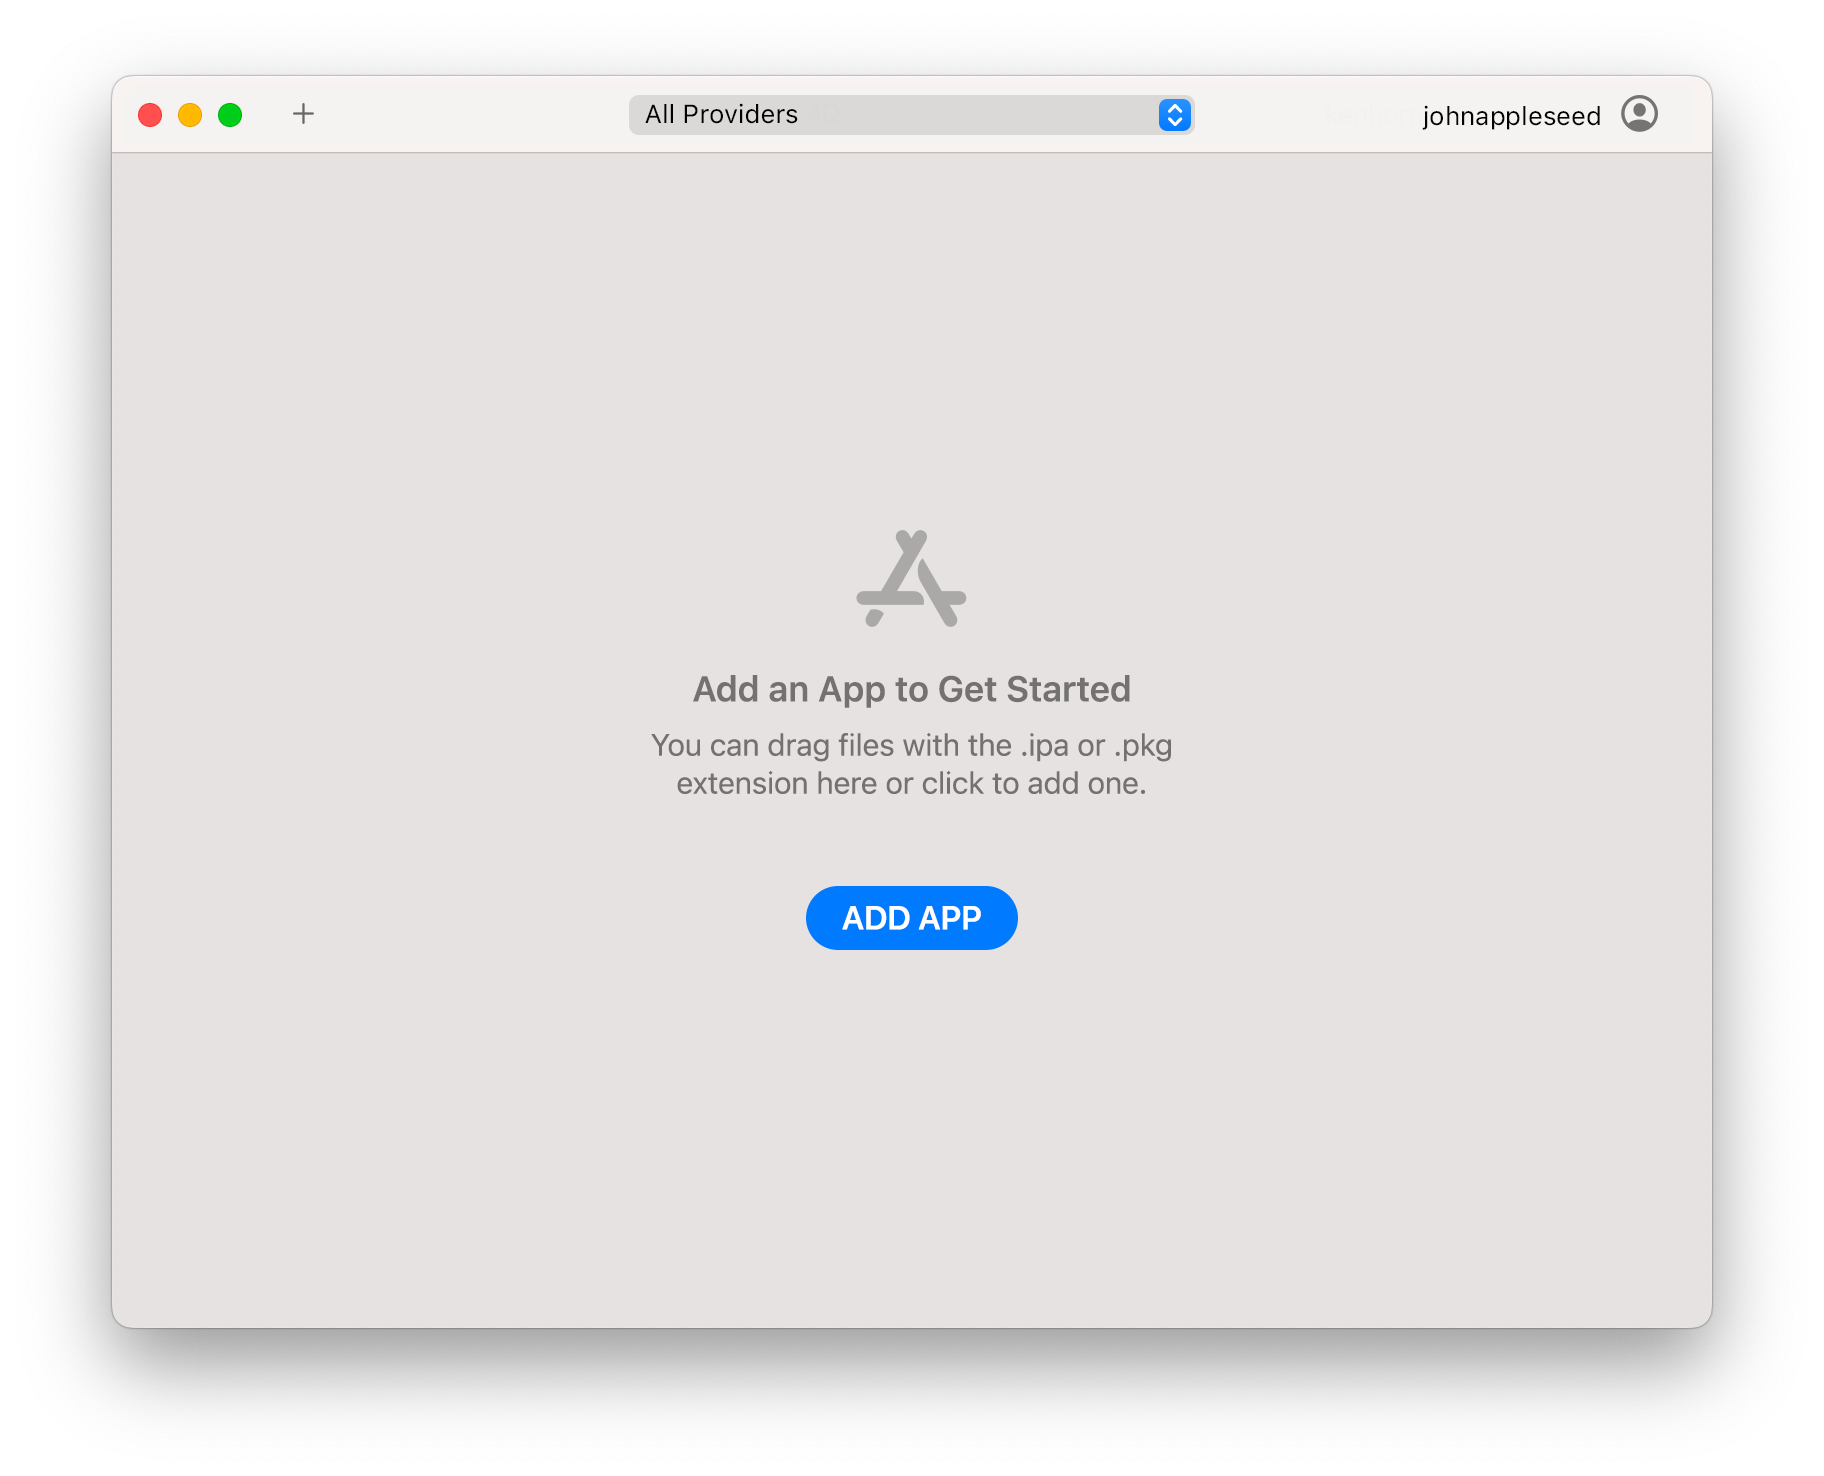
Verify that your provider name appears at the top of the Transporter window.
If you are an encoding house and can deliver content for more than one provider, the All Providers pop-up menu appears. Click the All Providers pop-up menu to filter by provider name.
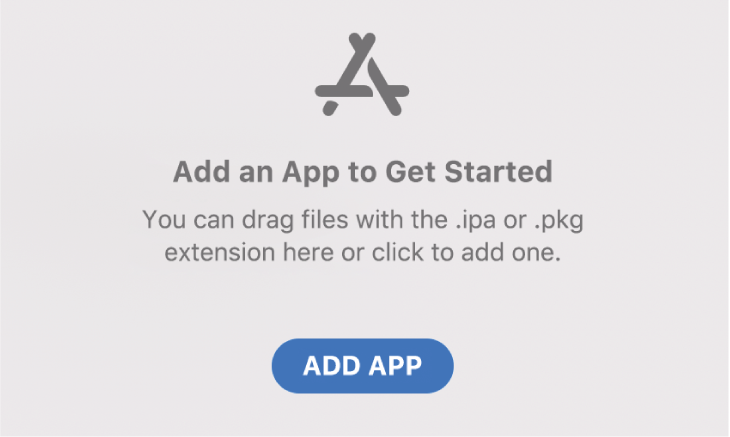
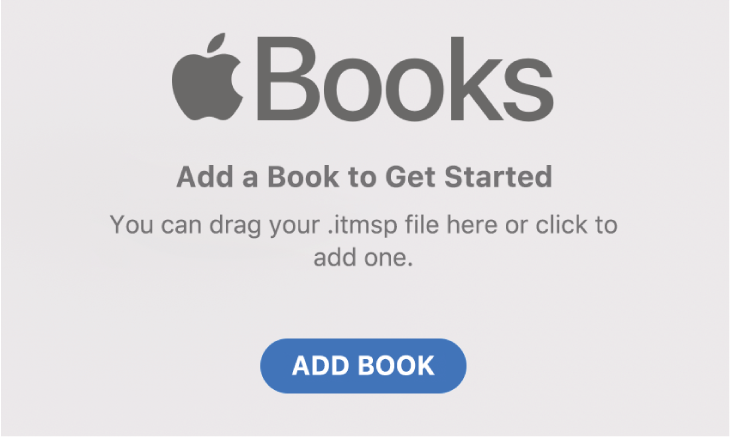
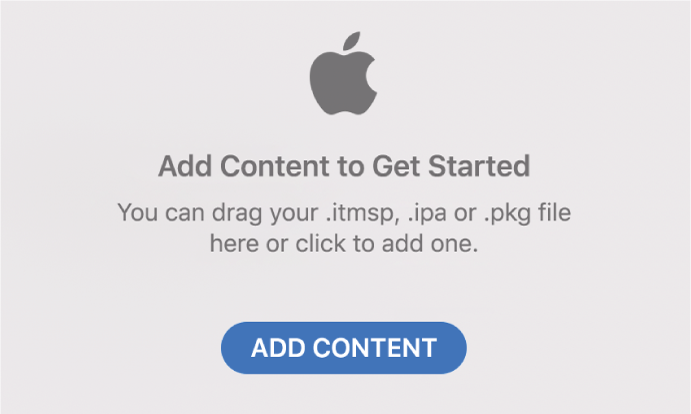
Depending on the type of content you submit, the opening screen will vary:
Content Type
Add Content Window
Apps
Music

Video

Books
Encoding House or Multi-provider Account
Do one of the following:
Click the Add button (the button name varies based on content type), select one or more files, then click Open.
Drag and drop one or more files into the Transporter window.
Click
 at the top of the Transporter window, select one or more files, then click Open.
Repeat step 2 for as many files as you want to add to Transporter.
For control details, see Transporter window.
Notes:
For books, music and video, if you add a file you previously added, Transporter asks if you would like to replace the previously added file if you set the When a Package is Added preference to Wait for Selection. If you replace a file Transporter is currently processing, Transporter cancels the current package, removes it and adds the new package. If you set the When a Package is Added preference to Verify or Verify and Deliver, Transporter automatically restarts the verification or verification and delivery process.
For apps, you can add multiple builds of your app and Transporter processes them as separate builds and will not ask you if you want to replace the previously added file. This preserves the delivery history of the different builds.
For apps, you can deliver a metadata-only .itmsp package without assets to update the metadata. See Update app metadata.