Add a title or caption to objects in Keynote for iCloud
You can add a title or descriptive caption to most objects, including images, image galleries, shapes (not including lines), eight-handled text boxes, tables, and charts. If you move the object, the title and caption move with it.
If you have grouped objects, you can also add a title or caption that applies to the entire group.

Add a title
You can add and position a title above or below images, shapes, and text boxes. You can also add a title to image galleries, charts, and tables, but only above them (or, in the case of donut charts, in the center).
Select the object you want to add a title to.
In the Format
 sidebar, do one of the following:
For images, shapes, or text boxes: Click the Style tab, then select the Title checkbox.
For image galleries: Click the Gallery tab, select the Title checkbox, then choose whether to include a different caption for each image or the same caption for all images.
For charts: Click the Chart tab, then select the Title checkbox.
For tables: Click the Table tab, then select the Table Title checkbox.
For grouped objects: Click the Arrange tab, then select the Title checkbox.
A placeholder title appears above the object on the page.
Note: If an image gallery is empty, the title doesn’t appear until you add an image to the gallery.
To change the location of the title, click the pop-up menu to the right of the Title checkbox, then choose an option.
Note: You can change the location of the title only for images, shapes, text boxes, and donut charts.
To edit the title, do one of the following:
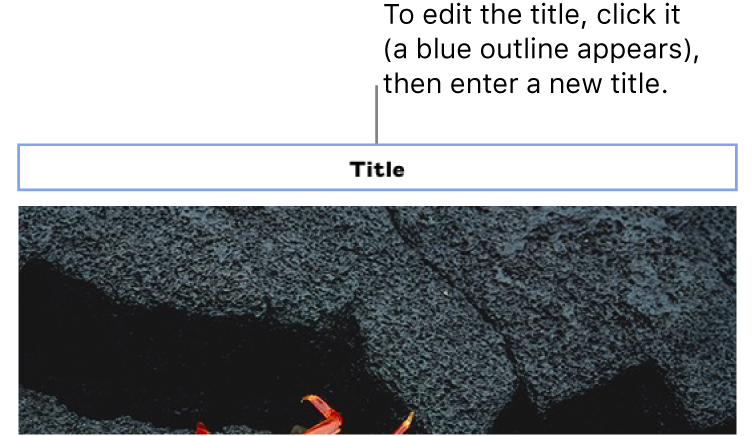
For images, image galleries, shapes, text boxes, or grouped objects: Click the placeholder title (a blue outline appears around the title field to show it’s selected), then enter your title.

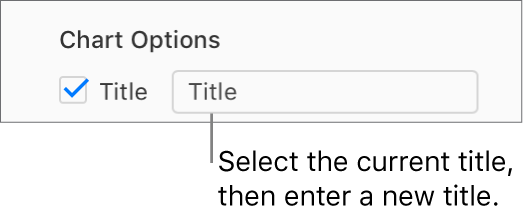
For charts: In the Format
 sidebar, select the placeholder title to the right of the Title checkbox, then enter your title.
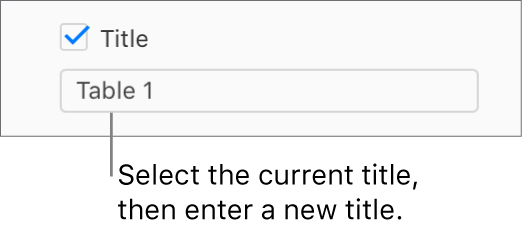
For tables: In the Format
 sidebar, select the placeholder title below the Title checkbox, then enter your title.
To change the font, style, or other formatting, select the title (or select the object, then click the title to see the blue outline again), then make your choices in the Title tab of the Format
 sidebar.
Note: You can’t change the font or other formatting for only the title of a chart or table, but you can change all the chart or table text at one time. See Edit chart text, markings, and labels or Change the table font, size, style, or color.
To hide the title, deselect the Title checkbox.
If you select the checkbox again, the previous title reappears.
Add a caption
Select the object you want to add a caption to.
In the Format
 sidebar, do one of the following:
For images, shapes, or text boxes: Click the Style tab, then select the Caption checkbox.
For image galleries: Click the Gallery tab, select the checkbox next to Caption, then choose whether to include a different caption for each image or the same caption for all images.
For charts: Click the Chart tab, then select the Caption checkbox.
For tables: Click the Table tab, then select the Caption checkbox.
For grouped objects: Click the Arrange tab, then select the Caption checkbox.
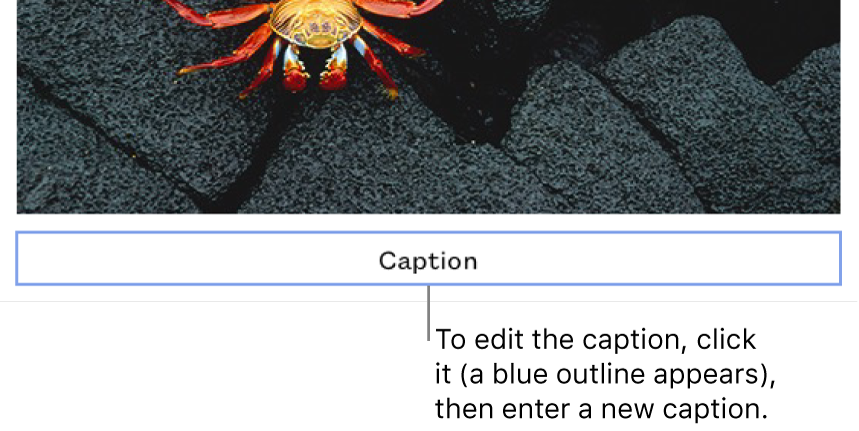
Click the placeholder caption below the object (a blue outline appears around the caption field to show it’s selected), then type your caption.

To change the font, font size, or other formatting, select the caption (or select the object, then click the caption to see the blue outline again), then make your choices in the Caption tab of the Format
 sidebar.
To hide the caption, deselect the Caption checkbox.
If you select the checkbox again, the previous caption reappears.
Tip: You can also remove the caption from the object itself. Select the object, click the caption (a blue outline appears around the caption field to show it’s selected), then press the Delete key on your keyboard.
To add titles or captions to other types of objects (such as drawings or movies), open the presentation using Keynote for Mac, Keynote for iPhone, or Keynote for iPad.