Add a caption or title to objects in Numbers on Mac
You can add a title or descriptive caption to most objects, including drawings, equations, images, image galleries, movies, shapes (not including lines), tables, eight-handled text boxes and graphs.
If you have grouped objects in your spreadsheet, you can also add a caption and title that applies to the entire group.

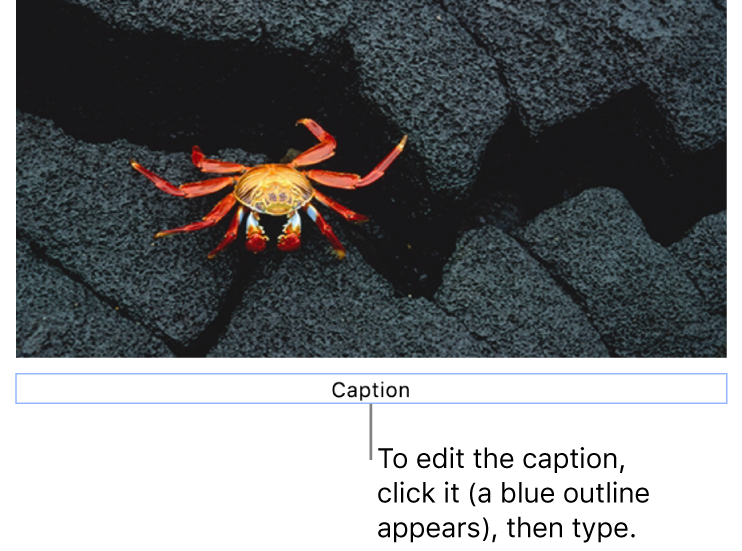
Add a caption
Select the object you want to add a caption to.
In the Format
 sidebar, do one of the following :
For shapes, images, movies, text boxes and equations: Click the Style tab, then select the tick box next to Caption.
For drawings: Click the Drawing tab, then select the tick box next to Caption.
For tables: Click the Table tab, then select the tick box next to Caption.
For graphs: Click the Graph tab, then select the tick box next to Caption.
For image galleries: Click the Gallery tab, select the tick box next to Caption, then choose whether to include a different caption for each image or the same caption for all images.
For grouped objects: In the Arrange tab, select the tick box next to Caption.
Click the placeholder caption below the object (a blue outline appears around the caption field to show it’s selected), then type your caption.

To change the font, size, style or other formatting, select the caption (or select the object, then select the caption), then make your choices in the Caption tab of the Format
 sidebar.
To hide the caption, unselect the tick box next to Caption.
If you select the tick box again, the previous caption reappears.
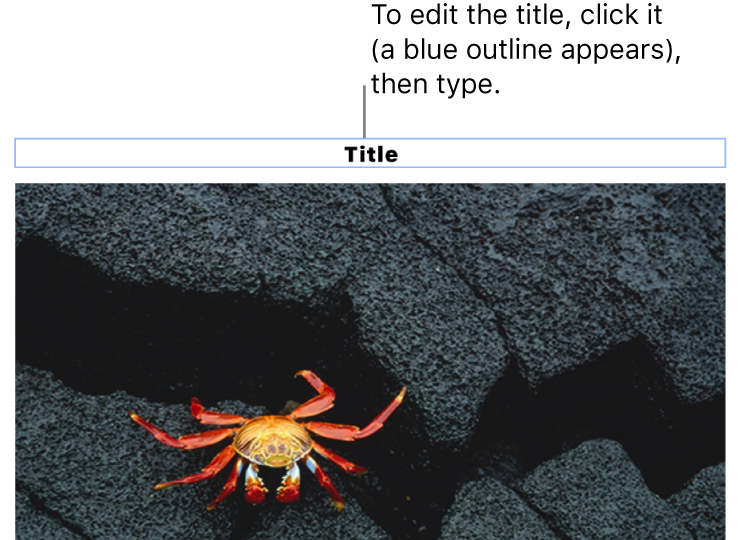
Add a title
Select the object you want to add a title to.
In the Format
 sidebar, do one of the following:
For shapes, images, movies, text boxes and equations: Click the Style tab, then select the tick box next to Title.
For drawings: Click the Drawing tab, then select the tick box next to Title.
For tables: Click the Table tab, then select the tick box next to Title.
For graphs: Click the Graph tab, then select the tick box next to Title.
For image galleries: Click the Gallery tab, then select the tick box next to Title.
For grouped objects: In the Arrange tab, select the tick box next to Title.
To change the location of the title, click the dropdown next to Title, then choose “Top” or “Bottom”.
If you choose “Bottom” and add a caption, the caption always appears below the title.
For doughnut charts, click the dropdown next to Title, then choose “Top” or “Centre”.
Note: Some objects, such as tables and most graphs, can only have titles that appear on top of the object.
Click the placeholder title (a blue outline appears around the title field to show it’s selected), then type your title.

To change the font, size, style or other formatting, select the title (or select the object, then select the title), then make your choices in the Title tab of the Format
 sidebar.
To hide the title, unselect the tick box next to Title.
If you select the tick box again, the previous title reappears.