Final Cut Pro User Guide for Mac
- Welcome
- What’s new
-
- Intro to effects
-
- Intro to transitions
- How transitions are created
- Add transitions and fades
- Quickly add a transition with a keyboard shortcut
- Set the default duration for transitions
- Delete transitions
- Adjust transitions in the timeline
- Adjust transitions in the inspector and viewer
- Merge jump cuts with the Flow transition
- Adjust transitions with multiple images
- Modify transitions in Motion
-
- Add storylines
- Use the precision editor
- Conform frame sizes and rates
- Use XML to transfer projects
- Glossary
- Copyright

Intro to markers in Final Cut Pro for Mac
Markers are reference points you can place within clips to locate, identify, annotate, and navigate to specific frames.
In Final Cut Pro, you can use markers to:
Sync two or more clips at a specific point. For example, you can use a marker to label the frame where a door slams and then snap a sound effect to that marker.
Flag a specific location in a clip with editing notes or other descriptive information.
Add chapter markers to specific points in your project, so that viewers can jump to those points in the movie after it’s been exported or burned to a DVD or Blu-ray disc.
Manage to-do items in your project.
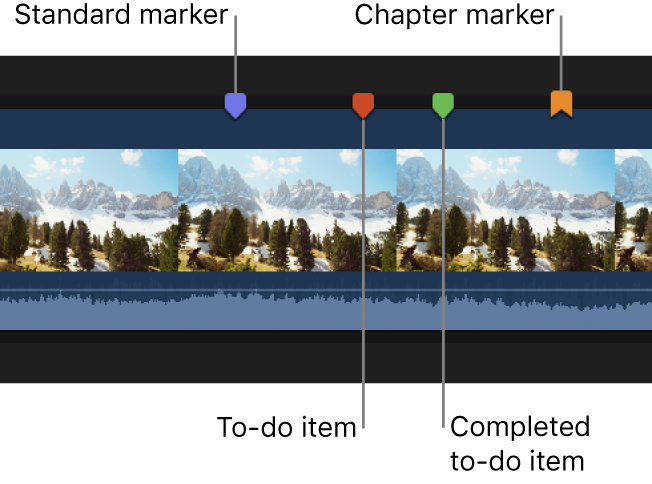
Markers are classified as standard markers (blue), chapter markers (orange), to-do items (red), or completed to-do items (green).

You work with markers in the same way for clips in the browser and clips in the timeline.
Download this guide: PDF