Keynote User Guide for Mac
- Welcome
-
- Change object transparency
- Fill shapes and text boxes with color or an image
- Add a border to an object
- Add a caption or title
- Add a reflection or shadow
- Use object styles
- Resize, rotate, and flip objects
- Move and edit objects using the object list
- Add linked objects to make your presentation interactive
-
- Send a presentation
- Intro to collaboration
- Invite others to collaborate
- Collaborate on a shared presentation
- See the latest activity in a shared presentation
- Change a shared presentation’s settings
- Stop sharing a presentation
- Shared folders and collaboration
- Use Box to collaborate
- Create an animated GIF
- Post your presentation in a blog
-
- Use iCloud Drive with Keynote
- Export to PowerPoint or another file format
- Reduce the presentation file size
- Save a large presentation as a package file
- Restore an earlier version of a presentation
- Move a presentation
- Delete a presentation
- Password-protect a presentation
- Lock a presentation
- Create and manage custom themes
- Copyright

Place objects inside a text box or shape in Keynote on Mac
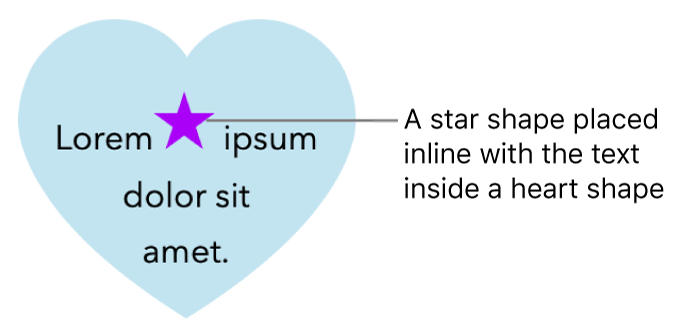
You can place images, image galleries, videos, shapes, and equations inside a text box or shape. The inner (nested) object is automatically placed inline with any text in the outer text box or shape (parent object), so that it sits with and moves with the text as you type.

Place objects inline with text in a text box or shape
If you haven’t already added a text box or shape to your slide, or haven’t added the object you want to paste inside it, click the object buttons in the toolbar to add the objects you want to work with.
Select the object you want to nest inside a text box or shape, then press Command-X to cut it.
If the object is on the slide, click to select it; if it’s inline with text, double-click to select it.
Double-click the text box or shape where you want to paste the object so the insertion point appears inside it, then press Command-V to paste the object.
The pasted object is nested inside the parent object. If you see a clipping indicator
 at the bottom of the object, you need to resize it to see all of its contents.
To add text after the nested object, click inside the parent object so you see the insertion point, then type.
If you accidentally select the nested object (three selection handles appear), click outside it to move the insertion point into the parent object.
Tip: If the nested object is a shape, you can place an image, shape, or equation inside it. Select the nested object, double-click inside it to see the insertion point, then type or paste the new text or object inside it.
Move an inline object to the slide
You can move an inline object to the slide so that it’s no longer nested inside another object.
Double-click the inline object to select it.
In the Format
 sidebar, click the Arrange tab.
Click Move to Slide.