

Get started with your Mac
You can set up and start using your new Mac in no time. Choose a wallpaper for your desktop, change common settings, start using apps, and more.
Switched from Windows to Mac?
If you’re switching to Mac, start here to make it a smooth transition. Learn how to find your way around the Mac, how to transfer your files from your PC, and more.
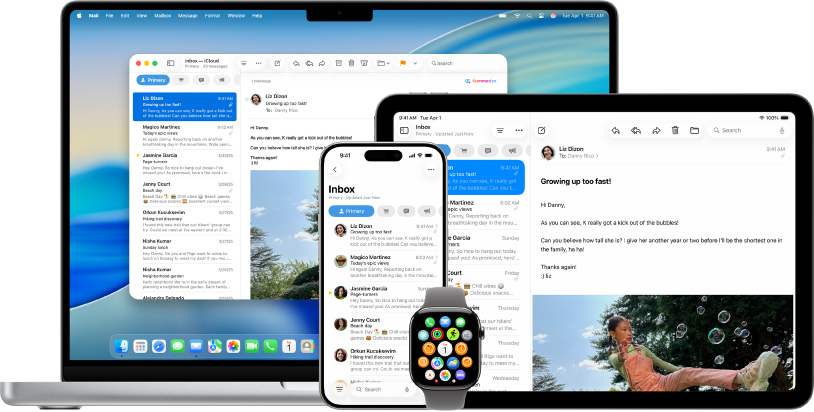
Use your Mac with other Apple devices
Your Mac works seamlessly with all your other Apple devices. View and control your iPhone right from your Mac desktop, copy and paste between devices, and more.
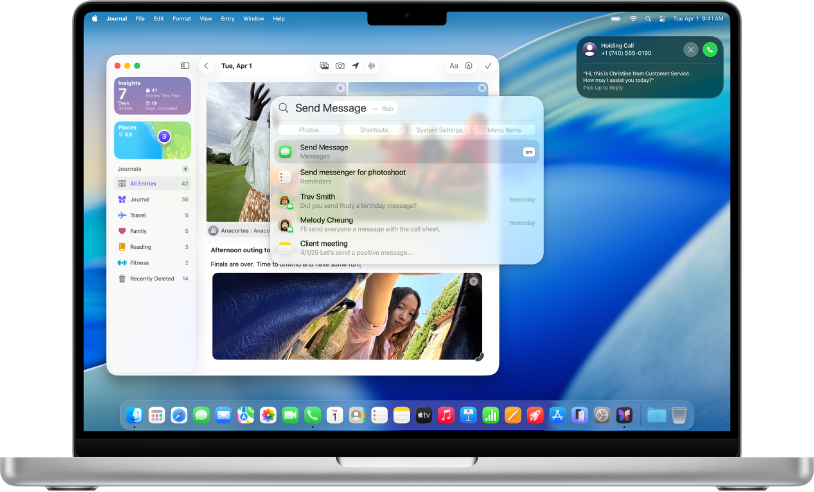
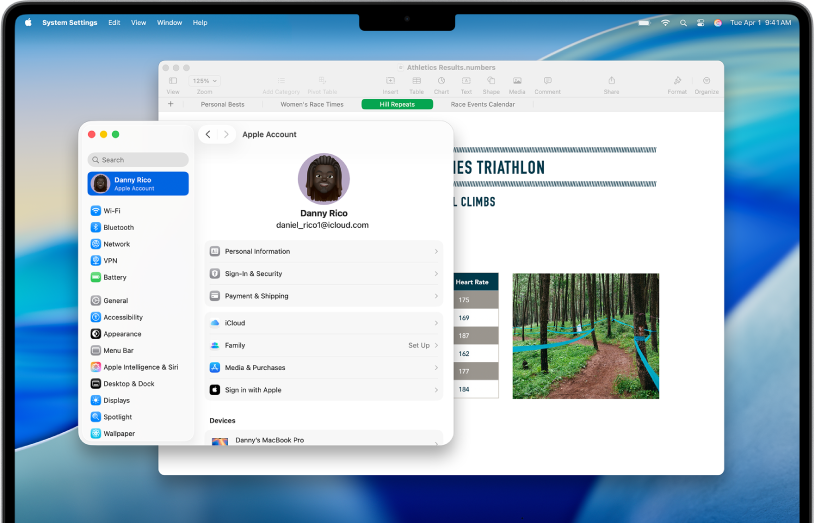
What’s new in macOS Tahoe
macOS Tahoe has a fresh new design, and helps you work and communicate more seamlessly. Make phone calls from your Mac, use Spotlight to search and take action without opening apps, get automatic translations in calls and messages, and more.
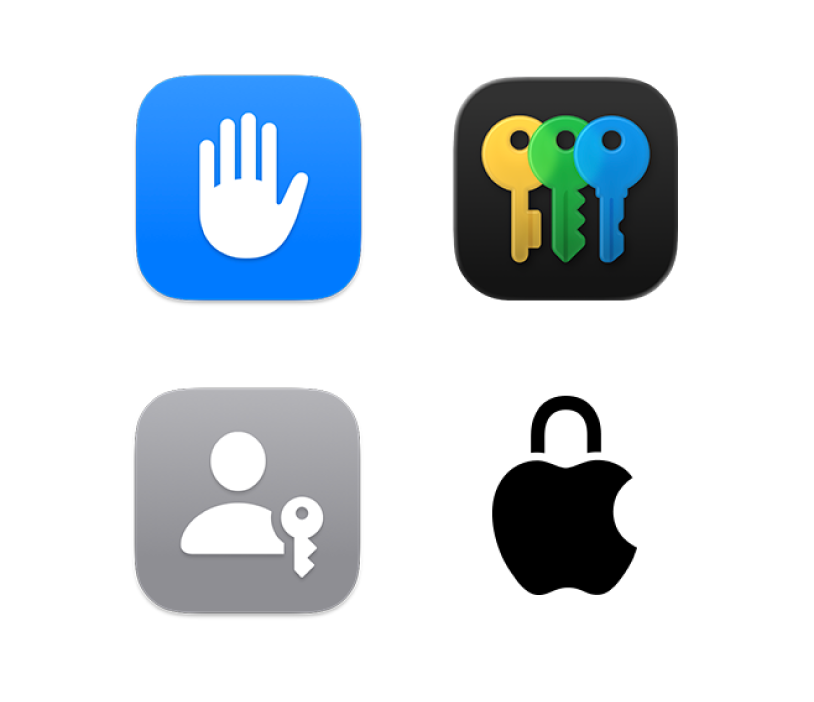
Control your privacy and security
Your privacy and security come first. Your Mac includes built-in tools to protect your important information—from password management to private browsing and beyond.

Deleted a password?
Learn how to recover a deleted password or passkey.

Get to know your Mac
Got a new Mac? Learn the essentials for your model.

To explore the Mac User Guide, click Table of Contents at the top of the page, or enter a word or phrase in the search field.
If you need more help, visit the macOS Support website.
Mac User Guide
- Welcome
- What’s new in macOS Tahoe
-
- Intro to Apple Intelligence
- Translate messages and calls
- Create original images with Image Playground
- Create your own emoji with Genmoji
- Use Apple Intelligence with Siri
- Find the right words with Writing Tools
- Summarize notifications and reduce interruptions
- Use ChatGPT with Apple Intelligence
- Apple Intelligence and privacy
- Block access to Apple Intelligence features
-
- Intro to Continuity
- Use AirDrop to send items to nearby devices
- Hand off tasks between devices
- Control your iPhone from your Mac
- Copy and paste between devices
- Stream video and audio with AirPlay
- Make and receive calls and text messages on your Mac
- Use your iPhone internet connection with your Mac
- Share your Wi-Fi password with another device
- Use iPhone as a webcam
- Insert sketches, photos, and scans from iPhone or iPad
- Unlock your Mac with Apple Watch
- Use your iPad as a second display
- Use one keyboard and mouse to control Mac and iPad
- Sync music, books, and more between devices
- Resources for your Mac
- Resources for your Apple devices
- Copyright and trademarks